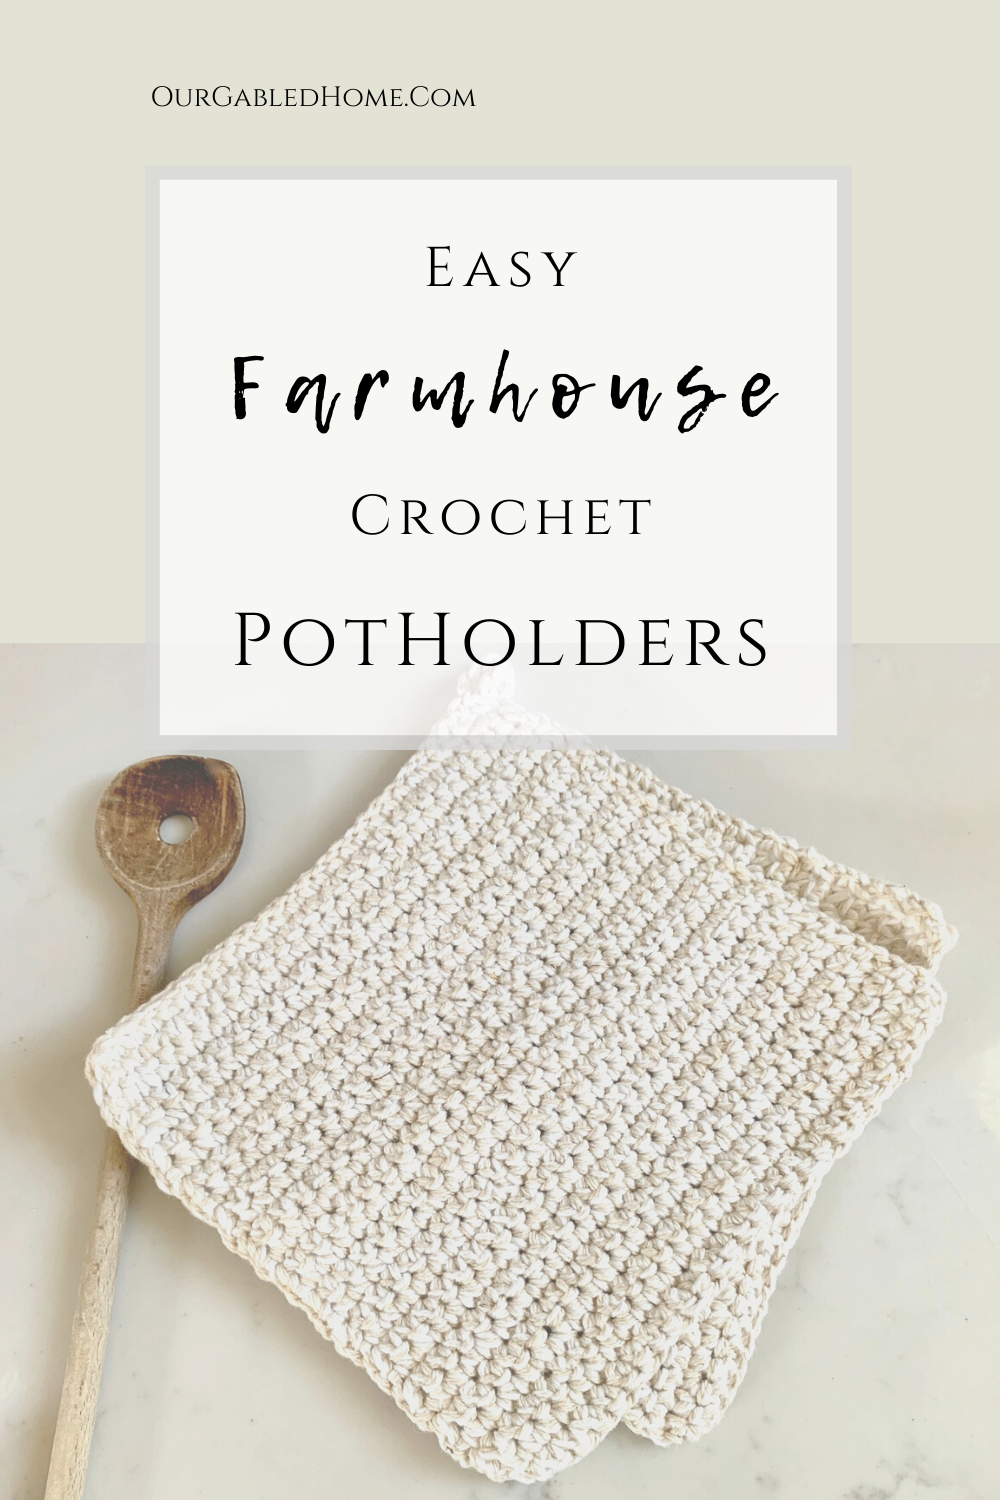
Farmhouse Crochet Potholders
Both practical and beautiful, these rustic farmhouse crochet potholders are a quick and easy project whether you a beginner or more experienced.
I spend a lot of time in my kitchen making coffee, baking sourdough breads, and cooking fresh food from scratch. One item I need every day is my rustic farmhouse crochet potholders.
You see, when you’re moving a cast iron dutch oven from a 450˚F hot oven, you need to protect your hands well from the heat.
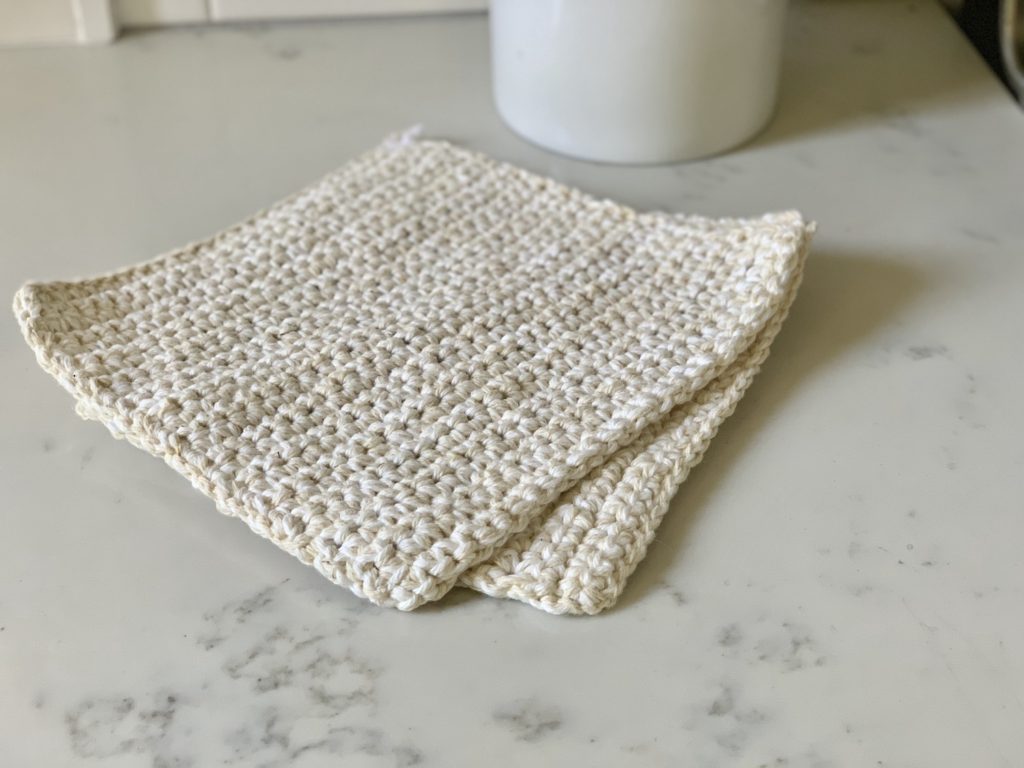
Things need to be practical but I also want them to be beautiful in a rustic kind of way. Meet my crochet potholders!
This post contains some affiliate links which means I make a small commission at no extra cost to you.
The yarn for farmhouse potholders
I believe that in previous times, people didn’t necessarily go to a yarn store and pick out some yarn in colors that they liked. Not that there would be anything wrong with that. Instead, I believe, they just used what they had.
That is what I simulated with my pair of potholders. I have an antique wooden chest that keeps all my yarn – mostly leftover from other projects. In there, I found the perfect yarn for this potholder project.
I don’t like polyamid or polyester for potholders because I think it can shrink or melt from the high heat. Therefore, I prefer cotton and wool.
Why I crochet these potholders with 2 yarns
My main reason for using two yarns is so that these potholders would be thicker. I really don’t want to get burnt (have done that, not fun!).
Another reason is that by using two different colors, the potholders get a kind of mottled look which is perfect for our farmhouse kitchen.
The last reason is more personal: I had some balls of pure white cotton yarn. I knew white potholders would get dirty very quickly. What’s a girl to do? Yep, you guessed it! Add another, slightly darker color. I did not have another cotton yarn but I had a beautiful 75%/25% cotton/wool blend in natural white. Perfect. Now, I was ready to go.
Equipment
Other than your yarn, all you need is a crochet hook and some scissors. I purposely use a size 6/4.25mm crochet hook to get a denser potholder. You might have to use a different size depending on the yarn you use.
How much time will it take to make these farmhouse potholders?
This will depend on 2 factors: how fast of a crocheter you are and how much practice you have. I probably finished the first in about 90 minutes, the second one took longer because I was recording the video to show you how to do it.
If you’re just learning how to crochet this would be a good starter project. It might take you a bit longer but I find it still very manageable and doable for beginners.
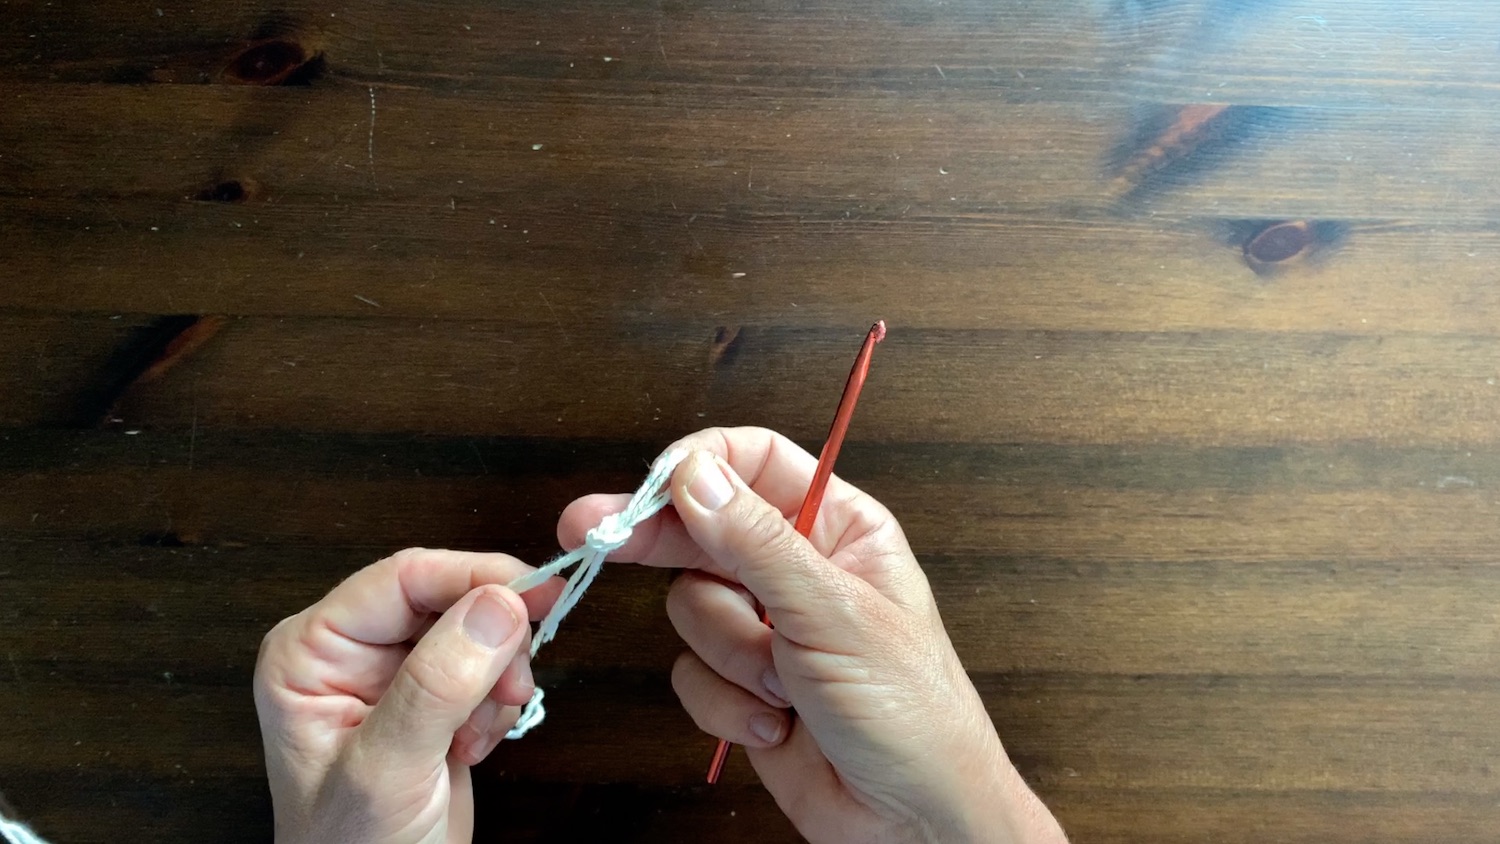
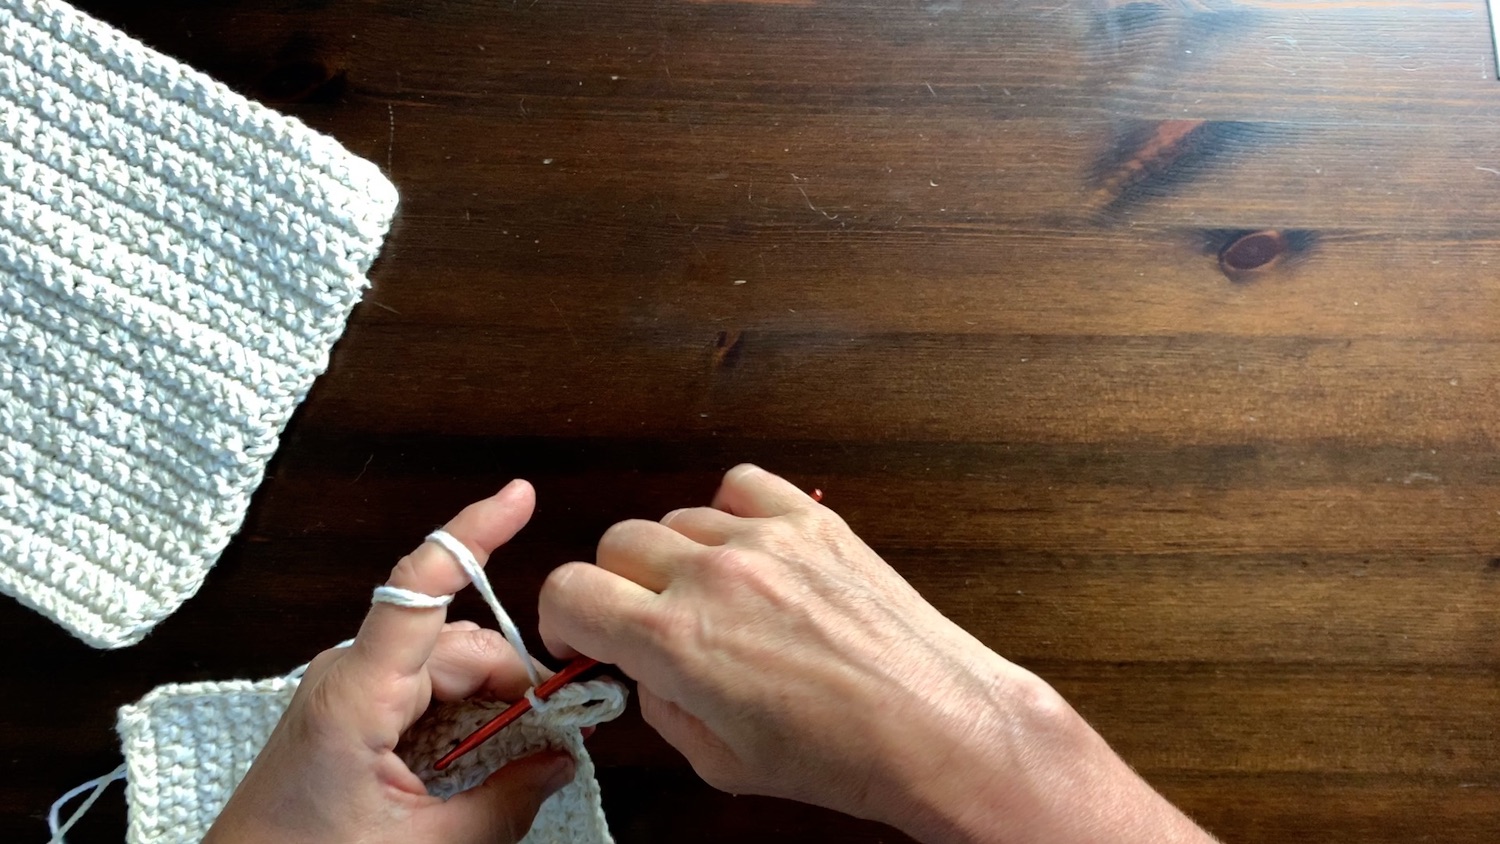
Casting on
This is called starting a chain. Start by making a simple loop with both of your yarns. Pull it a bit tight. Then cast on 28 stitches in the very simple crochet chain stitch. Make sure your stitches are not too tight!
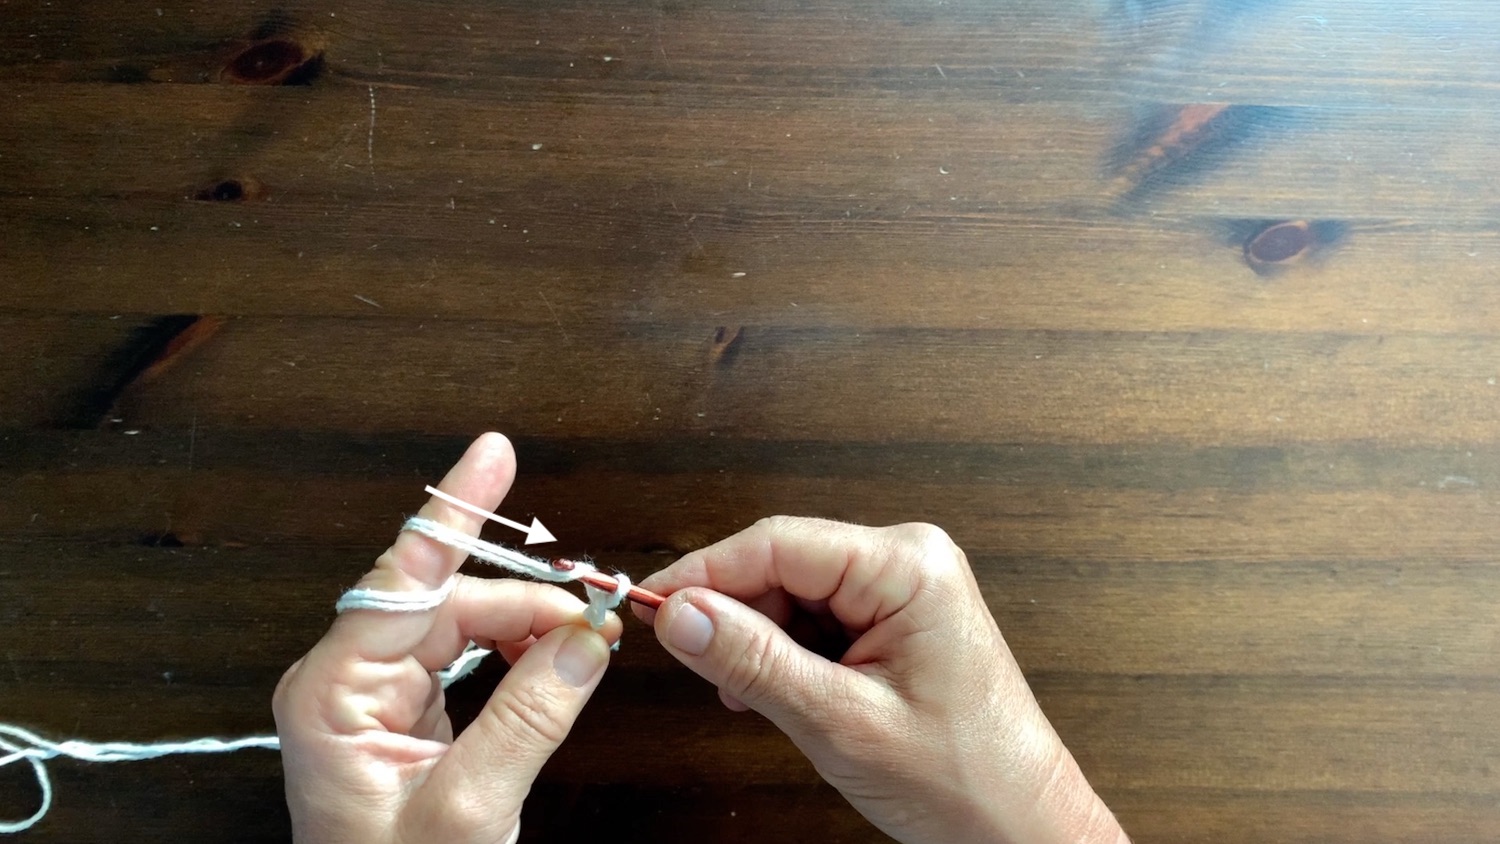
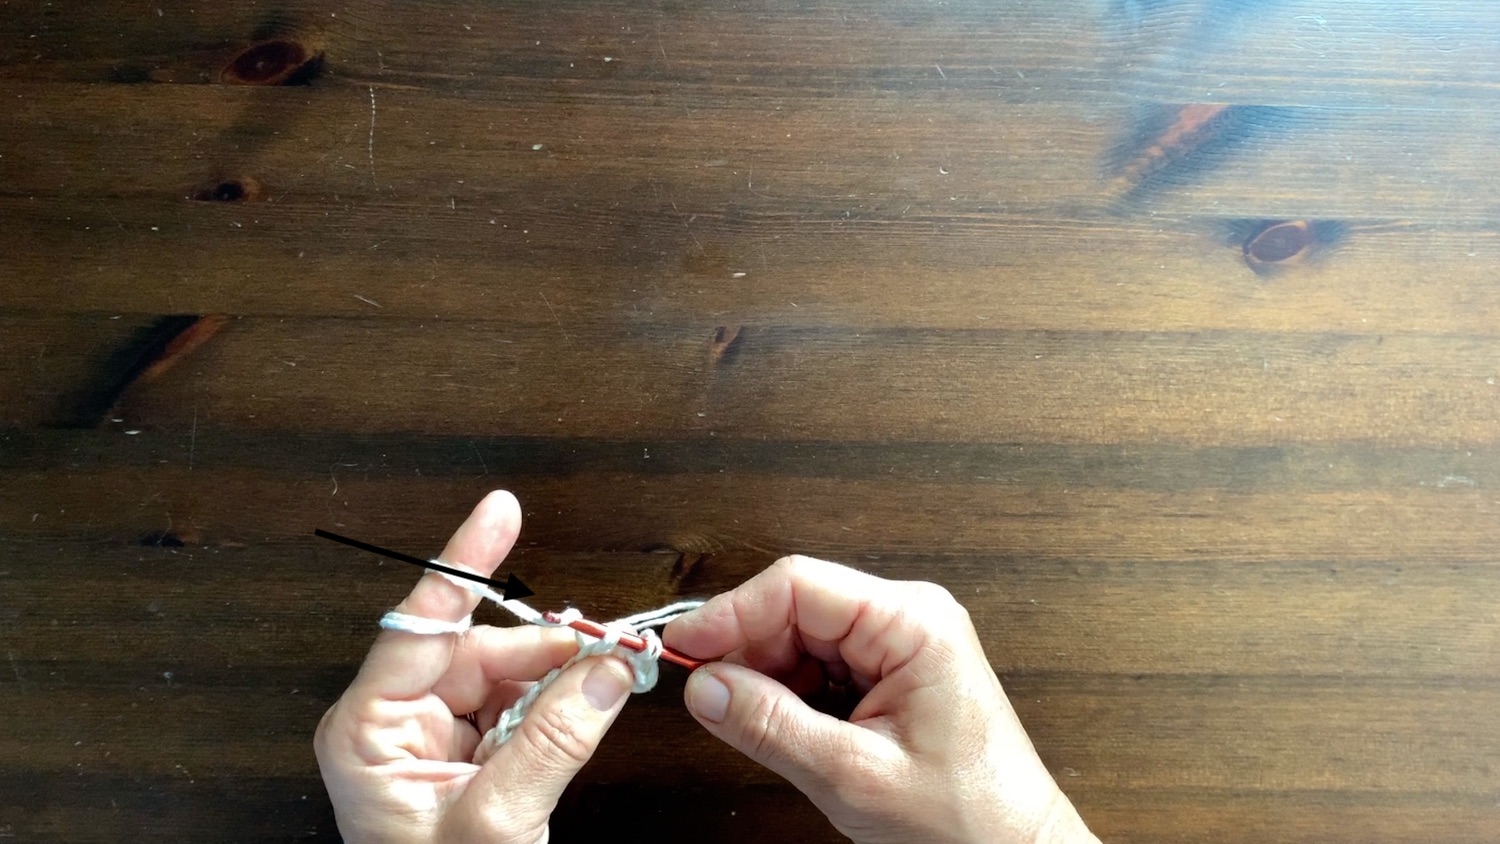
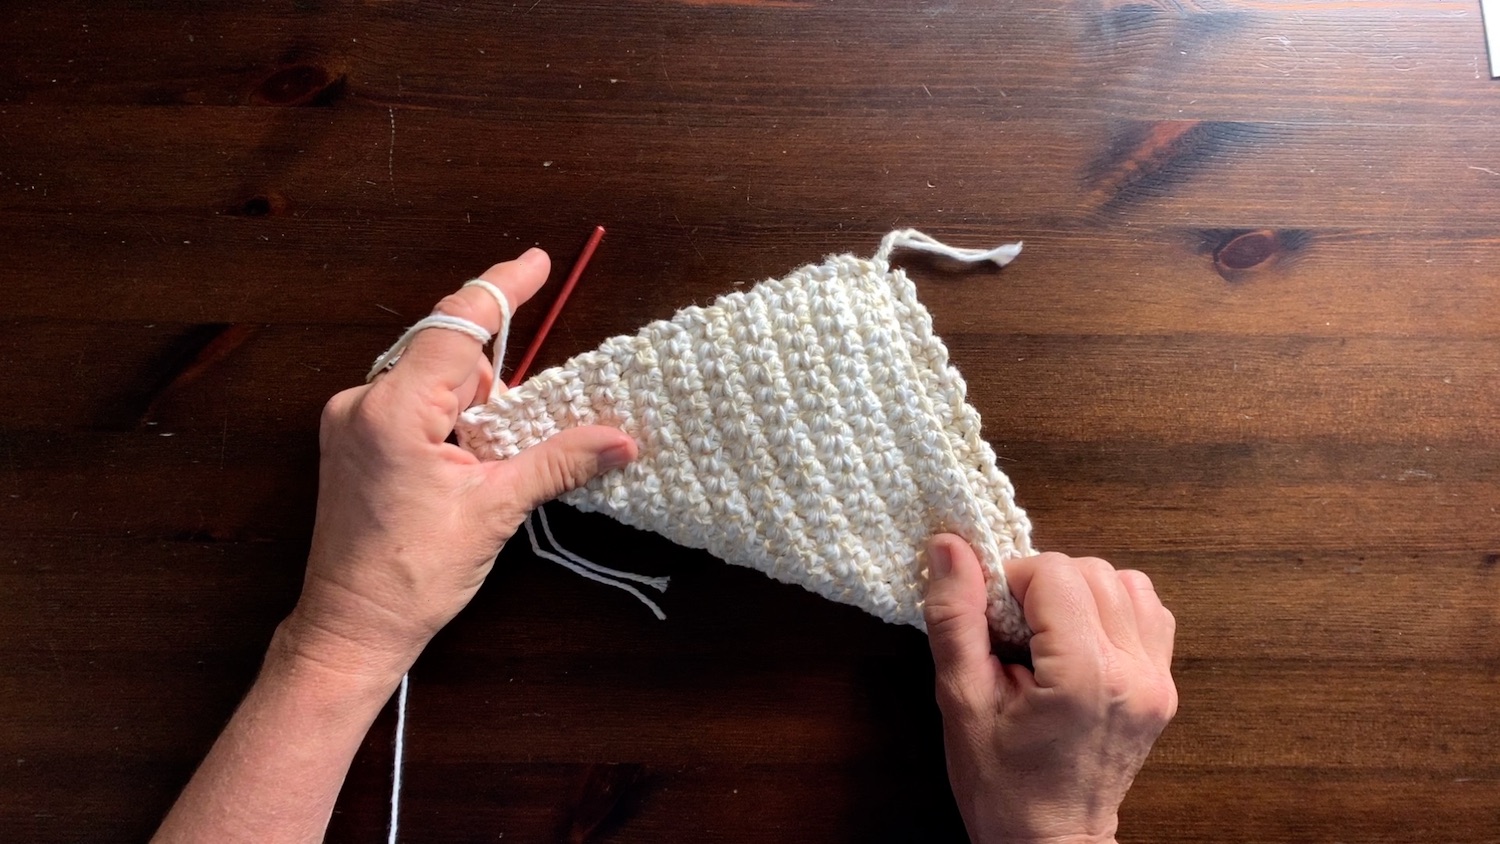
Your main stitch
This is the “meat” of your project: using the single crochet stitch, you will making the potholders.
You simple insert the hook into the hole, pull the yarns through, having now two loops on your hook, get the yarns again, and pull them through the two loops. At the end of every row, I add one chain stitch.
You will crochet until you have a perfect square.
The edge
This is a bit optional but makes the potholders looks a little more finished.
For this, I am leaving my white yarn and only use my darker color basically using a chain stitch. While doing the sides, you may have to eyeball an even distance between stitches but for the top and bottom row you can just use the stitches that are there.

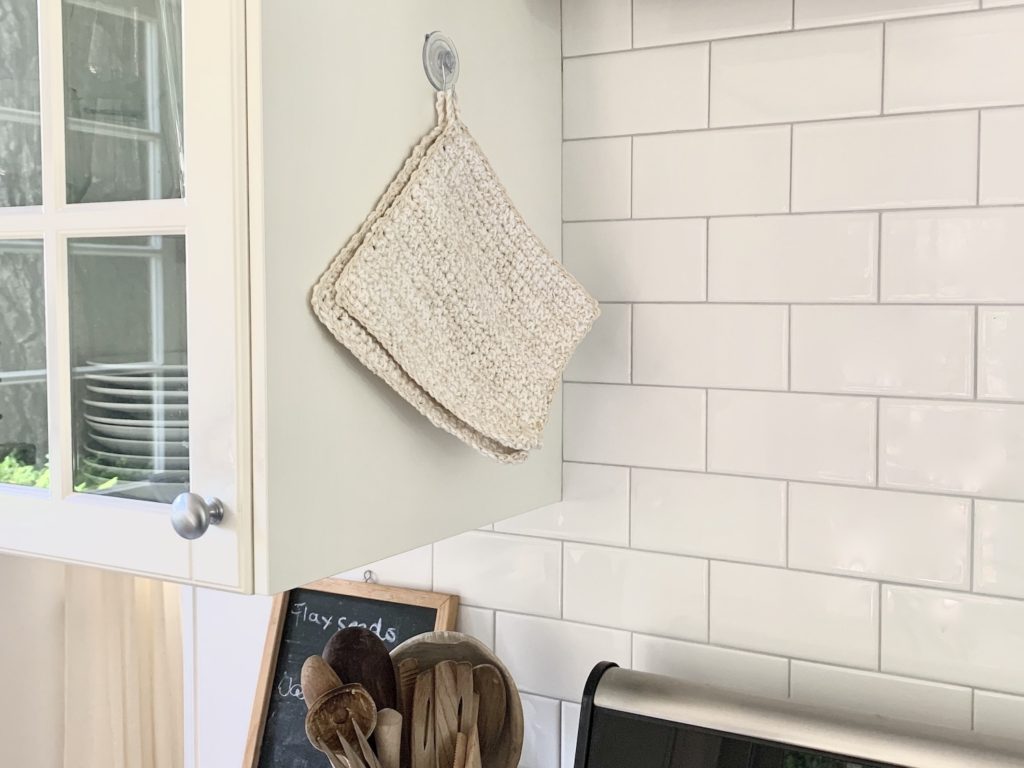
The hook loop
Once I have gone all around the potholder, I gather the white yarn again and simply cast on 7 chain stitches for the hook loop. Then, I attach it back to the corner of the potholder.
Pull a bit of yarn through and cut it off.
Finishing the farmhouse potholders
Using your crochet hook, weave the yarn ends in and out of holes to finish your project. Voilà! Make the second one to have a pair. Be sure to use pretty much the same tension for crocheting the second potholder so that they are identical in size.
Questions or comments? I’d love to hear from you!
Pin For Later:
On my to do list! Haven’t crocheted in at least 40 years.
These are so lovely. What a wonderful tutorial. Thank you for the inspiration.
Thank you so much, Julia! I am so glad you like them!