How to Sew a Half Apron
In this tutorial, I’ll show you how easy it is to sew a linen half apron. You can even give it a vintage look with the optional lace.
If you have been following me for a while, you might have seen me in my signature linen cross-over apron. Recently, I thought it would be fun to sew a half apron.
You see, I love stopping by our local fabric store. It was there that I found a beautiful blue stripe linen-cotton blend fabric. I knew that it would be perfect for this half apron that I had been wanting to sew for a while.
Half aprons are great because you can quickly tie them around your waist. In the generous pocket, you can put whatever you are harvesting from your garden. Or your cell phone …
Supplies for the half apron
Fabric:
You can use any fabric you like. Maybe you have some leftover fabric at home. Or you might have found a nice piece of fabric at a thrift store. If you’re like me, you might have found the perfect fabric at the fabric store. No matter what, especially for this half apron, any fabric will do.
Since I have a deep fondness for linen, I have always liked that. This fabric is similar to what I used. I bought one yard which gave me extra fabric that I might use to make coordinating potholders (stay tuned for that tutorial!).
Lace:
I had a piece of lace lying around at home that was waiting to be used. Since I love anything with a vintage or antique look, I thought adding lace to my half apron would be perfect for that. As I said, adding the lace is completely optional. If you’d like to add it, you can either find it in thrift stores or by the yard in fabric stores.
Thread:
Obviously, you will need thread. If you’re using a fabric with white and blue stripes, you can either use white thread or find the appropriate blue color.
Other useful items:
I love my older Pfaff sewing machine but this one would work great, too. If you don’t own a sewing machine and would not to invest in one, you can absolutely sew this half apron by hand.
In order to get a good cut, I have dedicated sewing scissors that I only use for cutting fabric. Sewing pins are an essential item for successful sewing. Then I use a sewing ruler to make sure I have straight lines. And lastly, I love having my sewing tape measure around.
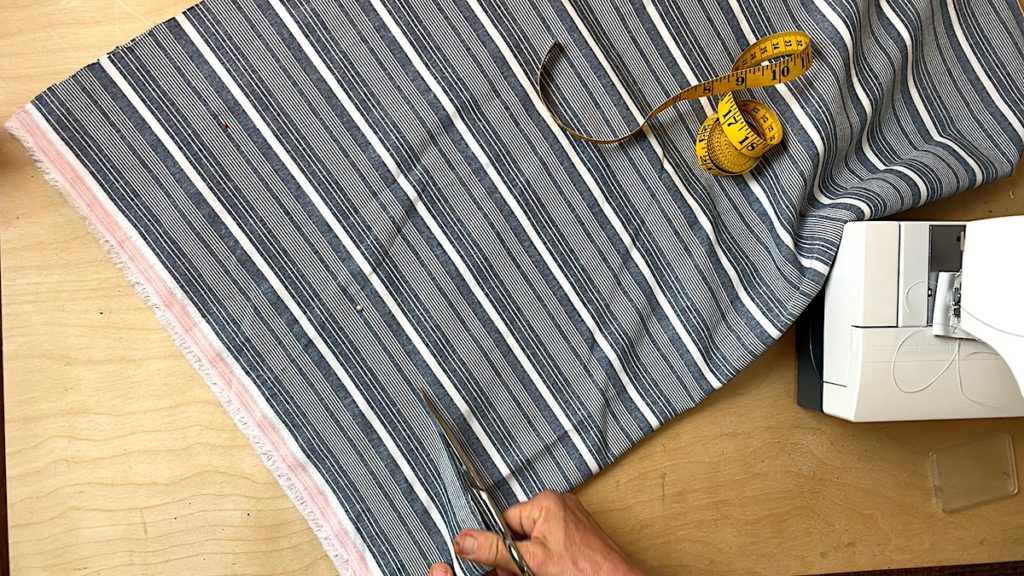
Cutting and making the straps:
I folded the fabric twice and measure 4″ from the edge. Then I cut along one of the stripes and ended up with 2 long pieces of fabric.
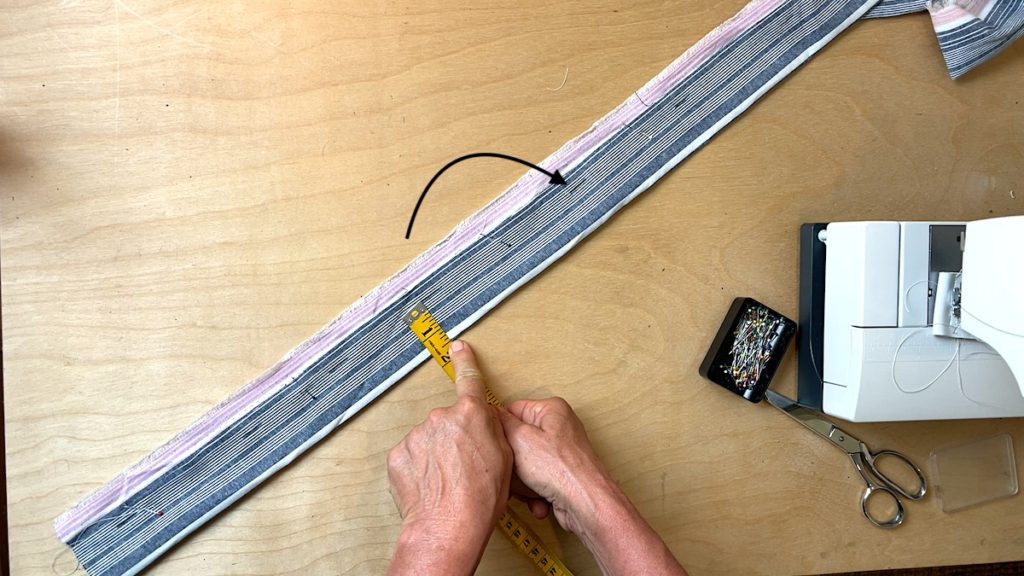
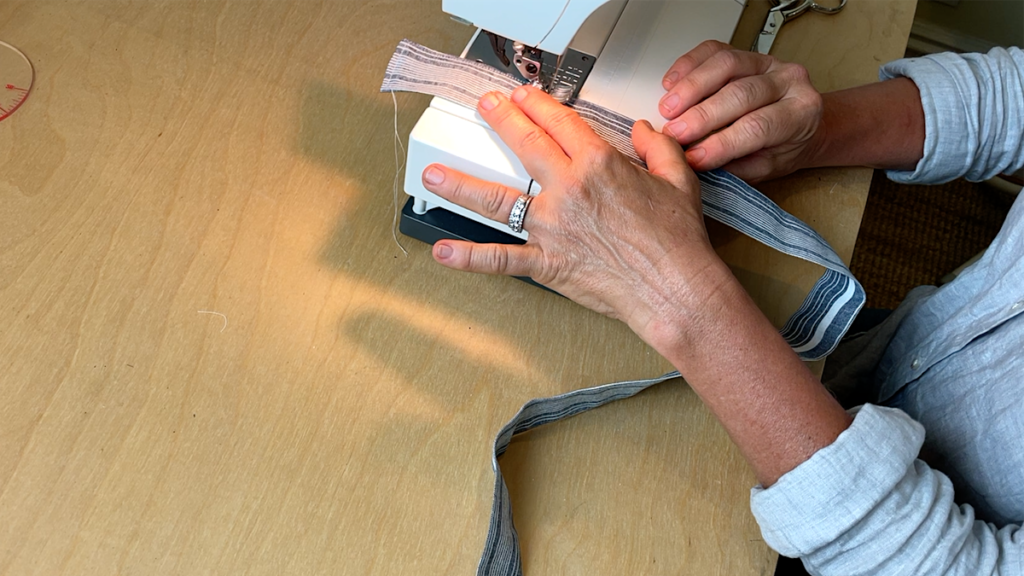
Next, I folded this long piece in half lengthwise, measured 1 ½ inches and marked that line for my seam.
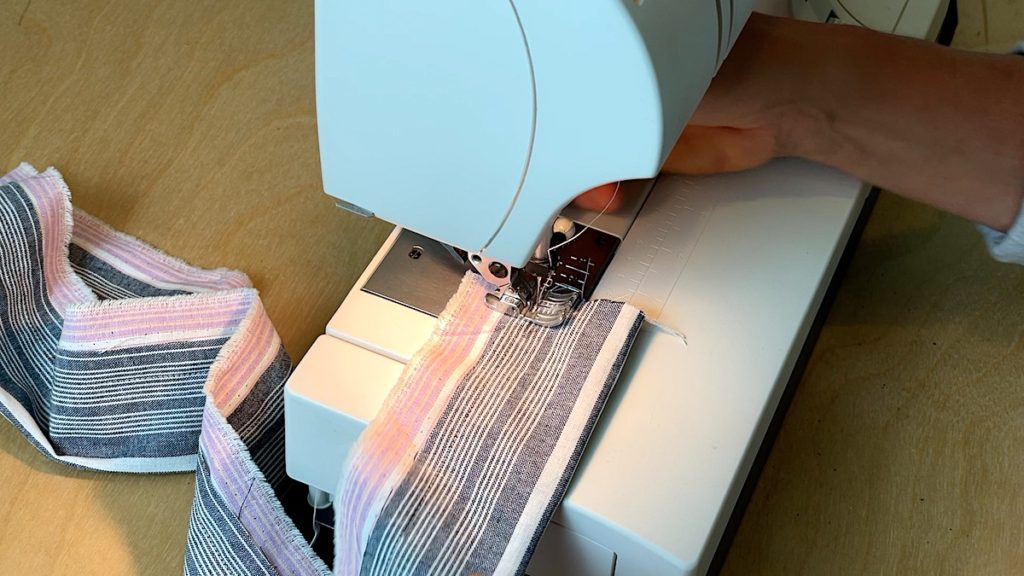
Then, I sewed down that line, made a 90˚ turn, and closed one of the short sides. I always like to do a back-and-forth stitch so that the seams don’t come apart. Also, on that short side, I like to cut the corners diagonally to decrease the bulk once we turn the straps inside out.
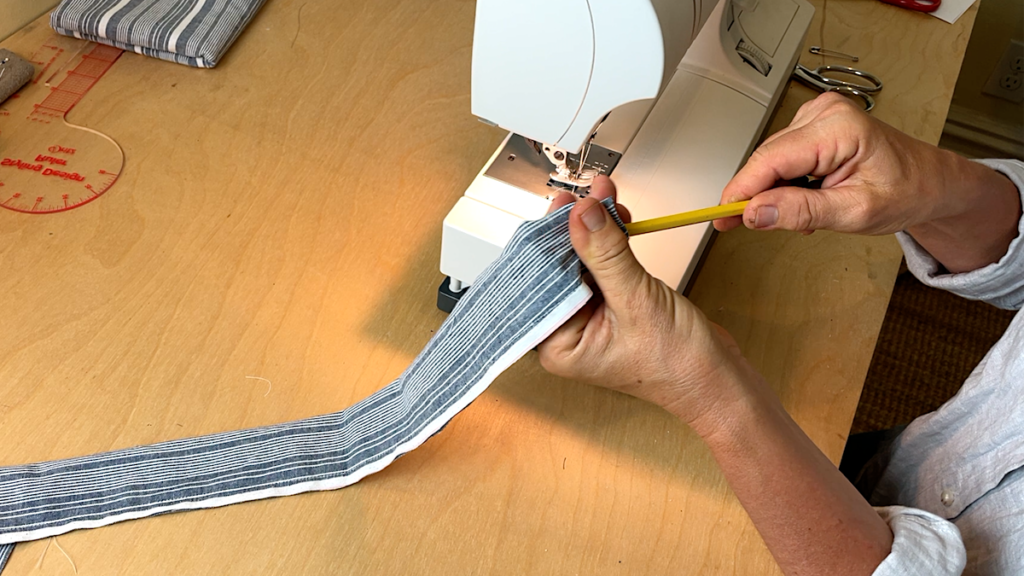
Then, I use a pencil with an eraser tip to turn the strap inside out.
Next, I press the strap with a hot iron, making sure that the seams are right on the edge. Fold in the open short side of the strap. If you like you can pin it in place.
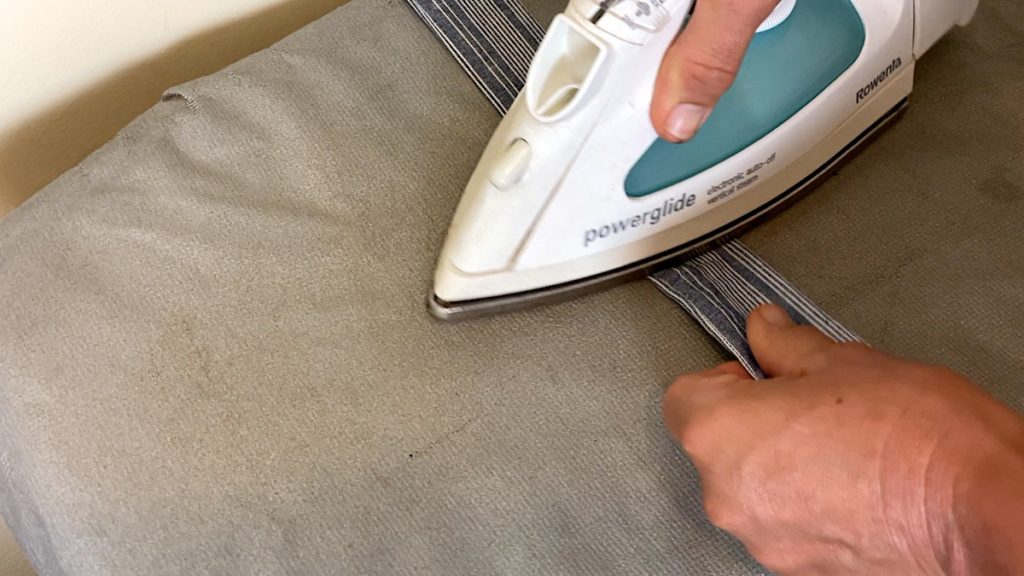
To make the seams on the straps lie flat, I like to add a top stitch. Repeat this process with the second strap.
Sewing the main piece of the half apron:
To make the body of the half apron, I cut a rectangle of 18″ x 27″. You can also take some measurements on your own body and adjust the size of the apron to your liking.
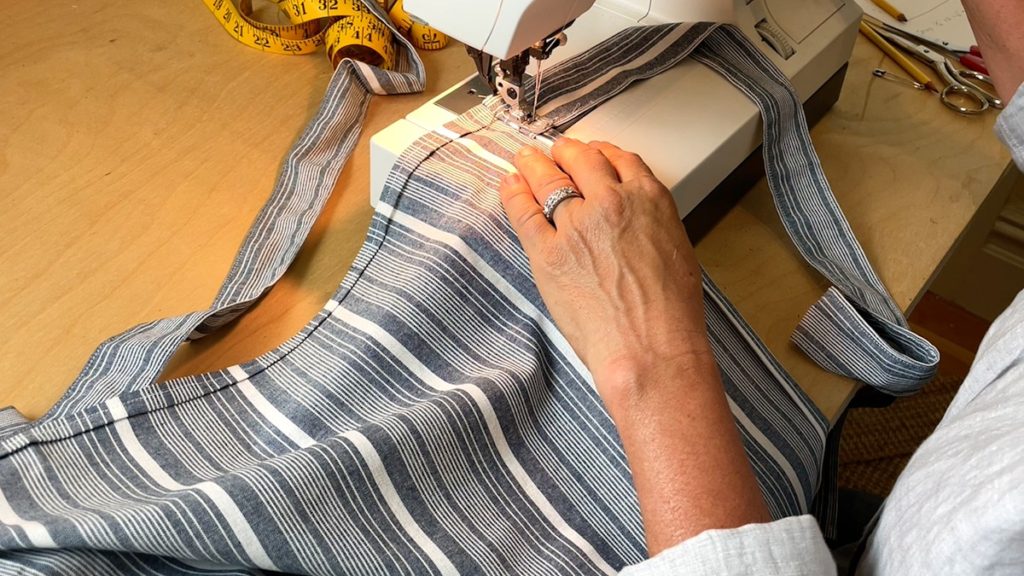
Then, I folded the edges ½” and again ½” to get my hemline. You can press them or pin them in place.
Attaching the straps to the half apron:
I tucked the straps under the hemline facing toward the middle of the half apron and then folded them back facing out and pinned them in place.
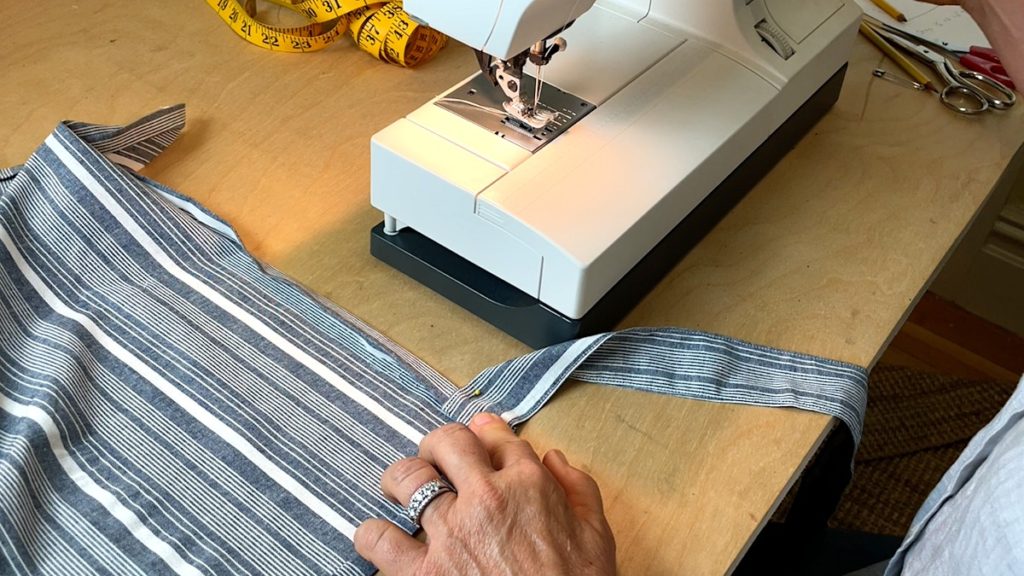
Then I sewed the hemline with the straps pinned in place.
Making the pocket:
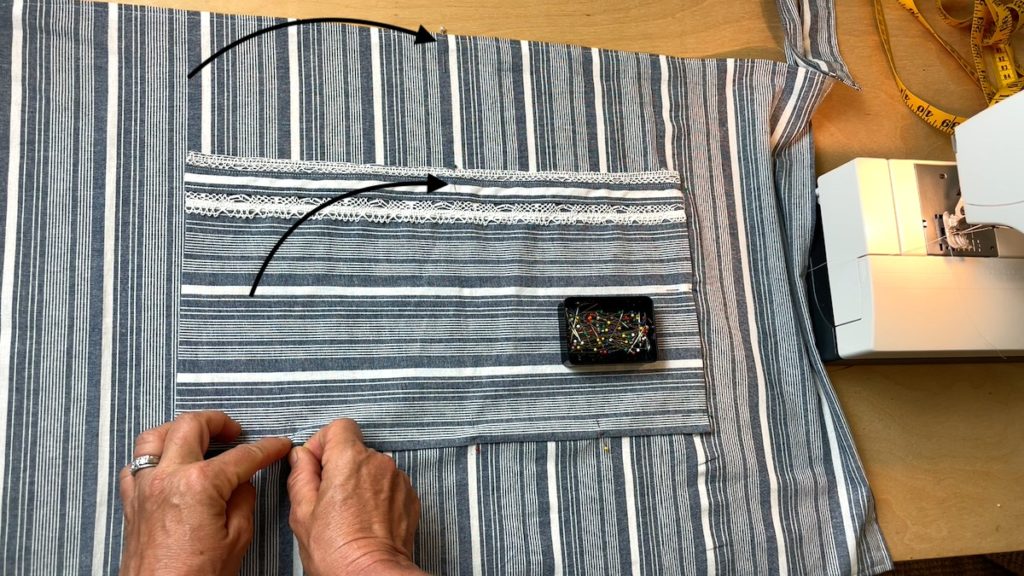
I cut a piece of fabric 16″ x 8″ for the pocket. If you’re using a striped fabric, it could be nice to have the stripes of the pocket perpendicular to the strips of the main piece. I hemmed all four sides.
Then I put my lace and another long piece of fabric (both optional) on the top of the pocket and sewed them in place.
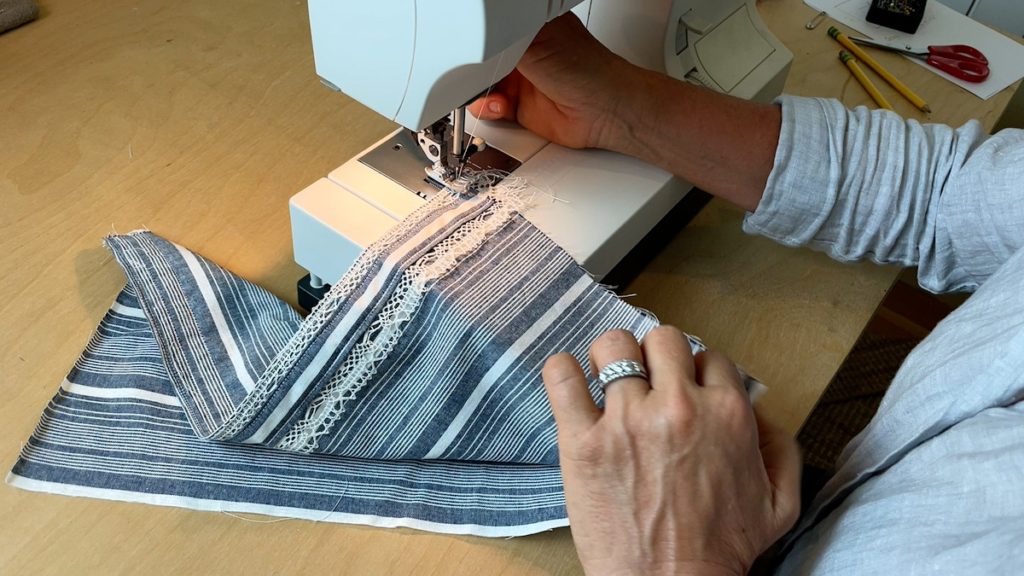
Sewing the pocket onto the half apron:
With a pin, I marked the exact middle of the half apron. With another pin, I marked the exact middle of the pocket. Then I lined the two up and pinned the pocket in place.
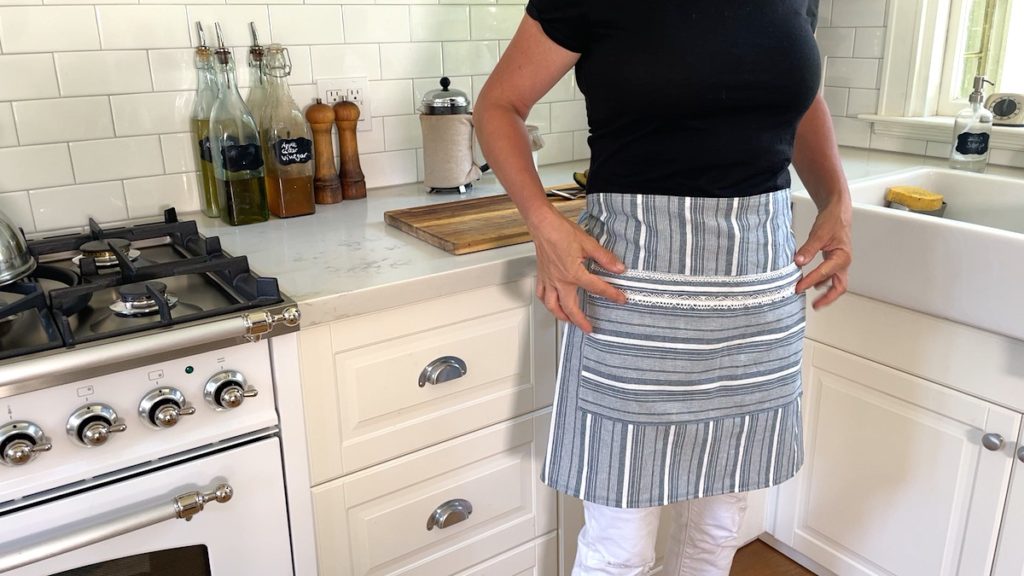
At this point, it might be a good idea to try the half apron on to see if you like the placement of the pocket. You can then make adjustments as necessary.
Once you are happy with the placement, you can sew the three sides of the pocket (leaving the top open) to your half apron. I like to do a few back-and-forth stitches at both top sides of the pocket to make sure it doesn’t come loose.
And this is how easy it is to sew your own half apron. Feel free to make it wider or narrower, longer or shorter, all depending on your personal preferences. I made this apron in a few hours one evening. With a quick, simple project like this, you can make extra aprons for your family and friends!
Shop this post:
Striped fabric: https://amzn.to/3uCxAiN
Sewing machine: https://amzn.to/3uwuHzX
Sewing ruler: https://amzn.to/3eB7E1u
Sewing pins: https://amzn.to/3hg1pSk
Sewing tape measure: https://amzn.to/3uBCs7V
Sewing scissors: https://amzn.to/3tBQhSv
This post contains affiliate links, which means I make a small commission at no extra cost to you.
My other apron tutorials:
You might also like my original linen cross-over apron tutorial and my cross-over apron FAQs.
You can get the fully downloadable and printable pattern here.
Let me know if you have questions about this half apron sewing tutorial!
Pin For Later:
This is so cute! Learning to sew is on my homesteading to do list but it’s so intimidating! Cute projects like this make me want to learn even more
My daughter just asked me to make her a new apron, This will be perfect! Thank you!
Yay! That sounds great! Happy sewing ~ Anja
Super cute… Love how you had the stripes going two different directions!
Thank you so much for noticing, it sure makes the pocket stand out ~ Anja
This is beautiful! I don’t have much experience sewing, but it looks really easy to make with your tutorial! thank you!
Yes, this is a great project for beginners ~ Anja
Thanks for the tutorial! You picked a beautiful fabric to use. For those that don’t have sewing machines, I know my local library has a few available to reserve. Hopefully other libraries do too?
Oh, that’s so good to know! I’ll definitely let people know in my future videos and blog posts. Thank you so much ~ Anja
This is so cute!!
Thank you so much ~ Anja