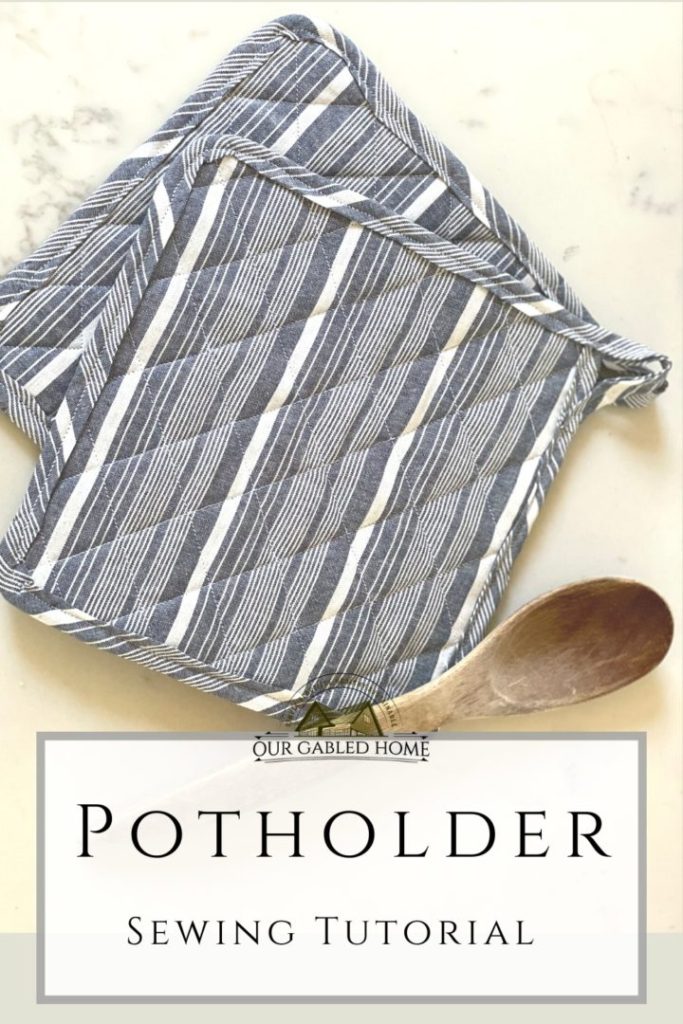
How to Sew Potholders
In this tutorial, I am showing you how you can easily sew these beautiful and practical potholders. This quick project is beginner-friendly.
I use potholders all the time. So when I had some fabric leftover from my half-apron, I thought it would be perfect to sew a pair of potholders.
We bake and cook mostly with cast iron, so I always need some good potholders. In another tutorial, I showed you how to crochet potholders. If you’re like me you can never have too many potholders. Speaking of too many or too much, after sewing my half-apron, I had too much fabric. Since I don’t like to just throw it out, I decided to make a pair of potholders.
This post contains affiliate links, which means I make a small commission at no extra cost to you.
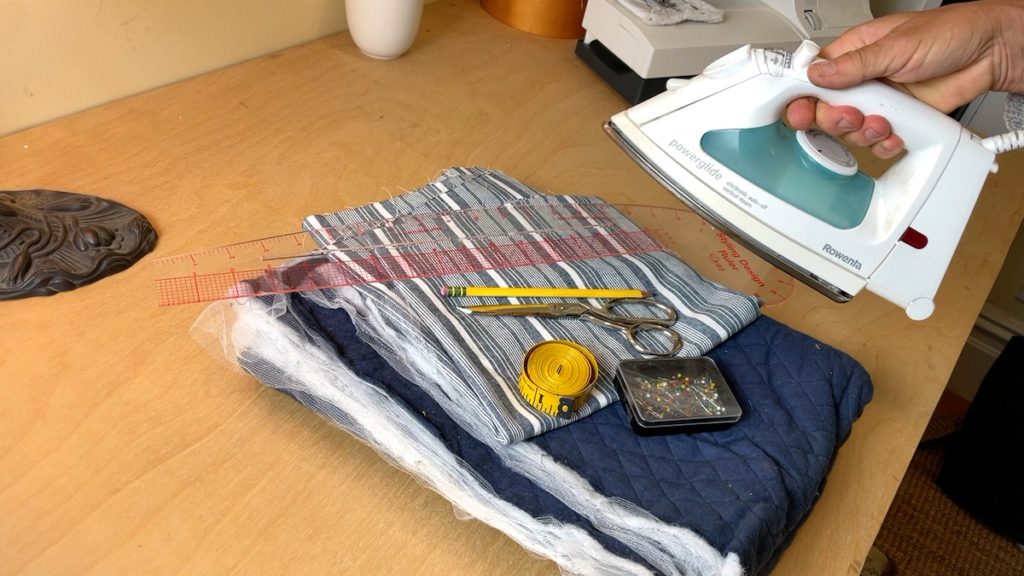
What supplies you need to sew potholders
Obviously, you will need fabric. I had some leftover striped linen-cotton fabric similar to this one. But you can use any cotton or linen fabric you like. Polyester fabrics don’t hold up well to the heat. Keep on reading for measurements!
For the inside of the potholders, I am using some quilted batting that I still had from another project. You can use any batting, though. If you’re buying batting, I recommend you get heat-reflective batting. Alternatively, you can use many layers of thick fabric, too.
I like using a hot iron but you could get away with not having one.
Then, you will need scissors, a measuring tape, pins, a pencil, a ruler, and, ideally, a sewing machine.
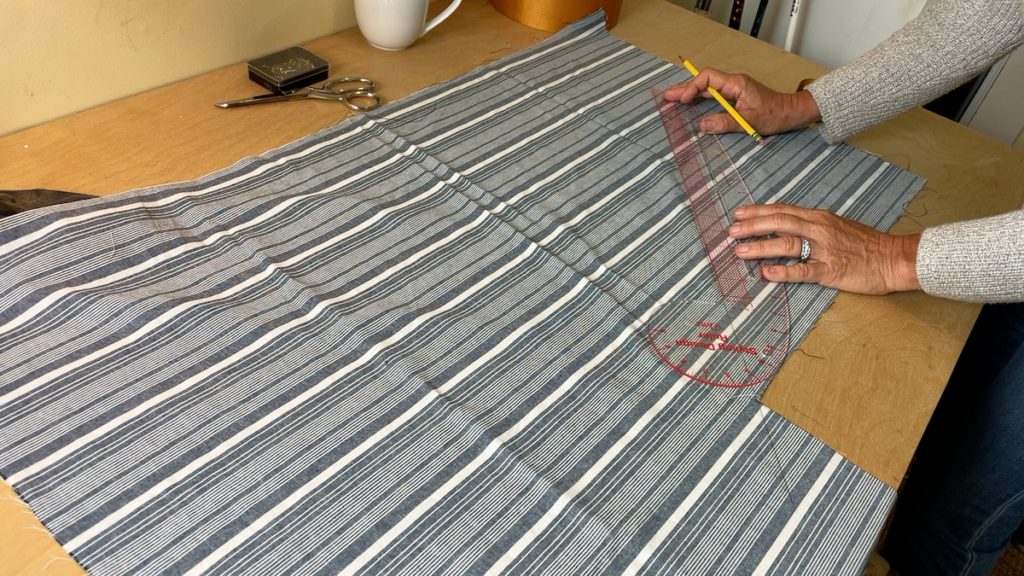
How to cut the binding
Since I am using a striped fabric, I like to cut the binding at a 45˚ angle for visual interest. If you don’t have enough fabric you can either use a different colored fabric or cut the binding any way you like.
My potholders are 8.5″ x 8.5″. So I know that I will need 4 x 8.5″ plus the loop for hanging the potholders. I went for 40″ but ended up not needing quite that much.
Because I had enough fabric, I cut a piece 4″ wide and 40″ long. That was enough for the binding for two potholders.
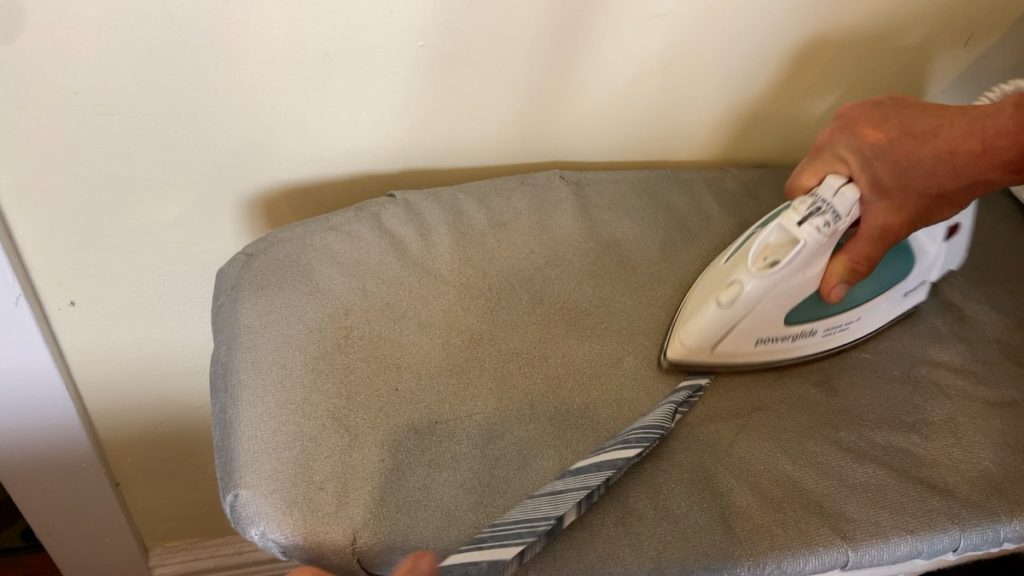
Next, I cut this long piece in the middle lengthwise. Now, I had two pieces 2″ x 40″ long. I folded those pieces lengthwise and ironed them.
Then I folded both sides in and pressed it again. Essentially, I ended up with a piece 40″ long and ½” wide. I repeated that with my second piece.
Cutting the fabric for the potholders and the batting
Laying the striped fabric flat, I cut 4 pieces 8.5″ by 8.5″. Then I cut the same sizes from the batting. Feel free to add extra layers for more insulation. Or only use multiple layers of fabric if you don’t have batting.
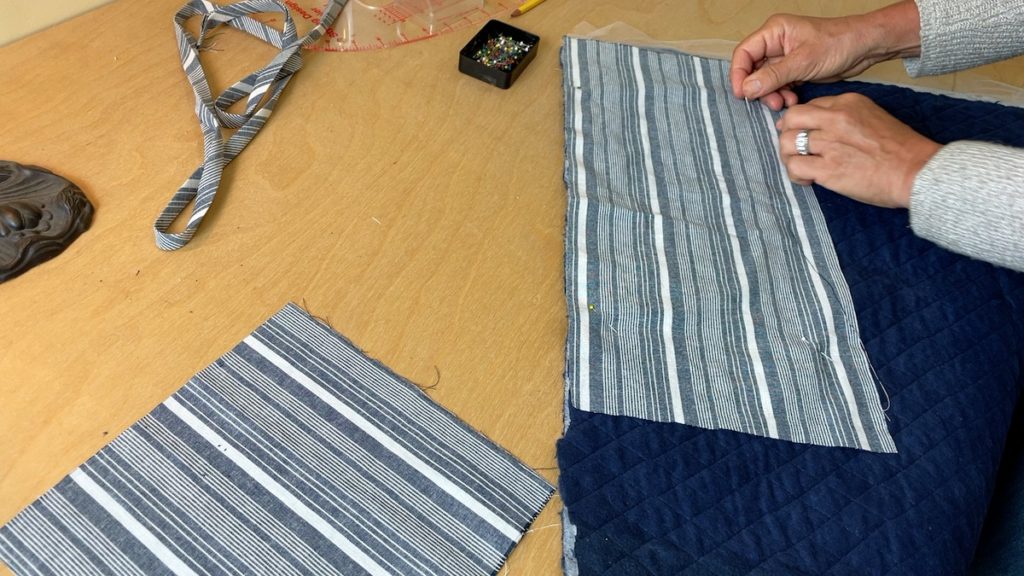
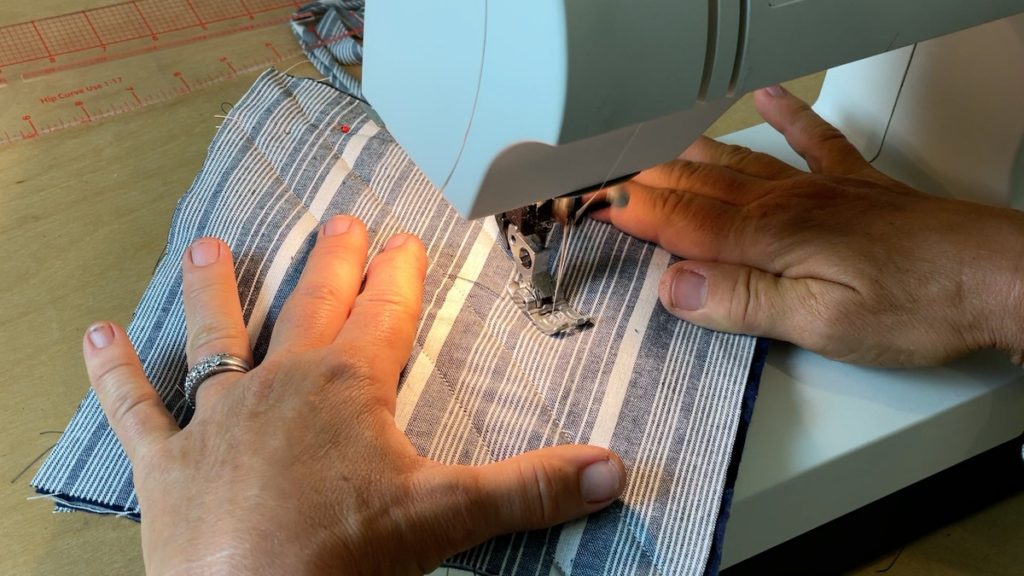
Quilting the potholders
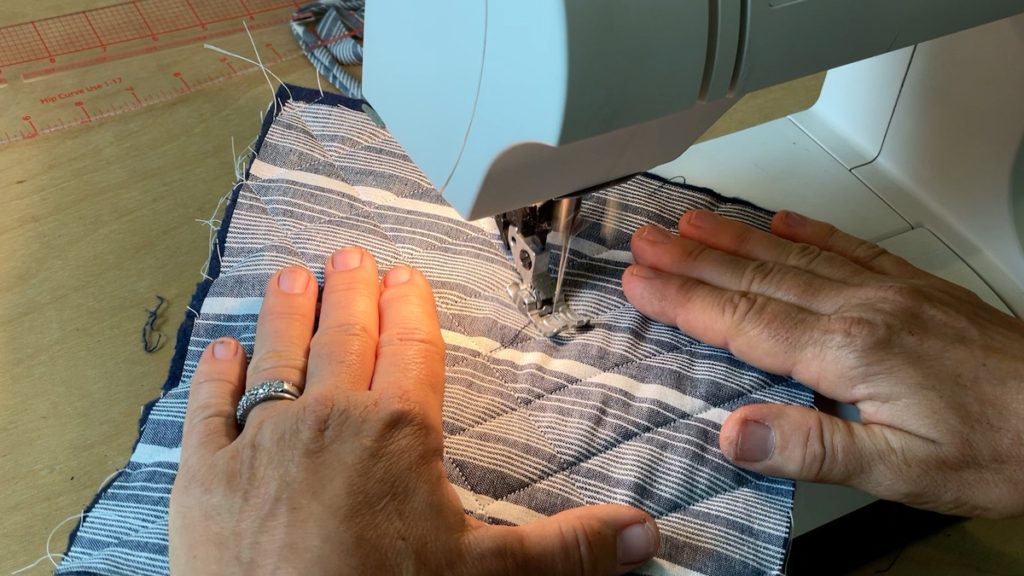
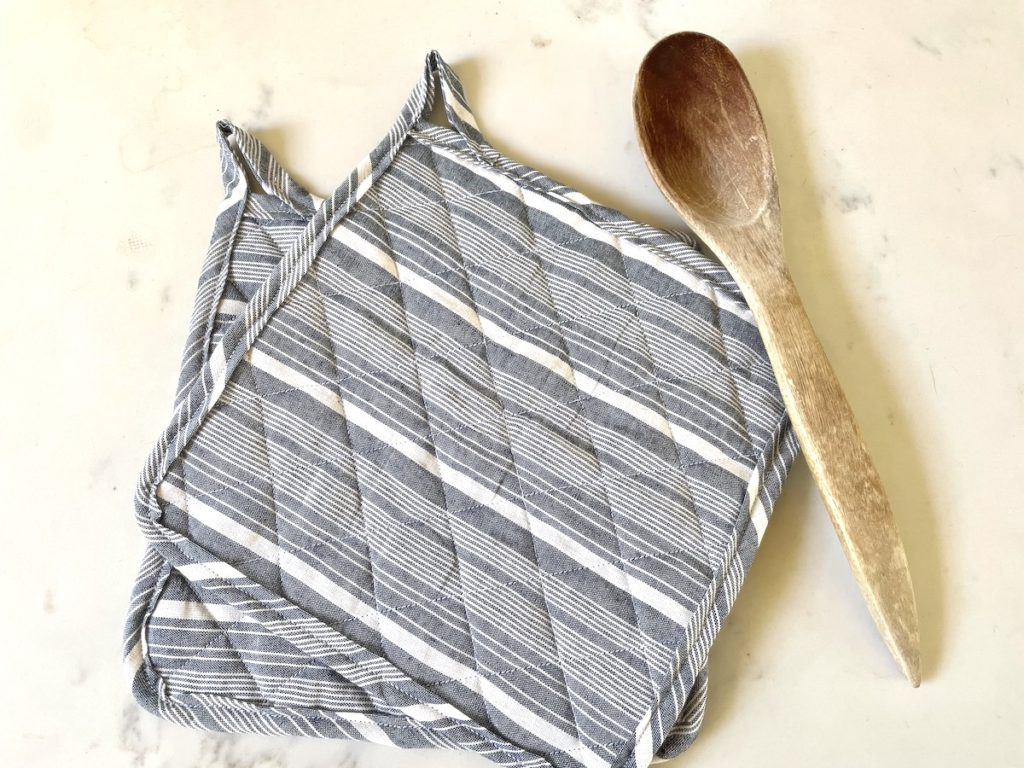
I like quilting my potholders. For that, I sewed the potholders diagonally from one corner to the opposite one. That is my middle seam. Then, I added another seam parallel 1″ off to the side, adding more until I got to the very outside of the potholder. You can also use your ruler and draw the lines with a pencil before sewing. That way, you will get very straight and evenly spaced lines.
At that point, I turned the potholder 90˚ and repeated this process until I had quilted the entire potholder.
Adding the binding
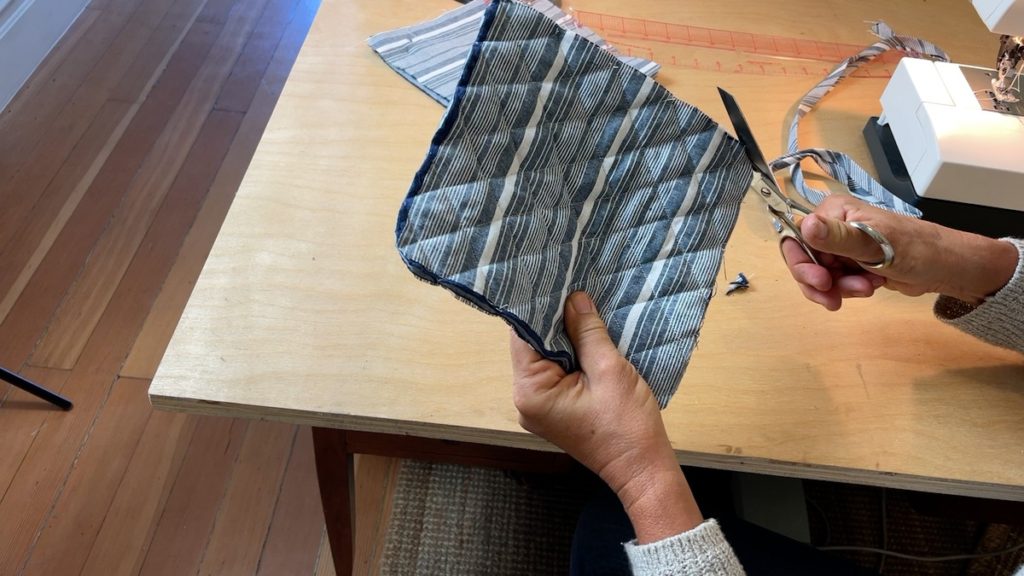
Before adding the binding, I cut off all the threads that were hanging out and cleaned up the edges. Then, I cut my corners so they were round. I find that it makes sewing the binding a bit easier.
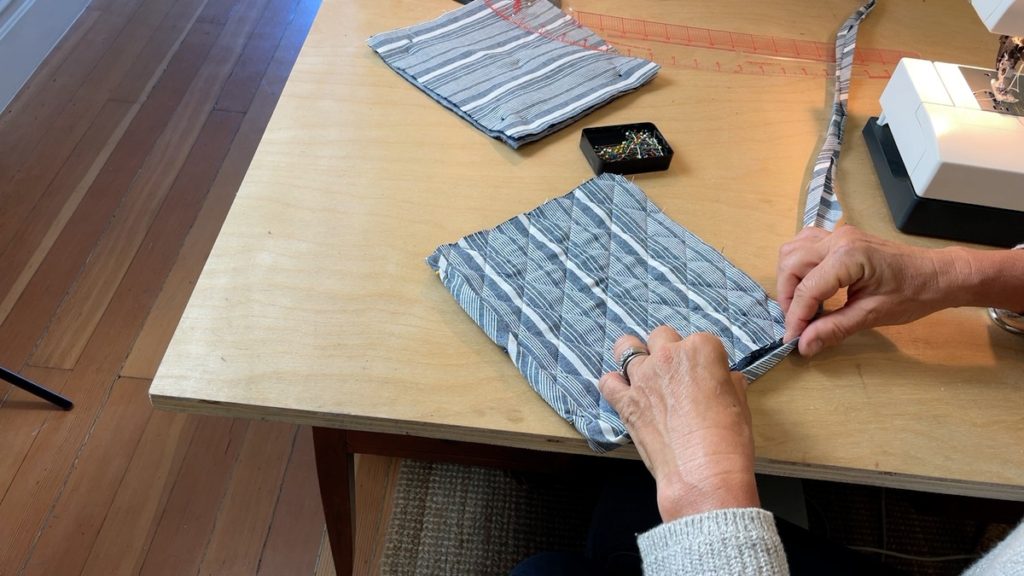
Starting at one corner, I pinned the binding in place. I didn’t pin the binding all the way to the first corner because I wanted to create that loop for hanging.
Finishing the potholders
With the binding pinned in place, I carefully sewed it in place. I always like to go slow in the corners while pulling the fabric straight.
To create the hanging loop, I cut the extra binding at 4.25″ and sewed it together, except for the last inch. I took it out of the sewing machine and folded the ends of the binding in and pinned it in place. You should have a loop now. I put the potholder back in the sewing machine and sewed the loop in place with a back and forth stitch.
I repeated all these steps for my second potholder.

Shop this post
Striped fabric: https://amzn.to/3uCxAiN
Heat-reflective batting: https://amzn.to/3vcDWpl
Sewing machine: https://amzn.to/3uwuHzX
Sewing ruler: https://amzn.to/3eB7E1u
Sewing pins: https://amzn.to/3hg1pSk
Sewing tape measure: https://amzn.to/3uBCs7V
Sewing scissors: https://amzn.to/3tBQhSv
Other sewing tutorials you might like:
How to sew a linen fabric basket
How to sew a linen top without pattern
Linen cross-over apron sewing tutorial
How to sew reusable cloth bags
Let me know all your comments and questions below!
Pin For Later:
Thanks again for your easy tutorial Anja. I make up gift baskets for holidays. This is an easy inexpensive add on. I have plenty fabrics and wool batting!
Nice! I am so glad to hear that. Happy sewing ~ Anja
Thank you for this tutorial I have been wanting some cute pot holders so this will work nicely!
Great! They are pretty simple to make. Happy sewing ~ Anja
These turned out wonderful, I love your linen fabric!
Thank you so much – I am glad you like them ~ Anja
I just got my sewing machine!!!! Can’t wait to start making this beautiful project! Thank you for this tutorial!
Yay! Happy sewing ~ Anja