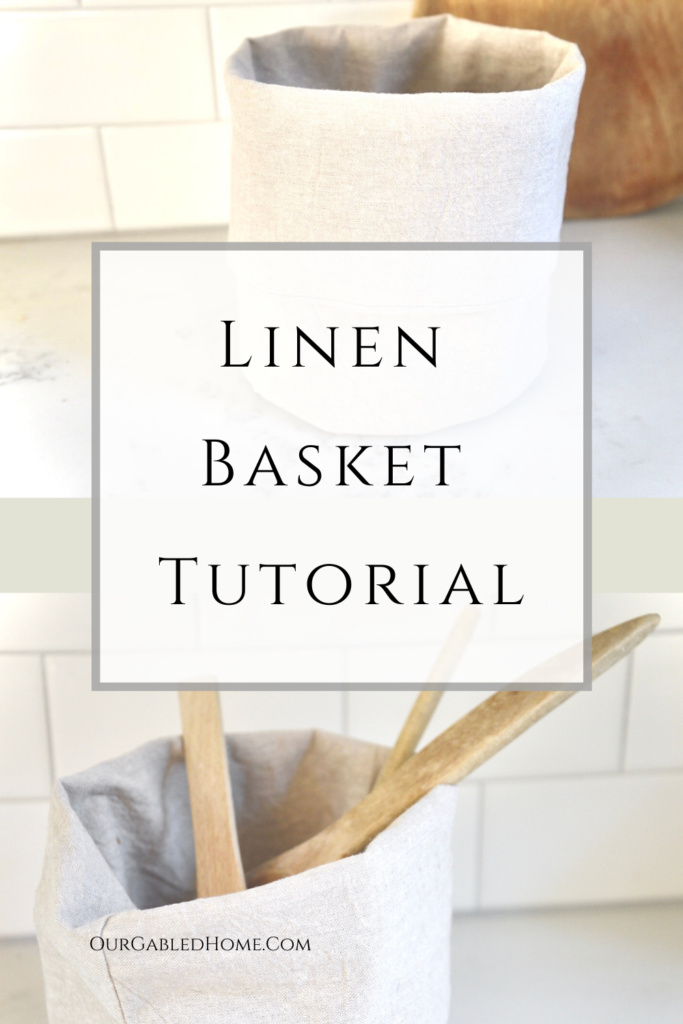
How to Sew a Linen Fabric Basket
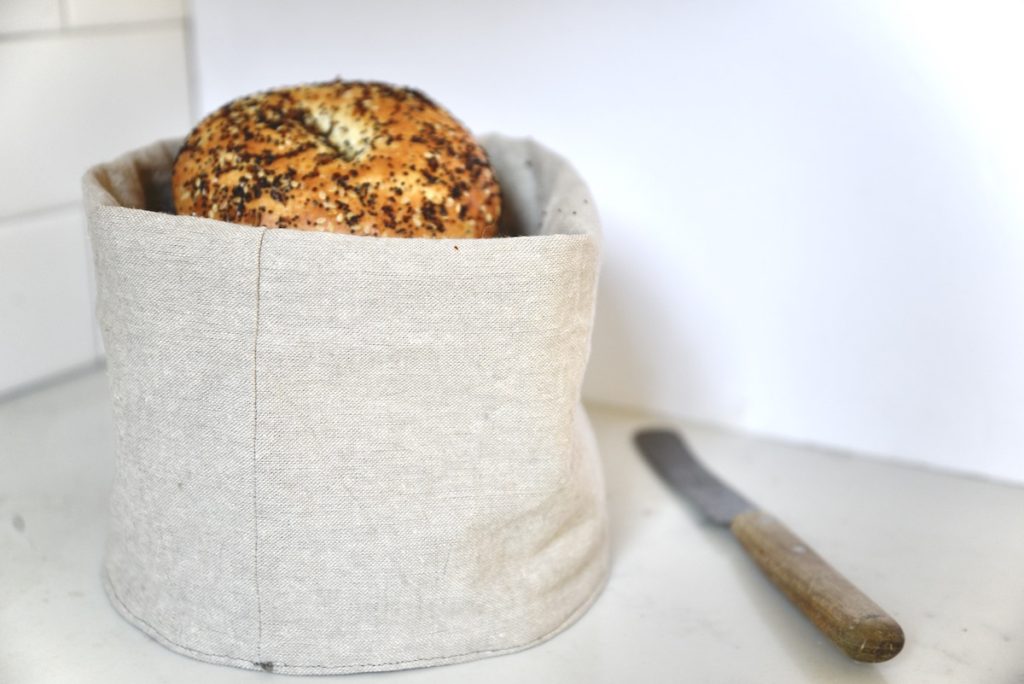
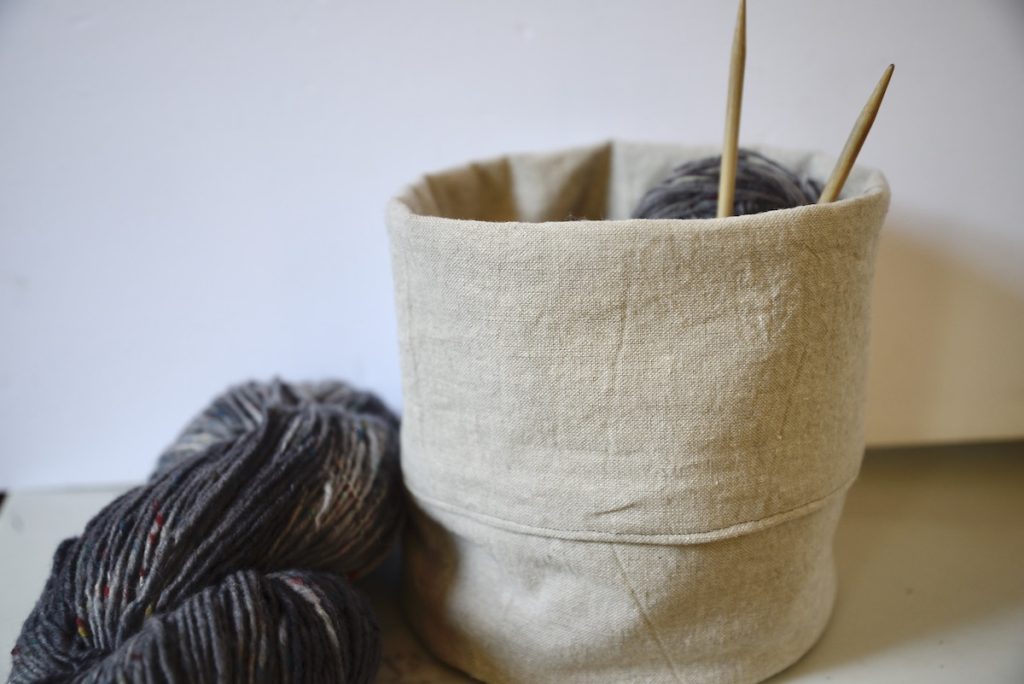
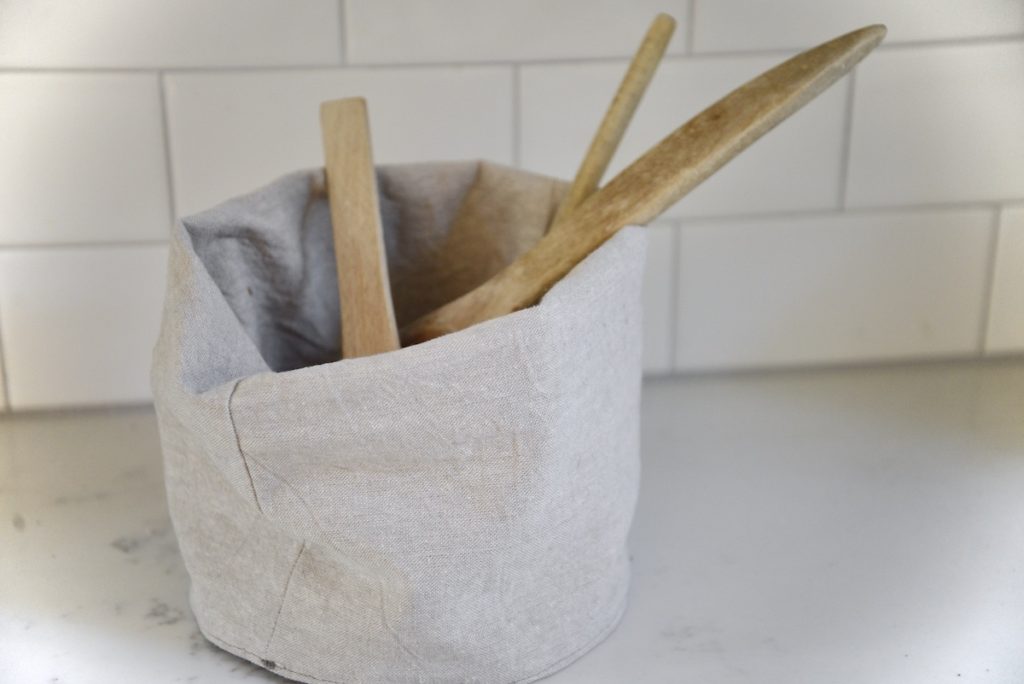
This linen fabric basket is perfect for serving and storing bread, your favorite craft project, or your hairbrushes in the bathroom.
If you’ve been following me for a while, you might know that I love linen. Actually, I have an obsession with linen.
Therefore, I am always looking for projects in which I can use this awesome fabric. Have you seen my linen apron, linen summer top, or my linen beeswax wraps?
Well, here’s another little project: linen fabric baskets! They are not complicated to make for intermediate sewers. And you can finish them in one afternoon!
This post contains affiliate links, which means I make a small commission at no extra cost to you.
What you need for your linen fabric baskets:
Obviously, you will need linen fabric. I love and am using this particular linen blend that is actually a tablecloth from Ikea. But you can use any linen you like – or even other fabrics! Stiffer, heavier weights are better but I’ll talk about that in a moment.
I kept my linen basket in one color but this would be fun in two-tone or two different fabrics.
Next, you might need some iron-on interfacing. If you’re using a lightweight fabric such as cotton, you should use heavy-weight interfacing. Also, if you’re making a very small basket, it might stand up on its own but as you’re making them bigger, you’ll definitely want the interfacing. For thicker fabrics, you can use lightweight interfacing. If you’re using a super heavy-weight fabric you might not need it.
Of course, you’ll need regular sewing supplies such as good scissors, a measuring tape, a long ruler, thread, pins, and ideally a sewing machine, even though you could theoretically sew this by hand.
How to make the linen basket:
Cutting the linen fabric:
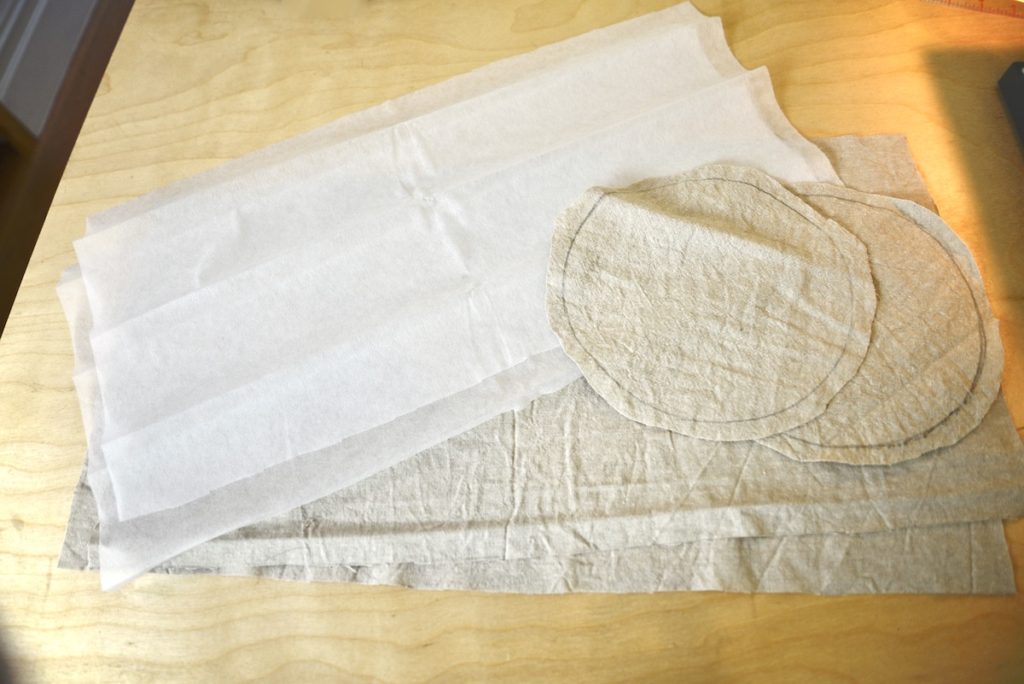
This is how I like to start making this linen basket. I try to find a plate, bowl, or any other evenly round object that is a good size for the bottom of this round basket.
Now, using a pencil, trace the outline of this round object onto your fabric 2 times and cut it out WITH about ½ inch seam allowance.
Next, we’ll have to use some math. Don’t worry, I am not a math wizard at all. If I can figure this out, you can, too!!
We need to calculate how wide our side panels will have to be. For that, measure the diameter of your round bottom and multiply that by 3.14 (the pie number).
In my case that was 18 cm (7 inches) x 3.14 = 56.5 cm (22.2 inches). The last number is your length. To determine the height, find out how high you want your basket to be and add some if you’re like to fold it over. In my case, I went with 25 cm (9.8 inches).
So the 2 pieces that I cut were 27 cm (10.6 inches) x 58.5 cm (23 inches).
When cutting, though, always make sure to add about ½ inch seam allowance on all four sides!!
Next, cut 2 rectangular and 2 round pieces the same size as your fabric from the interfacing (confession: I didn’t have enough for the round pieces, so I didn’t do that). Iron on the interfacing according to the instructions.
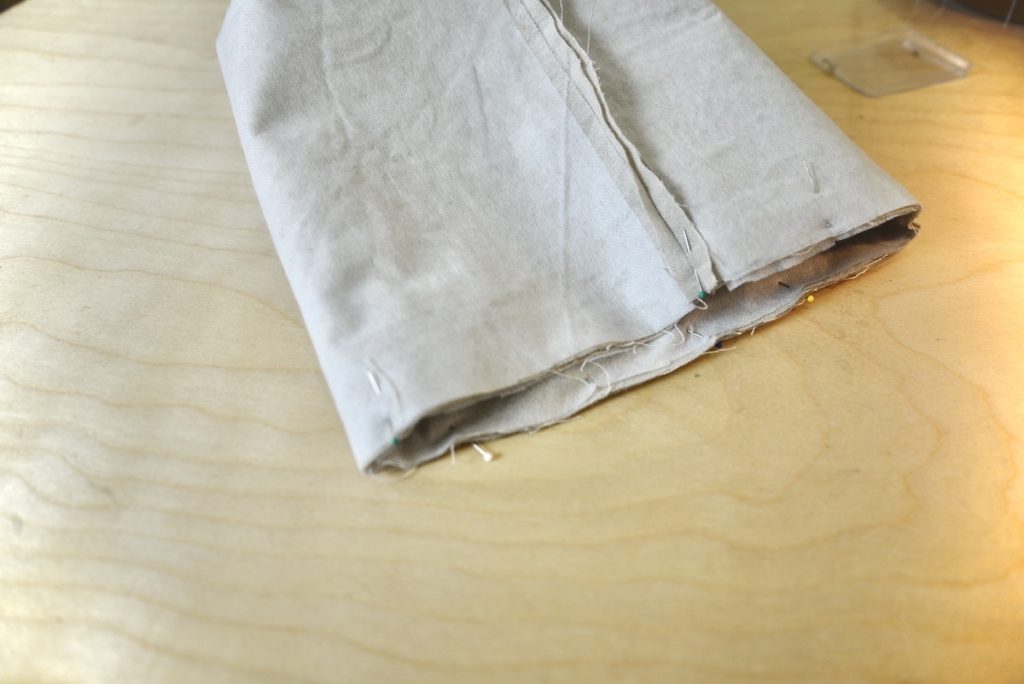
Sewing the side pieces of the linen basket:
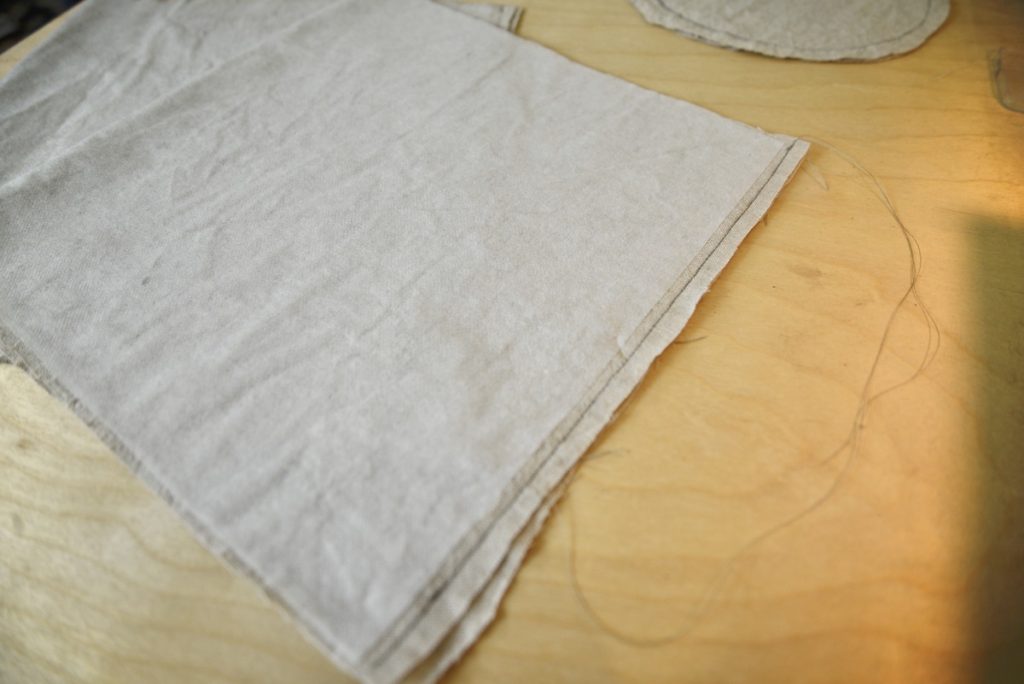
Once you have ironed on the interfacing, fold the rectangular pieces exactly in half with the wrong side facing out. Mark your seam exactly where it should be and pin it in place. Sew the seams of the rectangular pieces.
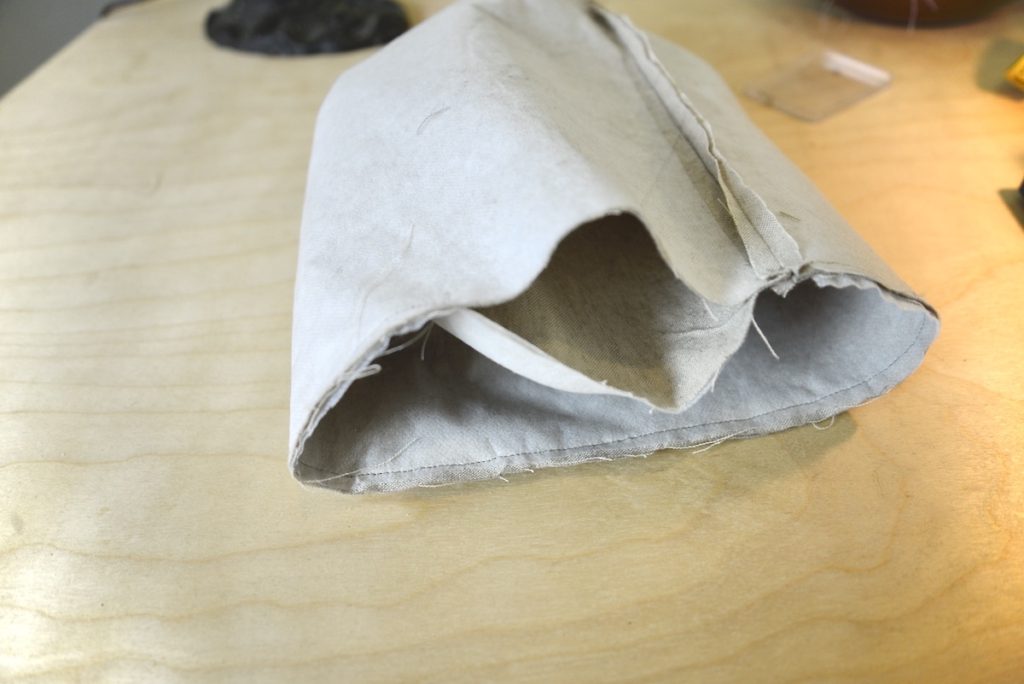
Connecting the bottoms to the sides:
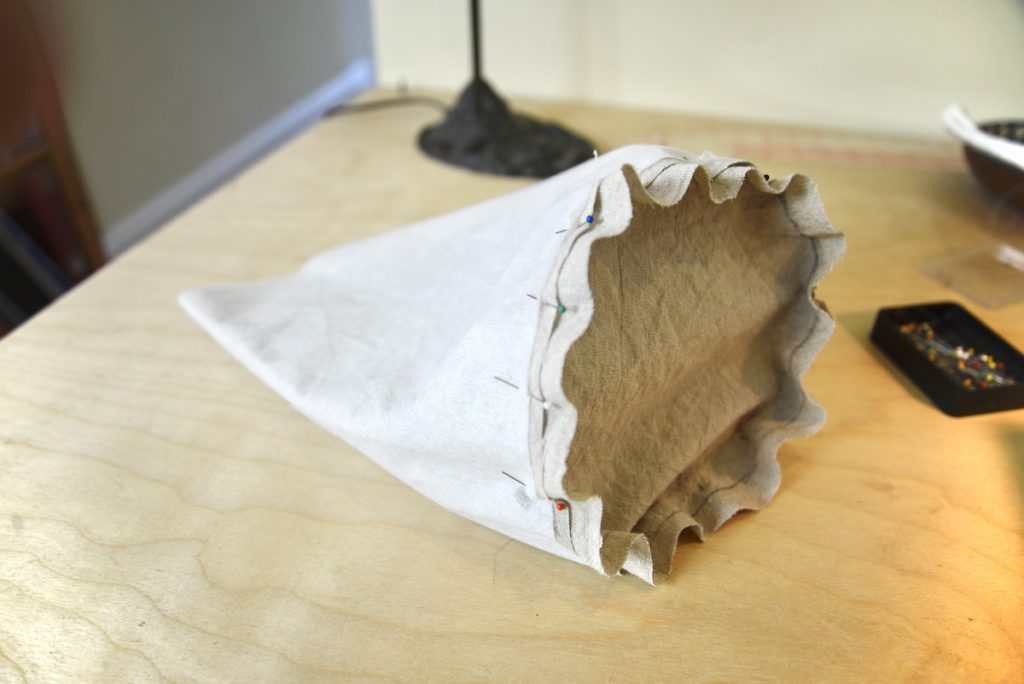
This is the only tricky part of this project: attaching the round pieces to the straight pieces. With the wrong sides facing out, begin pinning the round piece of fabric to the opening of your sewn rectangular pieces (that look a bit like tunnels).
Then, carefully sew them into place. As you are sewing the bottom to the side, periodically pull the fabrics straight (this might make more sense once you actually do this). Repeat with the second set.
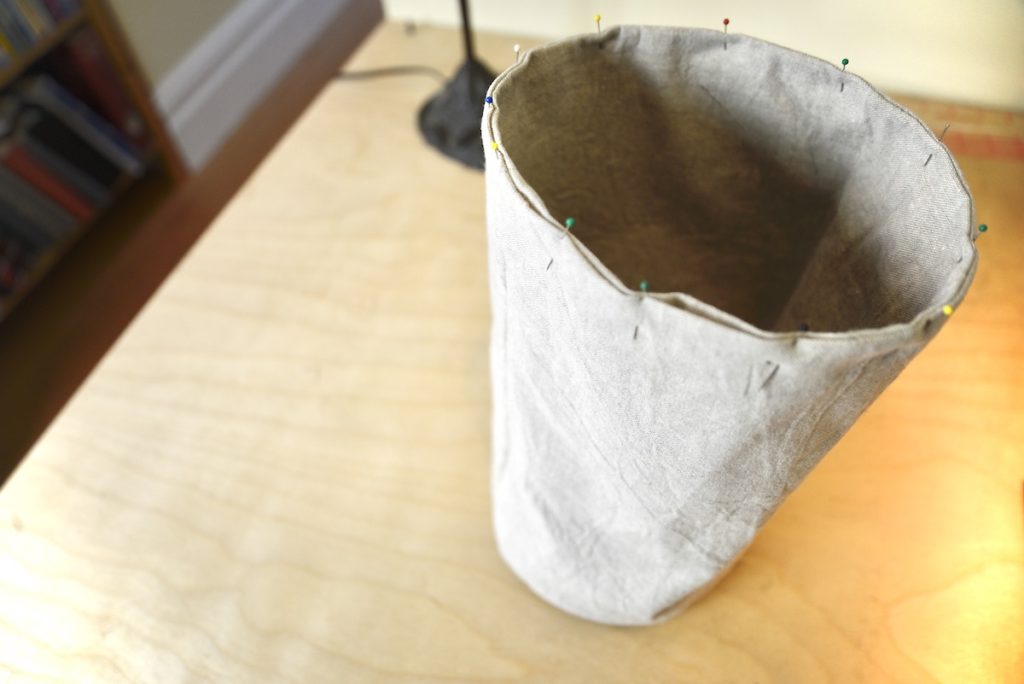
Assembling the linen basket:
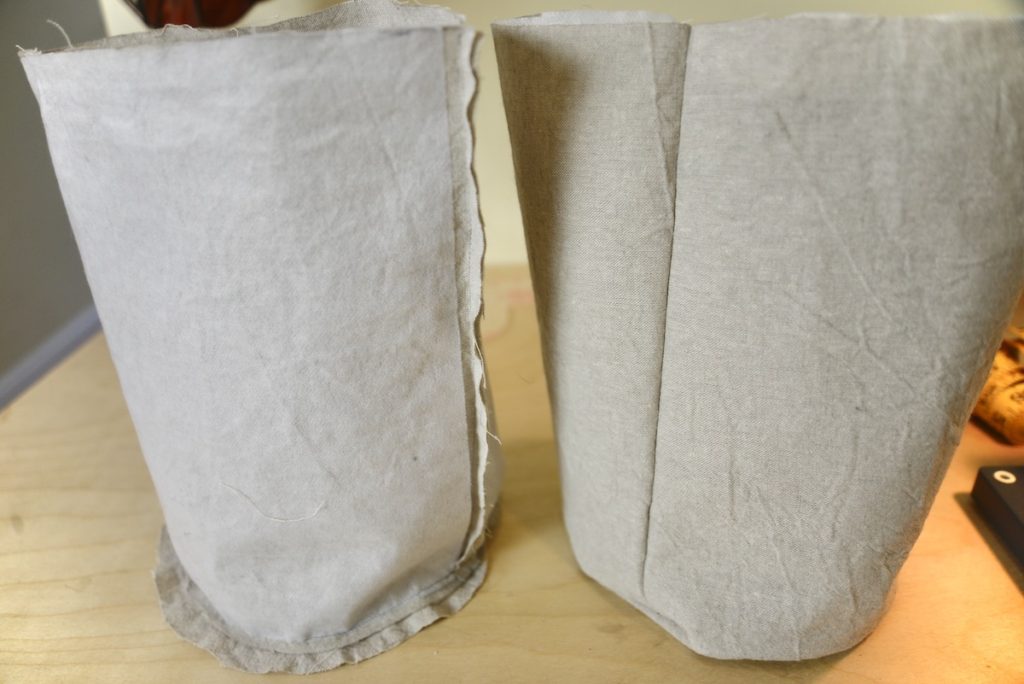
Turn one of your sewn pieces right side out and place it into the other piece. Make sure to align the seams – it just looks neater that way.
Pin the tops of the sides together but leave a generous opening.
Sew the pieces together, making sure to not sew the opening shut.
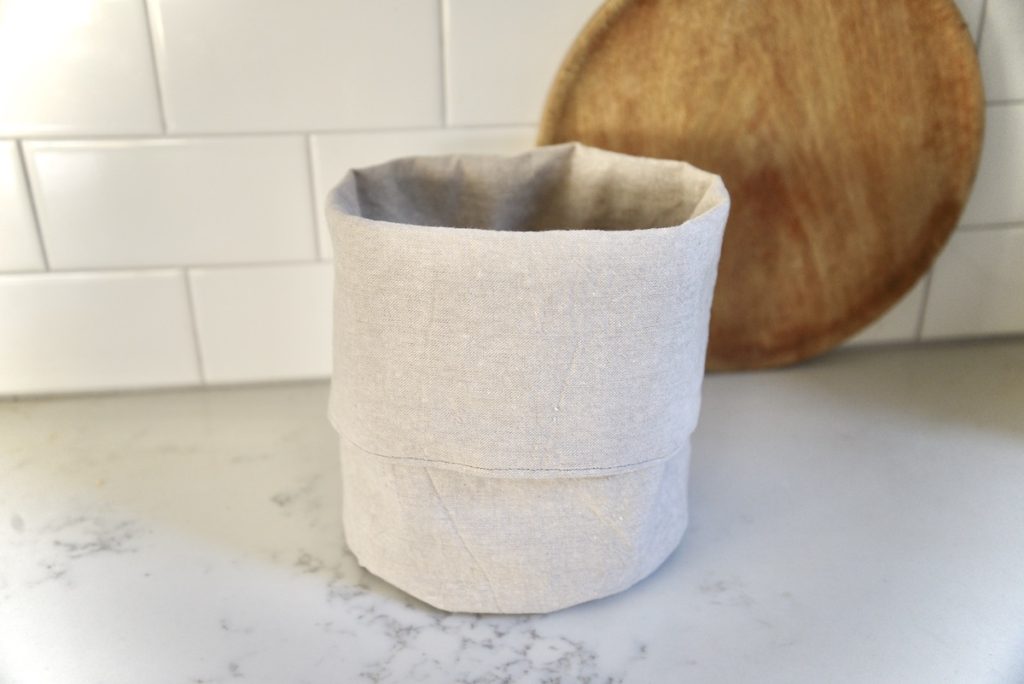
Finishing the linen basket:
Now gently pull the insides of the sewn basket out. Stuff one basket into the other. Neaten the top seam and fold in the parts that you haven’t sewn yet. Pin everything in place and sew a finishing seam. And that’s it!
Uses for your linen fabric basket:
Shop this post:
Ikea linen-blend table cloth: https://www.ikea.com/us/en/p/vardagen-tablecloth-beige-20287831/
Heavyweight interfacing: https://amzn.to/37Fux0B
Lightweight interfacing: https://amzn.to/3mkQaHq
Please let me know if you have comments or questions!
Pin For Later:
My wife was looking over my shoulder as I was reading this and saw the word linen…guess what’s about to be made in our house, haha
Ha, that’s great! Happy sewing ~ Anja
These are beautiful and functional! Thank you for sharing a great tutorial.
Aww … thank you! And I agree about them being both functional and pretty 🙂
These are gorgeous!! They’d make a great holiday gift this season!
Yes! They would make both a nice gift and a wrapping for gifts 💛
These baskets are lovely! And you make it so simple with your easy to follow instructions!
Thank you, Tallia! I am so glad you like these baskets and this tutorial!
Love it! Linen is awesome, and the tutorial you made is wonderful! Great job!
Thank you! It really makes my day that you enjoyed this tutorial!
This is such a great idea! Linen is so classic and timeless!
Thank you, fellow linen-lover 💛
These are so cute! Do you think I could do the same thing with burlap? I have some burlap I haven’t done anything with. It isn’t a heavy texture, so it might work….
I think burlap could work really well. Just make sure the basket can stand up (or fortify it with interfacing). I’d love to hear how they turn out!
Beautiful linen basket. I’m going to have to buy some linen that you reccomended and try making one. Great pattern, I love baskets.
Yay! I’d love to hear how they turn out!
I love this. What a great tutorial! And love the simplicity of them too!
Thank you, Dusty 💛