How to make a Simple Pressed Flower Card
You’ll love this easy project to make a pressed flower Valentine’s Card for a loved one. It’s also great for kids!
What could be better for this special holiday than making a pressed flower card?
With Valentines Day right around the corner, you might be looking for a simple craft project.
Of course, you can press flowers for any other special occasion: birthdays, Mother’s Day, greeting cards, or any time you need some pressed flowers!
Handmade cards are always in season!
This post contains affiliate links, which means I make a small commission at no extra cost to you. You can read my full disclosure.
Why you will like this simple project
Flowers are always nice. But sometimes, you can’t send someone fresh flowers. That is where real pressed flowers come in.
Gardeners might pick them from their own flower garden. Nature lovers might find some on their walks (always be sure to pick them sustainably!). Or you could buy some at your favorite florist.
This easy project is perfect not only for making cute note cards. You can even involve your children since it is pretty uncomplicated.
What you need to make your pressed flower cards
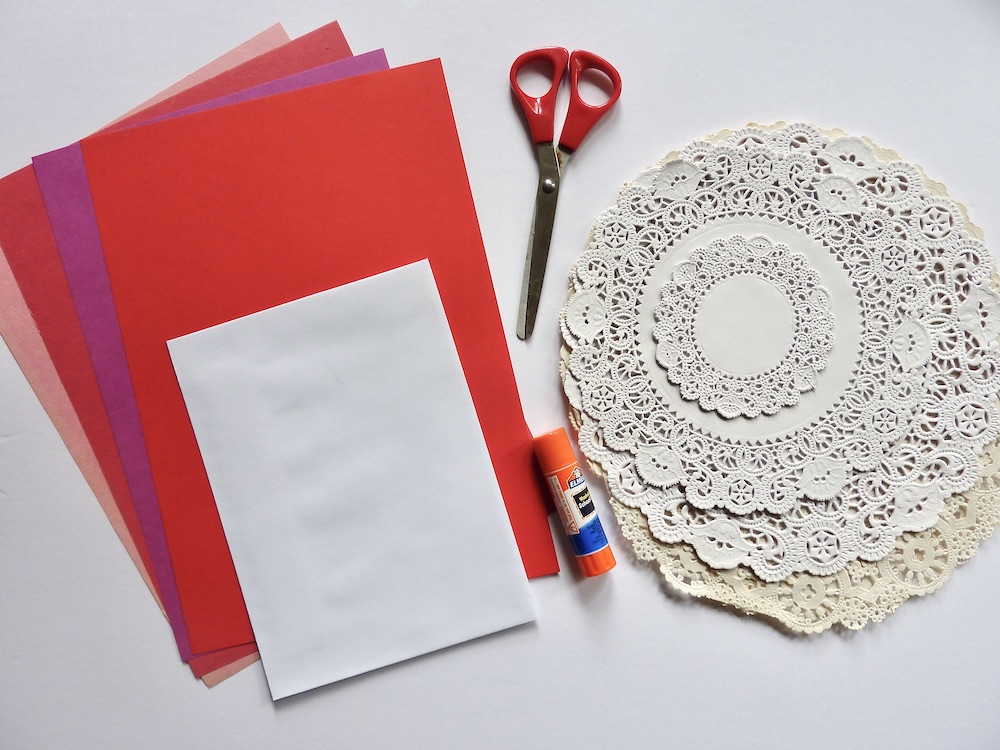
For this simple pressed flower card, you will need
- Flowers: ideally some that press well such as daisies, violets, single-petal roses, or any flower you like
- Card stock, craft paper, or even blank greeting cards: you can choose it in your favorite color (such as this)
- Paper doilies: they make this project a little whimsical (such as these or these )
- Envelope: the envelope will protect your delicate dried flowers but also make it easy to mail this to your recipient
- Tissue paper: this will help soak up any excess moisture from the petals as well as protect your old book (if you’re using that)
- Glue stick: it’s nice not to see the glue and I recommend using disappearing glue (such as this one)
- Scissors: I am sure you have a pair but just wanted to mention it anyway
- Flower press or Large book (and possibly) hot iron
How to press the flowers
First, you pick the nicest flowers that you’d like to press. You might have something flowering in your garden this time of year. I think it would be a very nice touch if the flowers came from your own garden. Of course, you can also buy some flowers. The fresher they look and are, the better they will press. Here are the different ways how you can press your flowers:
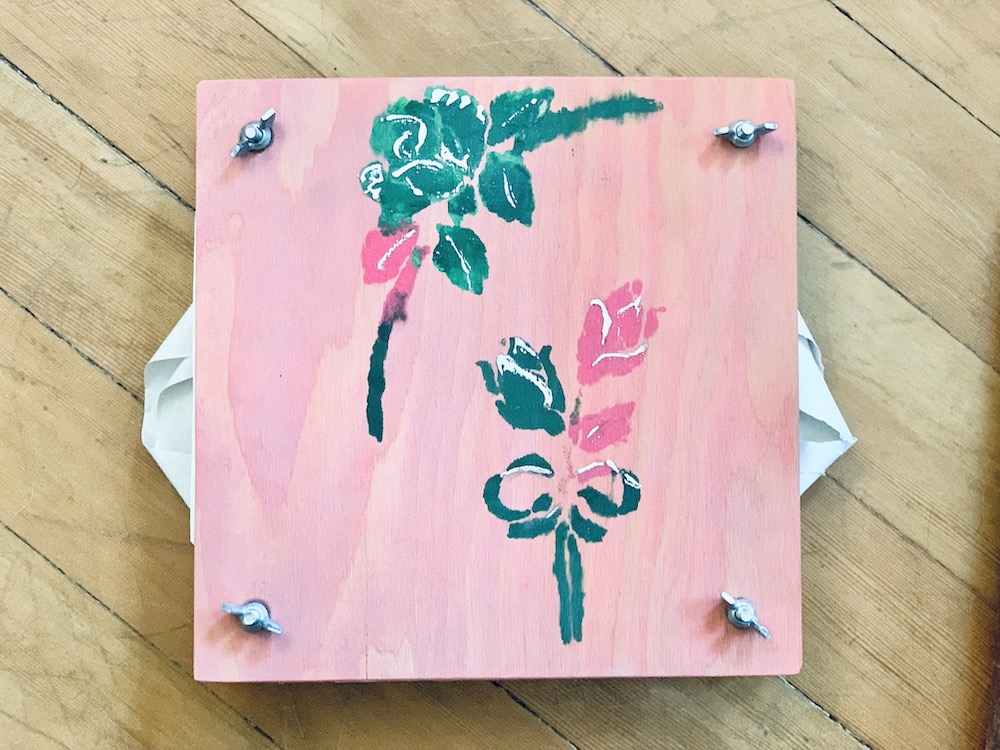
Using a flower press
If using a simple flower press, place the flowers or individual petals between two pieces of white absorbent paper or tissue paper. I recommend keeping some space between them if you’re drying a few. Lay them inside the flower press and screw the top down.
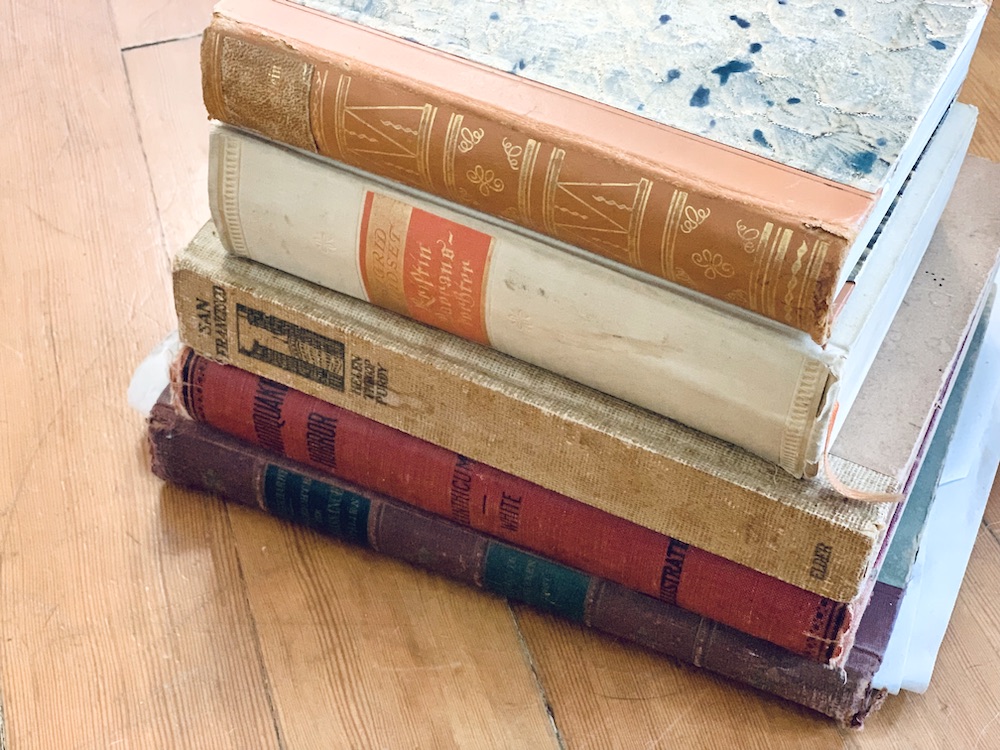
Using books
If you’ll be using books, make sure you don’t use a book with a lot of value, whether material, or sentimental. Pressing flowers can leave stains on your pages. In any event, you place the flowers between two pieces of white absorbent paper and place them inside your book. To weigh everything down, either place another heavy book on top or find another very heavy object.
How long does the drying process take?
Let your flower press or books sit in a dry spot and away from direct sunlight. With either method, the drying time can take up to 4 weeks for the flowers to be all pressed and dry.
Using a hot iron
If you are short on time or if your petals haven’t completely dried with one of the previous methods or you have some larger flowers, you can use your hot iron, too.
For that reason, I have sometimes “finished” my flowers with a hot iron. You’ll still keep your flowers between the sheets of tissue or parchment paper. Set the temperature to low-medium (wool/silk setting) and press for 10-15 seconds. Let them cool down and repeat until your flowers are dry and very flat.
Just make sure your hot iron is NOT set to steam. Steam adds moisture and we’re trying to get the moisture out of those flowers.
How to make the card
I like to start with my envelope and make sure that my card stock or craft paper card fits nicely inside the envelope. If not already done, fold your paper in half. You may then have to trim your card with scissors or a paper cutter. Obviously, you can skip this step if you’re using blank greeting cards.
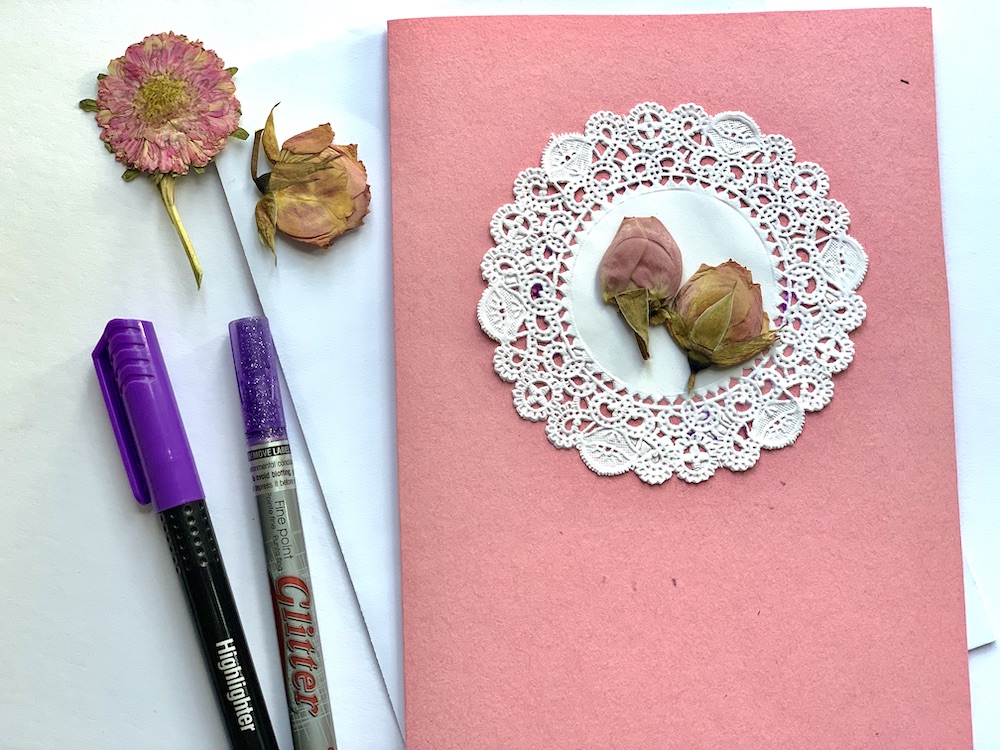
Now, that you know the size of your card, pick a doily. If they’re too big, you can always cut out shapes from them to make them fit the front of the card.
It’s always more pleasing to the eye to not have your doily perfectly centered. You can move it around until you are satisfied. Then you glue the doily in place.
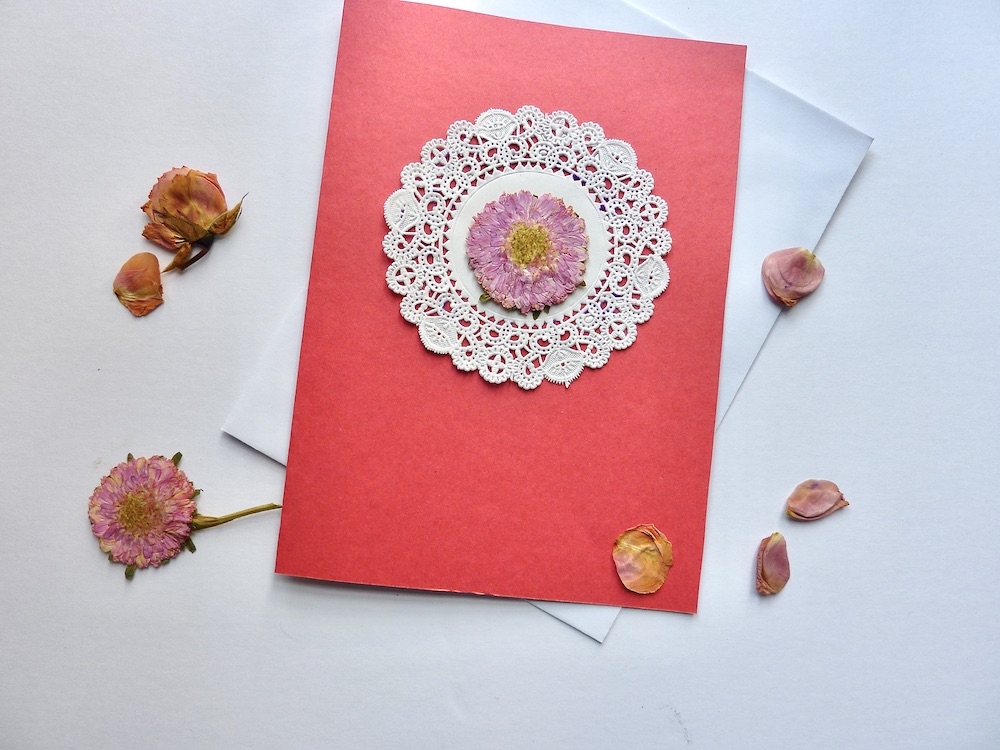
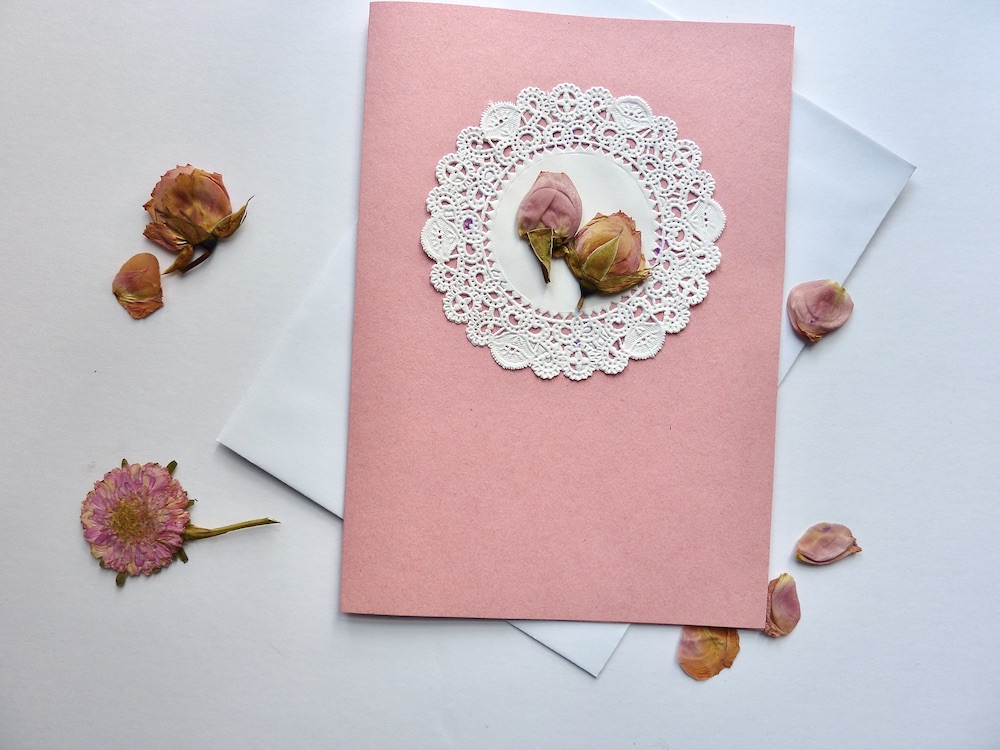
Next, you pick your pressed flowers or petals and arrange them in any way you like. You could use one bigger one or two smaller ones in one doily. Glue them into place.
Et voila! That’s your pressed flower Valentine’s card!!
You can also glue some ribbon to the card, add some calligraphy, or decorate it more if you like.
This can also be a nice project for children. Maybe they need to make something for their school. Or maybe they just want to send a pretty card to a lovely person.
Or, you make this for your spouse! I am sure he or she will love something handmade. And nothing says Valentine more than flowers, right?
More easy projects and Valentine’s ideas you might enjoy:
Melt-in-Your-Mouth Chocolate Hearts
Video tutorial:
I would love to hear all your questions and comments – please type them in below!
Pin for Later:

LOVE IT!!! Pressed Flower Valentines Cards
Thank you! So glad to hear it ~ Anja
I love this! Another way to get some life out of fresh cut flowers.
Thank you so much for your nice comment 😊!
These are beautiful – what a lovely idea!
Thank you – and yes, they are beautiful 😌
SO cute 🙂 I need to do pressed flowers more often. The last time I did that was from our wedding bouquet flowers 🙂
Thank you! What a beautiful idea to press the flowers from your wedding bouquet! Thanks for sharing!
What a beautiful Valentine idea. I love your tutorial. I remember pressing flowers with books as a kid with my cousins. 😀
Thank you and thank you for sharing 😊. Happy Valentine’s Day!
These are the sweetest! Great idea!
Thank you and Happy Valentine’s Day!