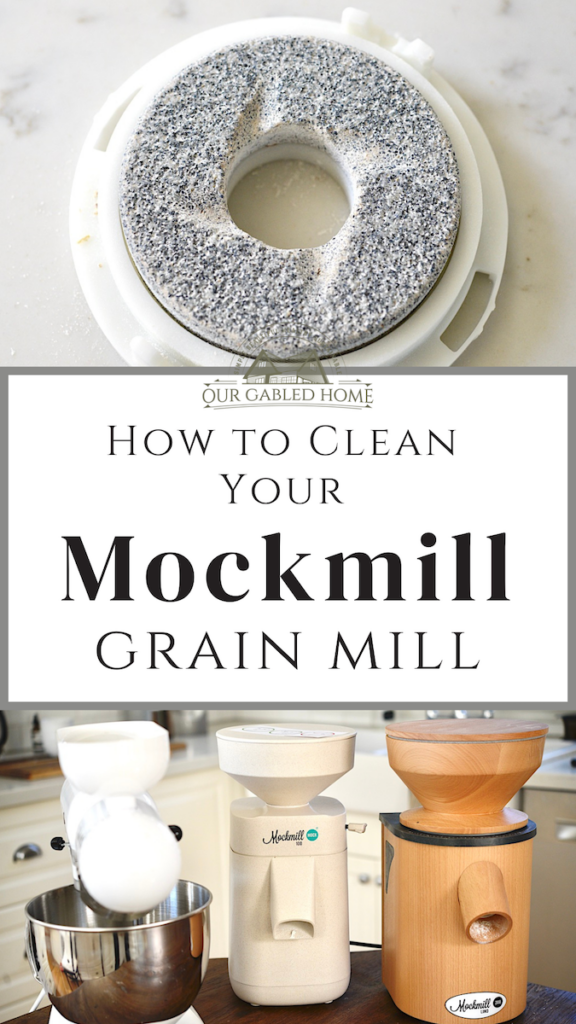
How to Easily Clean Your Mockmill
Whether you have just gotten a Mockmill or are wondering about it, let me show you how you can easily clean your Mockmill when you need it!
How easy is it to clean your Mockmill grain mill?
You might be wondering because you’re looking into purchasing a stone grain mill. Or you have recently bought one to mill your own flour. Now you would like to open it and clean it.
In this article, I’ll talk about reasons and instances why you may need to clean your Mockmill and then how to do so for the various models.
What are the different Mockmill models?
Mockmill grain mills are very high-quality stone grain mills developed by Wolfgang Mock and made in Germany. They are perfect for home bakers and professional bakers alike.
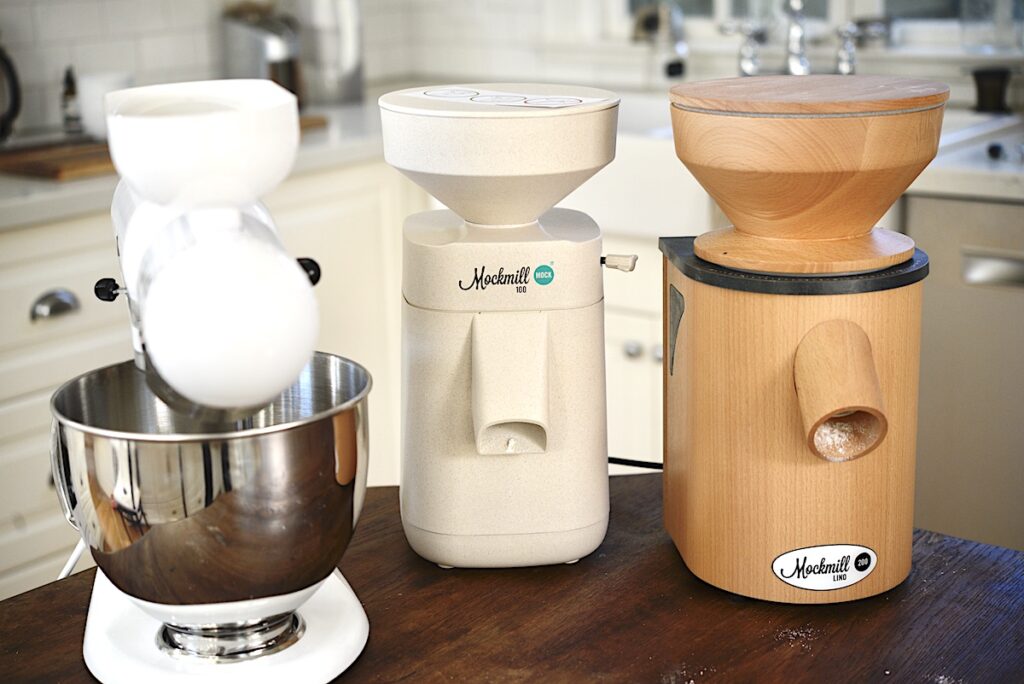
You can purchase these different models:
- Grain mill attachment for stand mixers (such as Kitchenaid mixer)
- Mockmill 100, both in the Arboblend (the bioplastic version) or wooden housing
- Mockmill 200, also in the Arboblend or wooden housing
- Mockmill Professional 200
While the attachment, the Mockmill 100 and 200 are somewhat different they all use the same durable and self-sharpening ceramic grinding mechanisms.
You can read an in-depth review of the Mockmill models here.
What can you mill in the Mockmills?
There is nothing better than milling your own grain at home if you want really fresh flour. The nutritional value of whole grains milled at home is so much higher than commercial flour.
Aside from dry grains such as wheat, spelt, rye, barley, oats, emmer, kamut, and einkorn, you can also mill other grains and legumes, as long as they are dry and non-oily.
While you can mill chia seeds, flax seeds and sesame seeds are not on the list. And you can mill most spices.
You can read the entire list of what you can mill in Mockmills here.
Why do you need to clean the grinding stones of your Mockmill
There are some reasons you may want to clean your Mockmill:
- You have ground some strong spices such as and want to clean your Mockmill so that whatever you mill next doesn’t taste like this spice.
- You did mill some oily seeds such as flaxseeds that have gummed up the grinding stones.
- You just don’t seem to get the same milling results and want to make sure that the grinding stones retain their rough surface. That can happen if you have only been milling very fine flour for a long time.
How to clean your Mockmill
Cleaning Your Mockmill – Method 1
If you would just like to clean out your Mockmill from whatever you had milled in it previously or give it a periodic cleaning, you can use this simple method.
All you need to do is run 1/2 to 1 cup of white rice through it into a small mixing bowl.
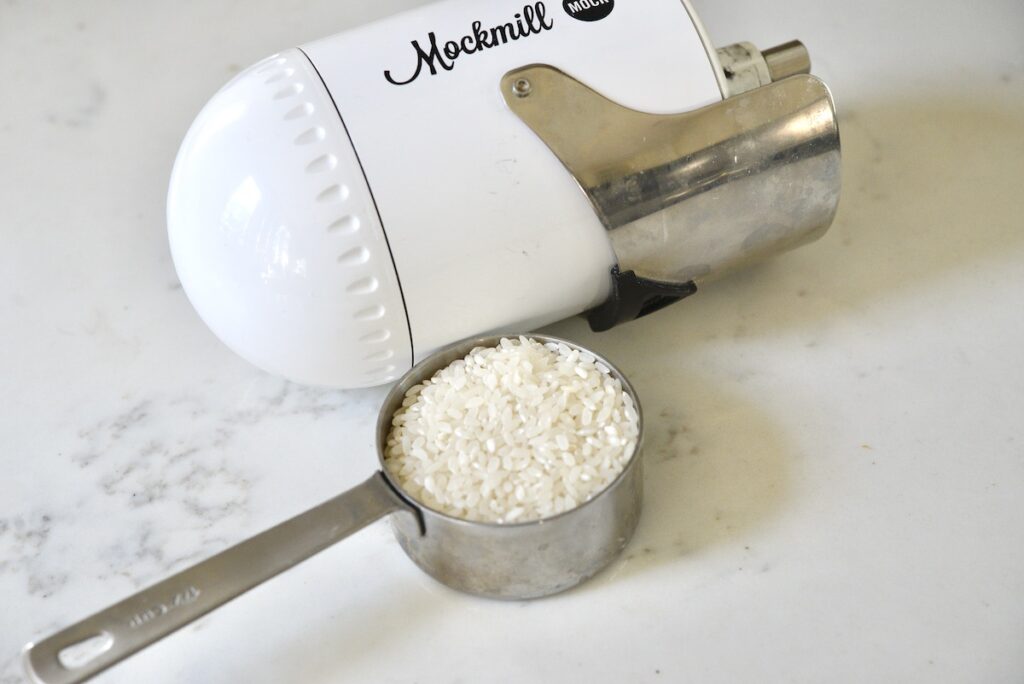
Ideally, you want to run it through on a very coarse setting, then on the finest setting.
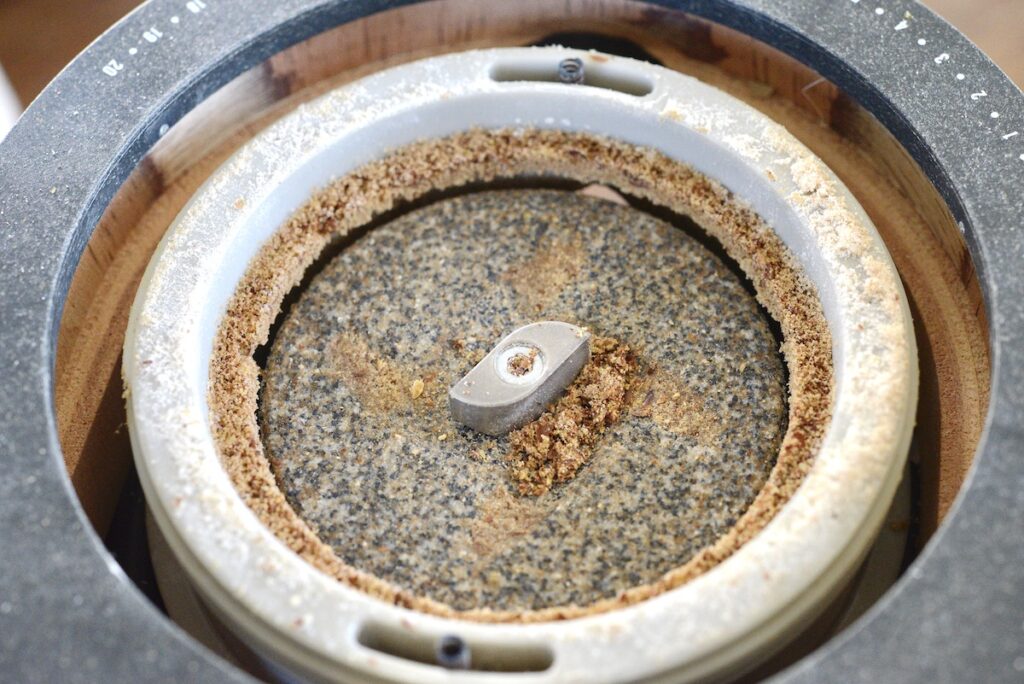
Often you can see little bits and pieces in the white rice flour. If the flour comes out white, you are done.
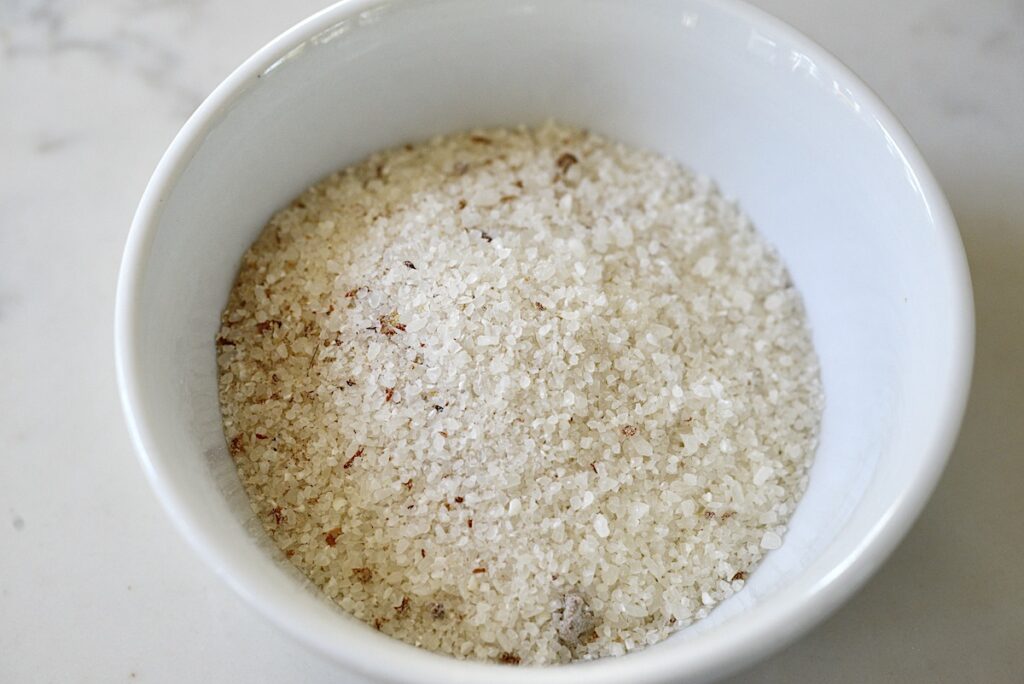
Just to be sure, you can run your Mockmill again on the coarsest setting.
Cleaning Your Mockmill – Method 2
This method is great for when you need a deep-clean but also if you want to inspect the grinding stones to make sure there is nothing in or on them.
For best results, follow the steps from method 1.
The Mockmill attachment
- Turn the adjustment dial all the way to coarsest and past the slight resistance until you can remove it.
- Stand the attachment on the 3 springs and pull the casing up towards you.
- Remove the casing from the body.
- Turn the grinding stones against each other and pull them apart.
- For cleaning tips, read below.
- For putting the whole thing back together, reverse these steps.
The Mockmill 100 & 200
- Unplug your grain mill.
- Unscrew and remove the adjustment lever by turning it counterclockwise.
- Press in the two tabs on the back of the grain mill and while doing so, lift the funnel.
- Unscrew the top stone in a counterclockwise motion.
- Using a cloth or pastry brush, you can now clean both the top and bottom stone.
- Put the grain mill back together by retracing your steps.
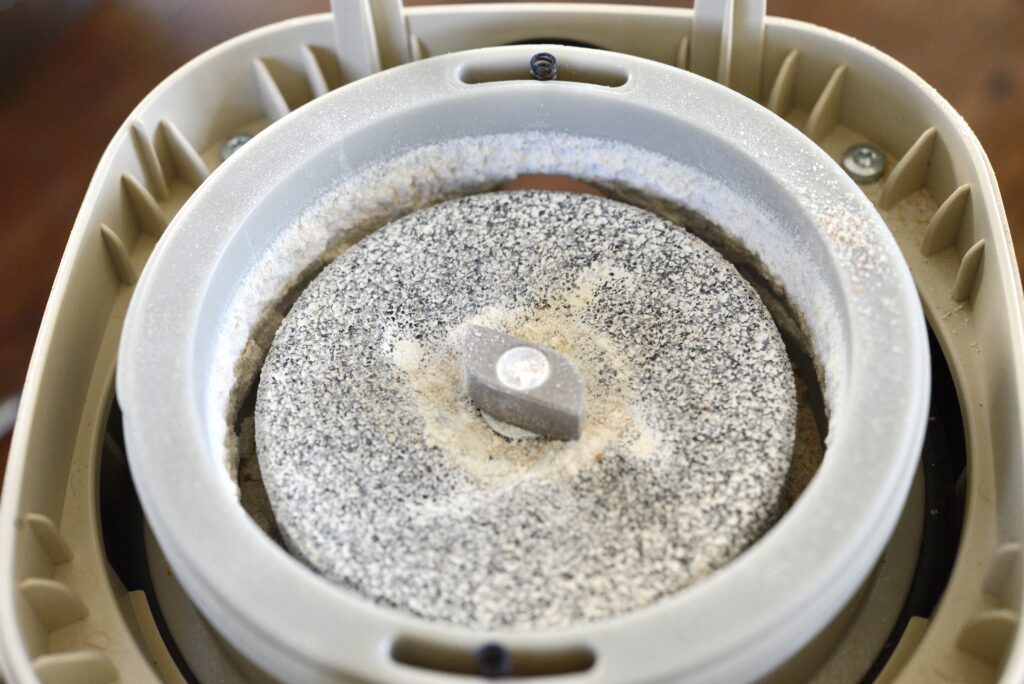
The Mockmill Lino 100 & 200, and the Mockmill Professional 200
- Unplug your grain mill.
- Turn the hopper counterclockwise until it goes no further and you can lift it up.
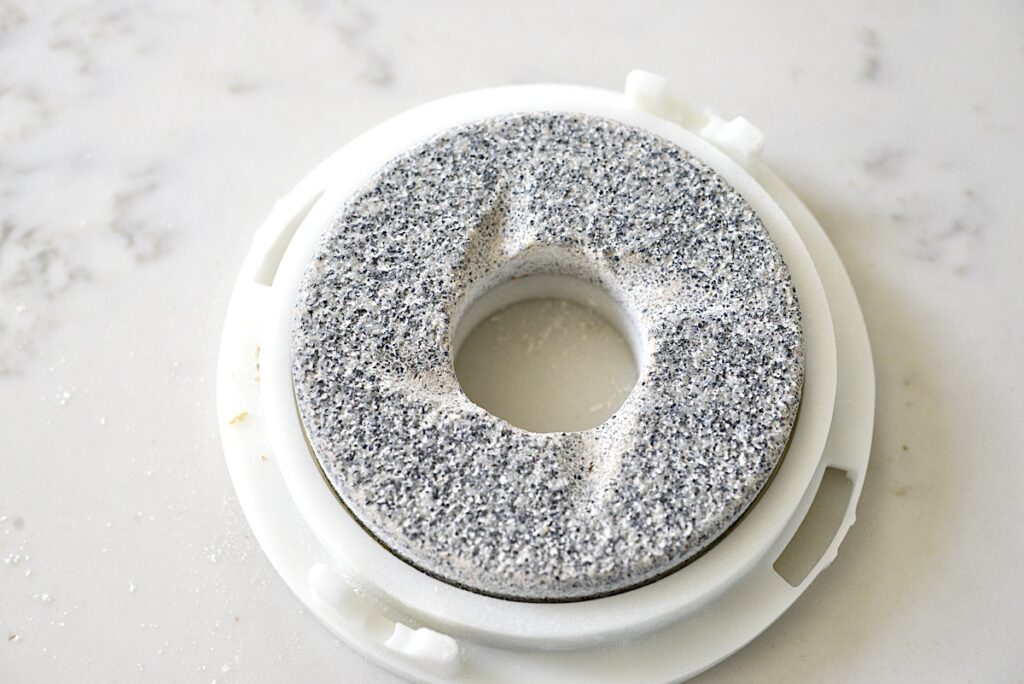
- Simply lift the top grinding stone up.
- Using a cloth or brush, you can now clean each grinding stone.
- When done, place the top grinding stone back on. Be sure to keep the two small springs in their place and set the two tabs of the top part in their holes.
- Retrace the steps from above.
And that’s it! As you can see, it’s super easy!
More blog posts about Mockmills:
In this article, I am comparing Kitchenaid attachment with the Mockmill attachment. They both are grain mills at an affordable price and the ideal solution if you don’t want to invest in an electric grain mill.
In another article, I am reviewing the various Mockmill models, and explain why I believe that they are the best grain mill out there for home use.
Since I believe that Mockmill is the best home mill available, I am offering a 5% discount and free shipping on all Mockmill models. If you have further questions, you can always reach out to Mockmill’s customer service.
Other posts you might enjoy:
How to Make a Sourdough Starter from Scratch
German-style Whole Grain Bread
Artisan No-Knead Sourdough Bread
Do you have comments or question? Let me know below!
Pin For Later:
