How to Make Butter From 1912 Recipe
We love making butter here at our gabled home. In this post, am sharing a recipe from a 1912 cookbook. Lets see if it works!
I love making food from scratch! And I love my old cookbooks.
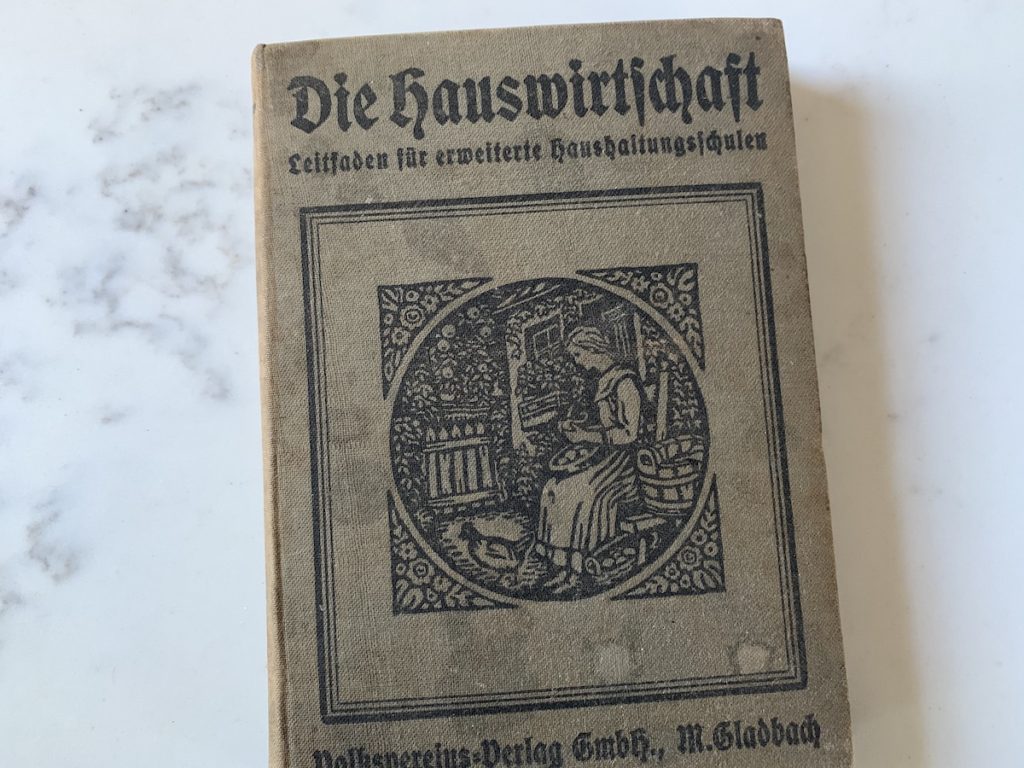
Going through my collection of heritage cookbooks I am always curious to see what our grandparents and great grandparents were doing. Sometimes, I need to heavily adjust recipes and sometimes I don’t have to change a thing.
This post contains affiliate links, which means I make a small commission at no extra cost to you.
How our grandparents made butter
One thing is certain: in 1912, they only had hand-crank butter churn. In an older post, I showed you how to make butter the old-fashioned way. I really enjoy using my heirloom butter churn that I inherited from my grandparents. Unfortunately, I broke the glass and had to jump through some hoops to find a proper replacement. While that is on the way, I will use modern-day technology for this recipe.
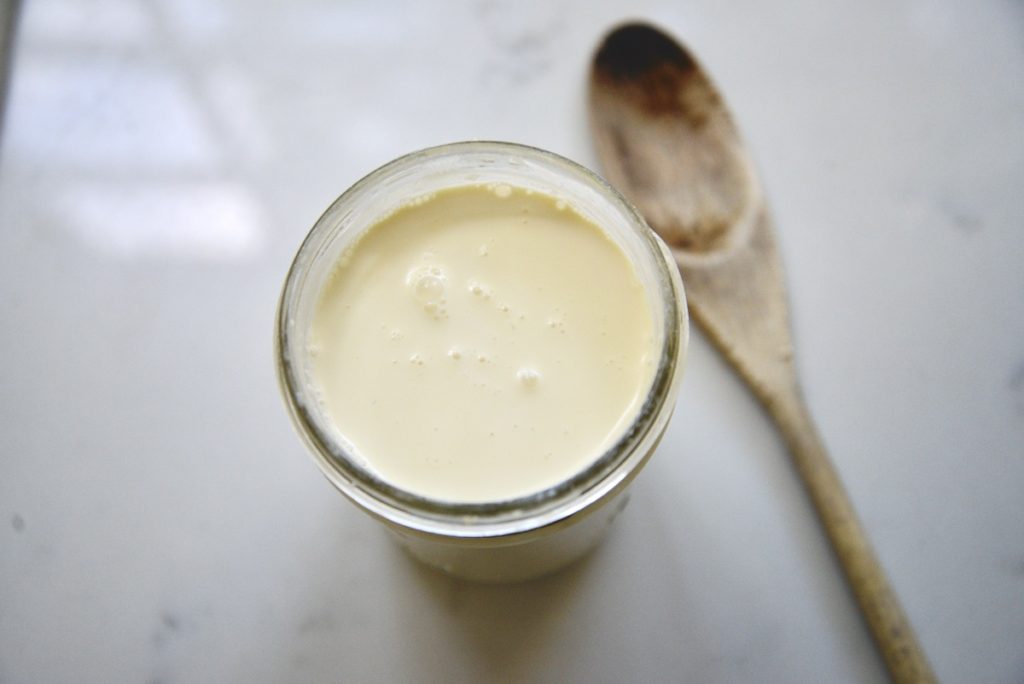
We are enjoying our raw milk from our herd share (we can’t keep a cow in our urban homestead). Once we receive it, we keep it in the refrigerator and wait a day or two to let the cream rise to the top.
Of course, you can use store-bought cream. I always recommend using the best cream you can afford.
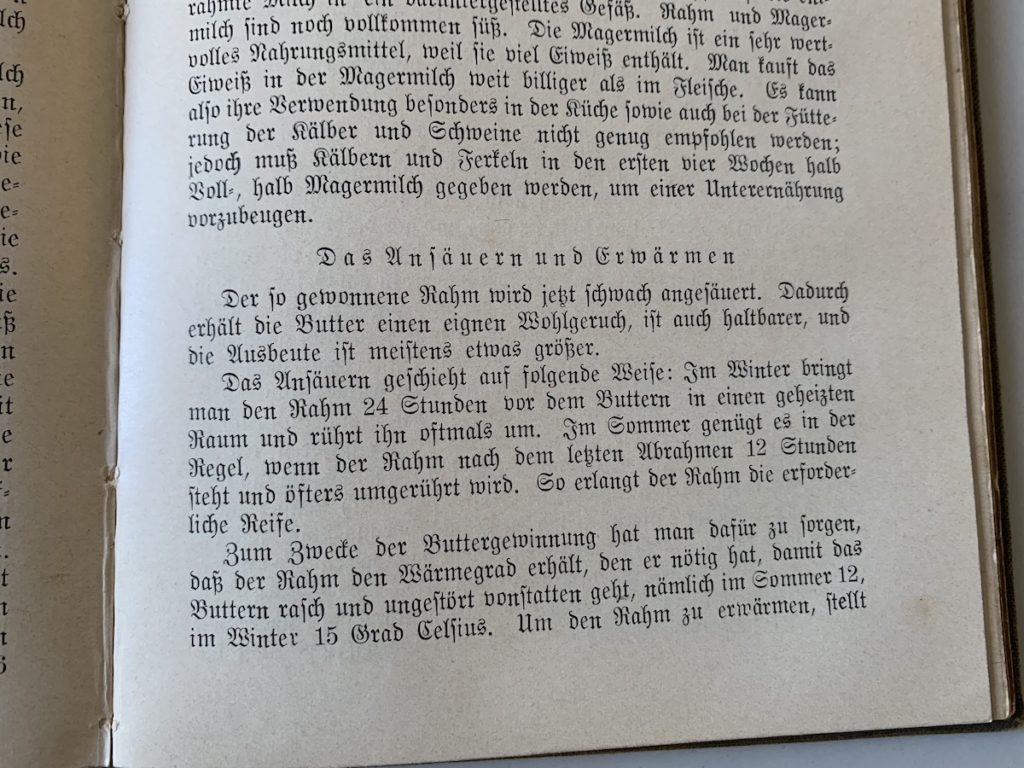
1912 butter making recipe
A few things stand out: in this 1912 recipe, it is recommended to let the butter stand at room temperature for 12-24 hours. 12 or so hours in the summer and up to 24 in the winter.
They did that for the following reasons:
- it gently sours the butter so that
- it has a better taste profile
- and lasts longer but also
- produces more butter
I find that so intriguing that I had to try it out.
How to sour the butter
Usually, I have an idea about when I would like to make butter. These days, we can expect to have almost similar room temperatures regardless of the seasons. Some homes are considerably warmer in the summer but I don’t think that modern homes get as cold in the winter as in 1912.
So, lets say that I would like to make butter late in the morning, I like to take the cream out of the refrigerator the evening before. That gives me 12+ hours for souring. It is also recommended to occasionally stir the cream to help that process.
How to churn the butter
Using a high-speed blender such as a Vitamix obviously is an effortless way to make butter. I have had the best results, using only about one pint at a time. If I have more cream, I make the butter in separate batches.
I have made plenty of mistakes in the past such as not tightening the lid enough or turning the blender on too high a setting from the start. Take it from me that you don’t want to do that!
Setting the speed to the lowest setting, with the lid on tight, start the blender on low and slowly increase the speed to about medium high. You might enjoy timing the process as you will be amazed how fast you will have butter!

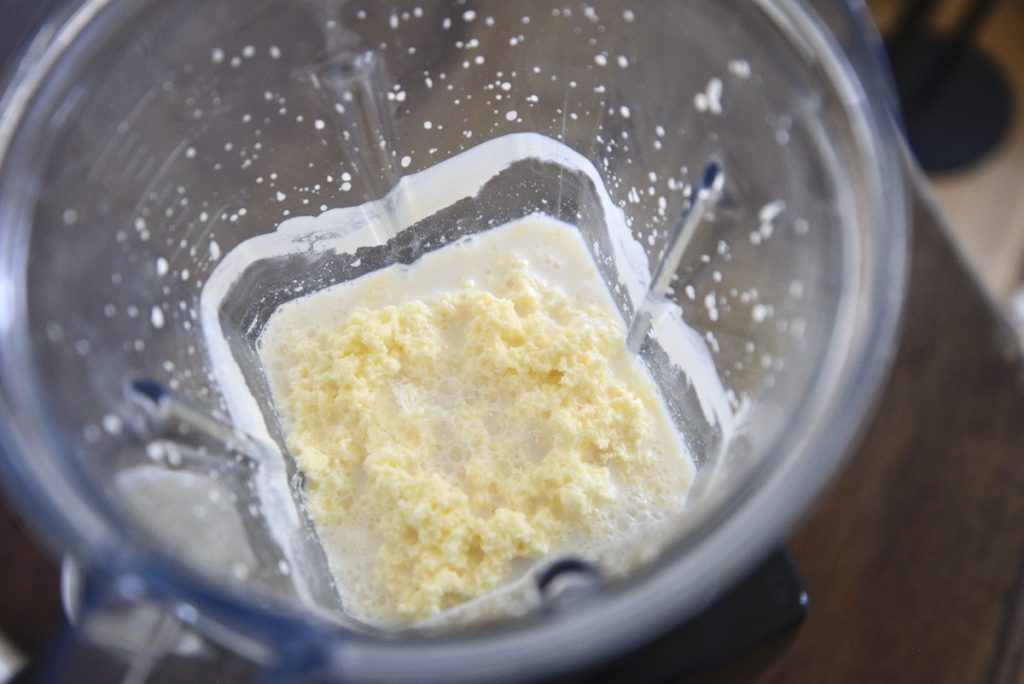
Stages in butter making
By the sound, you will hear when the cream nears a whipped consistency. Now, continue blending until the buttermilk separates from the fat. It is really fun watching this transformation which will happen very quickly.
Most of the time, the whole process takes me no more than 3 minutes! Seriously!
Once the buttermilk has separated, I blend for just a tad longer before I turn off the blender.
How to wash and press the butter
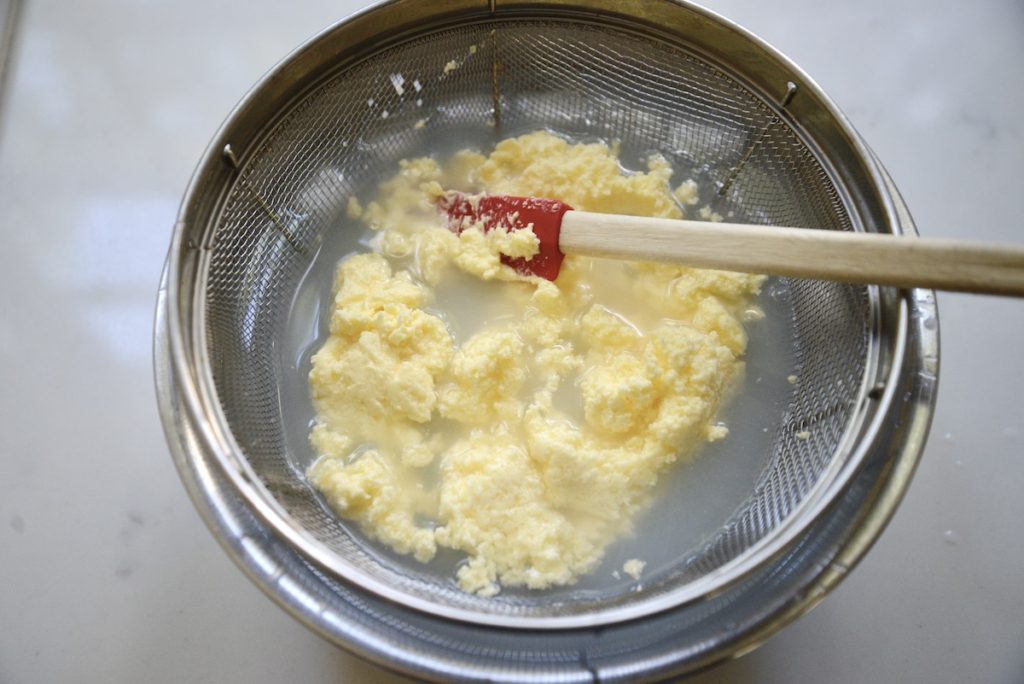
There are a lot of uses for the buttermilk which is a thin, non-fat milk. You can use it in pancakes, in baking, to culture it, or for drinking. Therefore, I pour the buttermilk through a colander to keep it for later use.

With a rubber spatula, I then scrape out all the butter from the blender container and put it in a shallow bowl with ice water. This makes the butter a bit stiffer and chills it right away.
The water will become cloudy as you move and knead the butter in the ice bath. Ideally, you want the water to be completely clear.
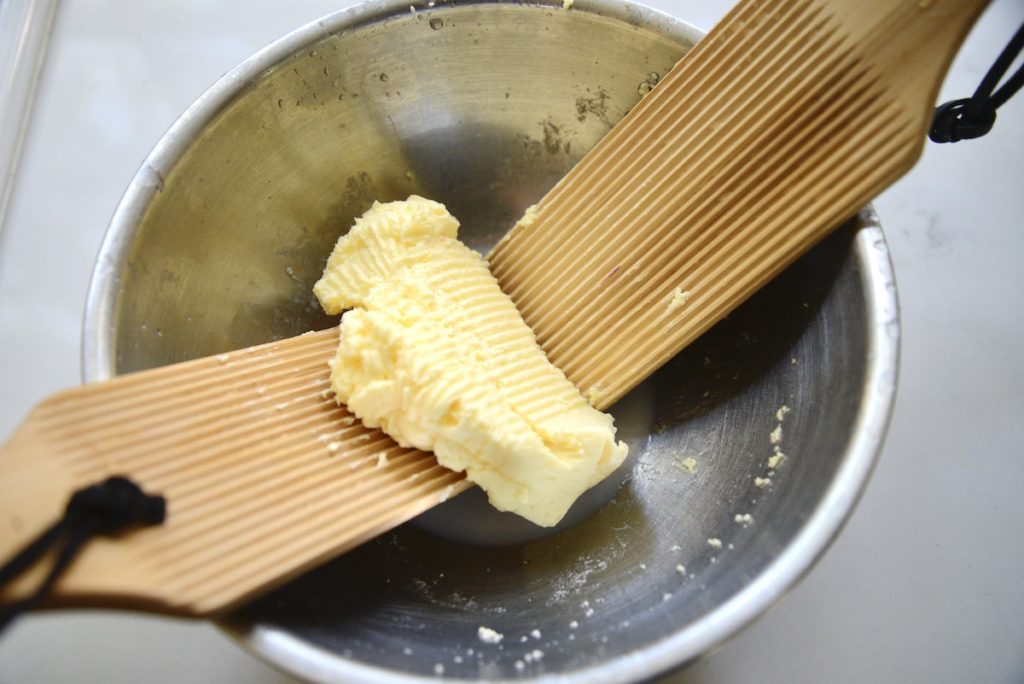
Then, I drain the water and press as much water/buttermilk out of the butter. You can do that with your hands or with butter paddles. The more you can squeeze out the longer your butter will last.
Often, I like to “wash” the butter one more time just to make sure to get all the buttermilk out. With my hands or the butter paddles, I will squeeze out all of the water.
How to keep the butter
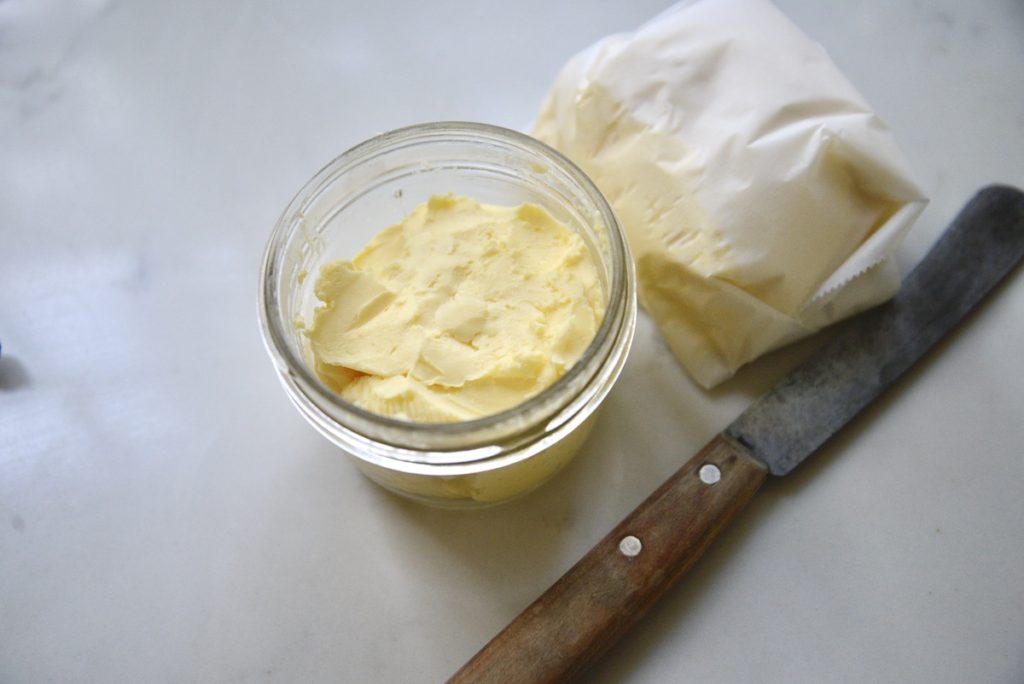
Now you have your finished butter!
You will notice that this butter has the creamiest softest consistency ideal for spreading. It also has an unparalleled fresh taste!
We like to keep it in a glass mason jar with lid in the butter compartment of our fridge. You can also wrap it in parchment paper and freeze it for a few months.
Some people like to keep their butter on the counter either in a regular container or a butter crock. That is all a matter of preference but regardless, I am sure you will love your homemade butter as much as we do.
Homemade butter is best enjoyed fresh on homemade bread or authentic German pretzels.
Have you made butter before? I would love to hear from you with all your comments and questions about this 1912 butter recipe!
Pin It For Later:
How long will the butter keep in the refrigerator?
It should easily last 2 weeks if not longer ~ Anja
I’m def going to start making my own butter in my Vitamix and thank you for the video and recipe instructions. How long will the butter keep in the refrigerator?
You can easily keep it in the refrigerator for 2 weeks or freeze it for longer storage ~ Anja
This is very informative and interesting! I have never attempted making butter before, but this makes it seem do-able for sure!
Yes, it’s so easy!! Happy butter-making!
It’s funny I feel like I continue to learn more and more about butter making as time goes on. The biggest key I have found is to have the cream at room temperature, so the mixing and seperating goes quickly. But I didn’t consider the souring effect. What a cool book, too.
Leaving the cream to sit out is interesting! We used to make butter at Grandma’s when we were kids and she taught us this funny little song to sing while shaking the cream. It was about waiting for the butter to come lol.
I didn’t realize butter making could be so simple! Thank you for the easy to follow instructions.
That’s a very interesting book, too bad not many people sour/culture their butter anymore. I’ve never seen butter paddles like that before either.