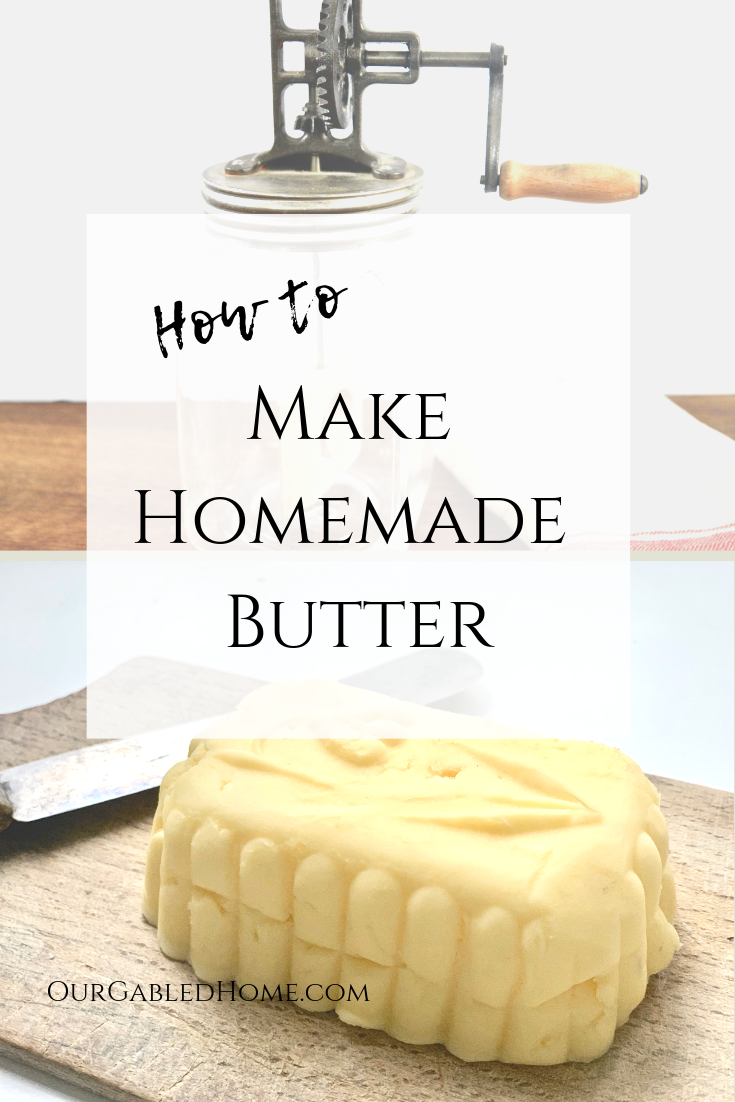
How to Make Butter the Old-Fashioned Way
Learn how you can easily make butter the old-fashioned way: hand-churning cream. I’ll also give you modern alternatives.
Do you enjoy making and creating?
Are you loving homemade foods more than store-bought?
Do you enjoy butter, whether you slather it on everything or use it more sparingly?
Let me show you how surprisingly simple and yes old-fashioned it is to make butter. Even though, I will show how to use a butter churner, I will also give you more modern and electric alternatives.
This post contains affiliate links, which means I make a small commission at no extra cost to you. You can read my full disclosure.
Why make your own butter?
Of course, you can just go to the store and pick up your butter there. Since I like to use the best butter I can afford, I am looking for European-style butter. Ideally, from pasture-raised cows. That can get pricey.
“European-style” butter just means that the butter had been churned longer to achieve a minimum 82% butterfat. Therefore, the butter is creamier with a better butter taste.
Also, I like to promote good dairy practices by buying dairy products from cows that live in a pasture eating grass (their natural diet) rather than living tied up in a stall eating corn-based food.
Knowing all this, we get to make choices. I believe in buying the highest quality food that we can afford. Here is a great article that goes a bit deeper in to that. By making my own food, and yes butter, too, I know exactly what’s in my family’s food.
Ultimately, I truly believe that homemade just tastes better than store-bought. I feel more connected to the food when I made it and know exactly what’s in it. Even though you can’t “measure” it, I am sure your family will feel and taste the love you poured into making your food!
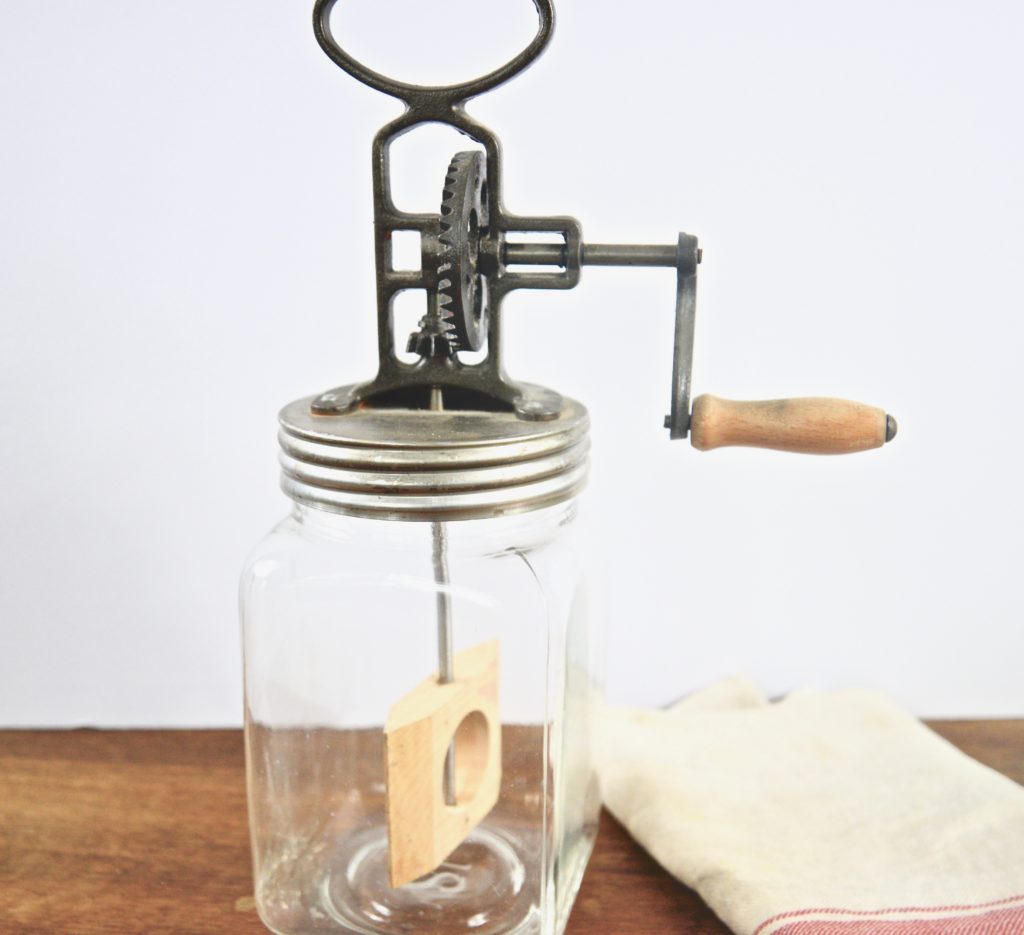
What equipment to use
The first reference to butter is from about 2000 B.C. People knew how to make it without modern conveniences. The use of a butter churn dates back to 600 A.D. A butter churn just plain works!
For this post, I am using an old-fashioned butter churn or butter churner that I found in my grandparents’ attic. I actually enjoy using it! It has gone on school field trips with my kids.
If you don’t own a butter churner or don’t want to invest in one, you can still make butter in your own kitchen: you can use a hand mixer (least practical), a stand mixer such as a Kitchen Aid, a food processor, or even a Vitamix. My blogging friend Brie has a wonderfully detailed article and video on that.
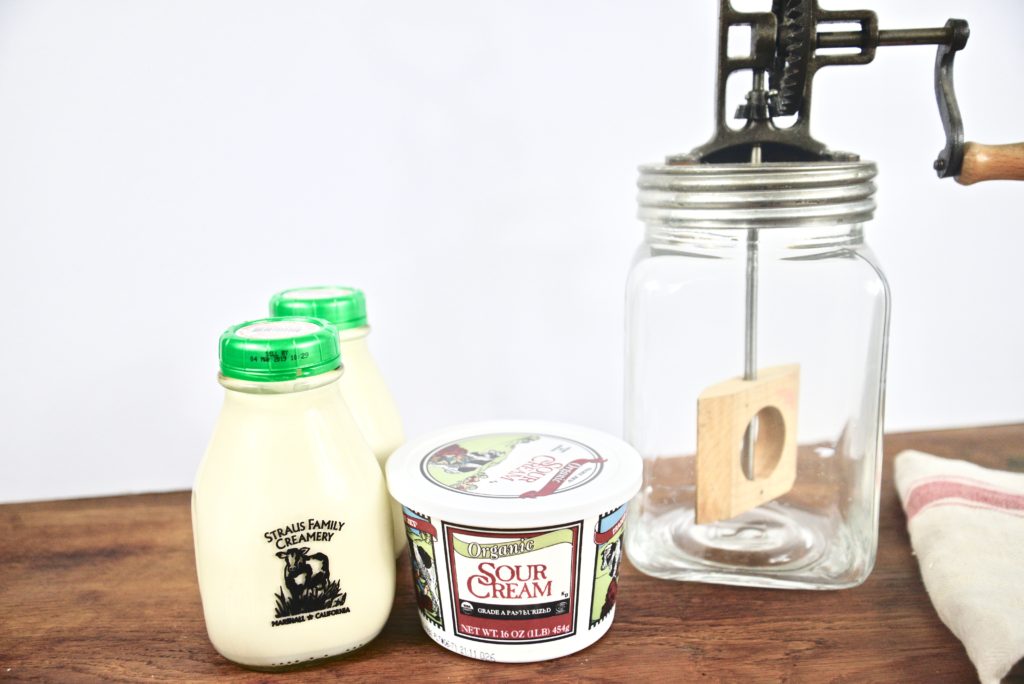
The ingredients
All you really need is cream! It’s that simple! You can use any whipping cream (half and half will not work). Again, the better quality your cream is, the better your homemade butter will be.
In order to bring a slightly tangy, “cultured” taste to my butter I added some sour cream to my sweet cream. I used about 2 TSBP of sour cream for 2 pints of whipping cream. However, this is not necessary and completely optional!
How to make butter
All you do is pour your cream into your old-fashioned butter churner. Then you just crank away. The butter churner will first turn your cream into whipped cream.
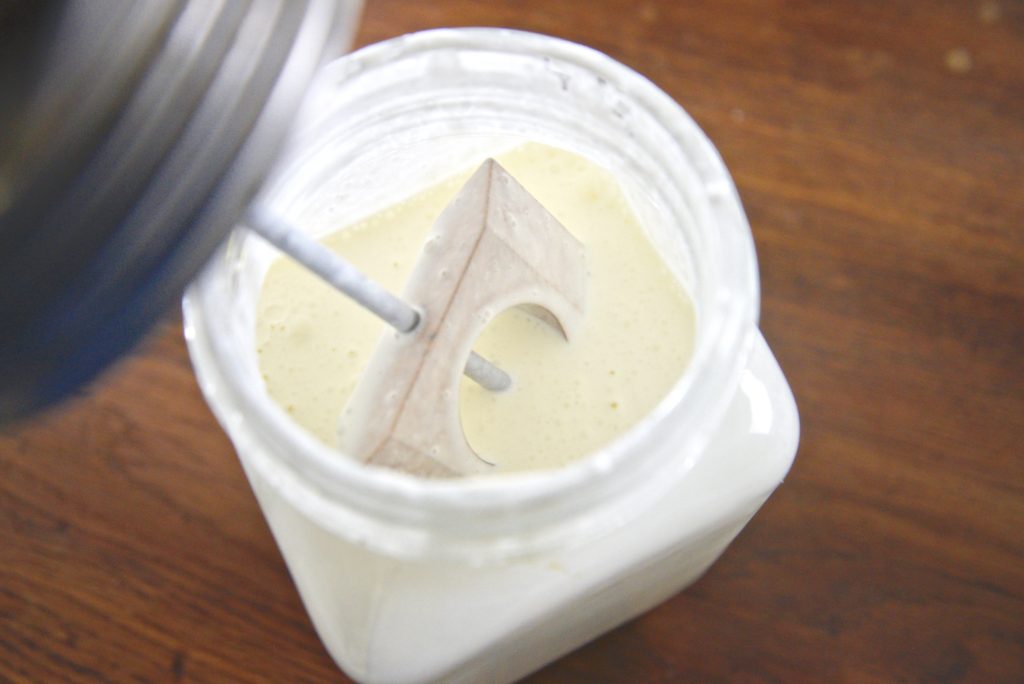
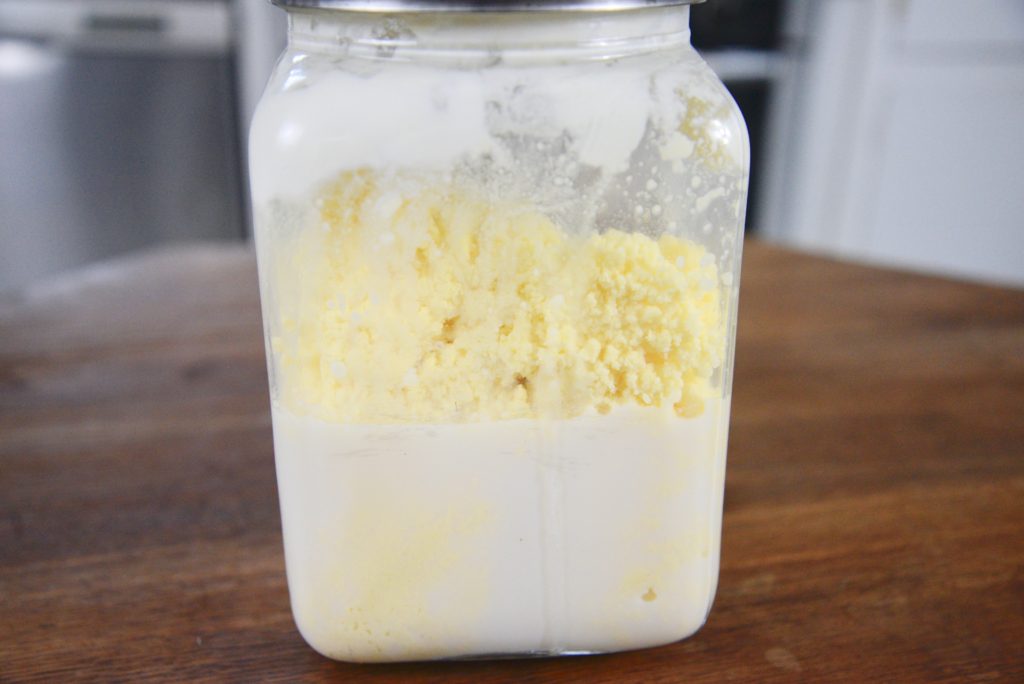
Eventually, the fat will separate from the liquid (the buttermilk). This looks like little clouds.
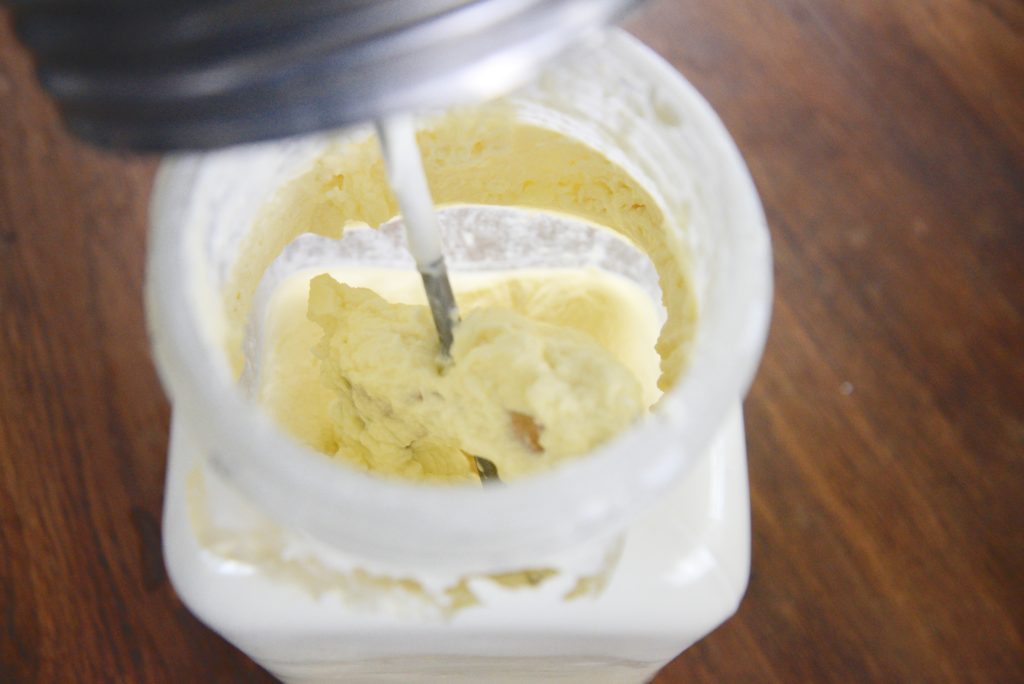
Just keep on churning. Finally, you will notice that there is liquid at the bottom of your container and the yellow butter separate from that.
This whole process can take about 20 – 30 minutes. Using room temperature cream makes butter faster than using cold cream. Now, that is quite some time cranking away. Our ancestors were doing a lot of physical work to prepare their foods. I personally enjoy the work. You could also have your kids or other family members help you out and taking turns – especially the ones with too much energy. If you don’t enjoy the hand-churning or are short on time, check out this article and video.
Now, that you have the liquid (buttermilk) separated from the fat (the butter), you will pour off the liquid. You can drink it or use in recipes such as pancakes or waffles.
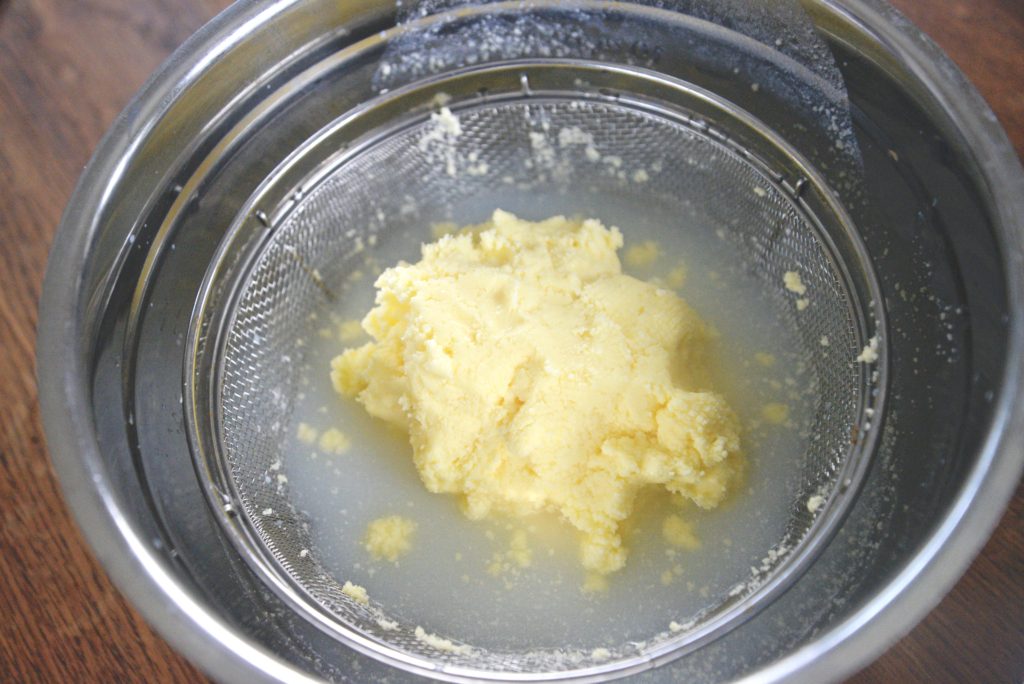
Washing your butter
This step is important. You want to wash out any remaining buttermilk from your butter as that will make your butter spoil faster. Simply put the butter in a colander over a large bowl and add filtered water. Work and squeeze the butter until the rinsing water is clear.
Squeezing the butter
You can use your hands or a fine cheese cloth or tea towel for this. The goal is to squeeze out as much liquid from the butter as you can. This will make your butter creamier, taste better, and last longer.
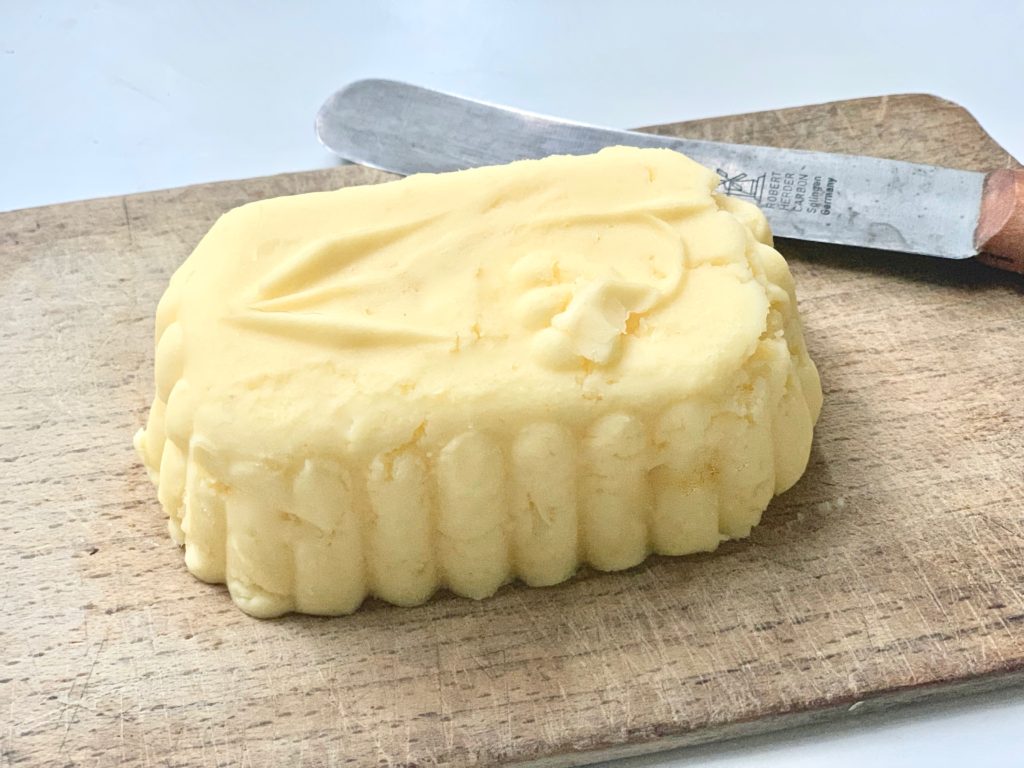
Your butter
For this recipe, I used 2 pints of cream and about 2 TBSP of sour cream. That gives me about 1 pound of butter.
You can simply shape it with your hands. Traditionally, people used butter paddles both for pressing out more liquid and for shaping the butter.
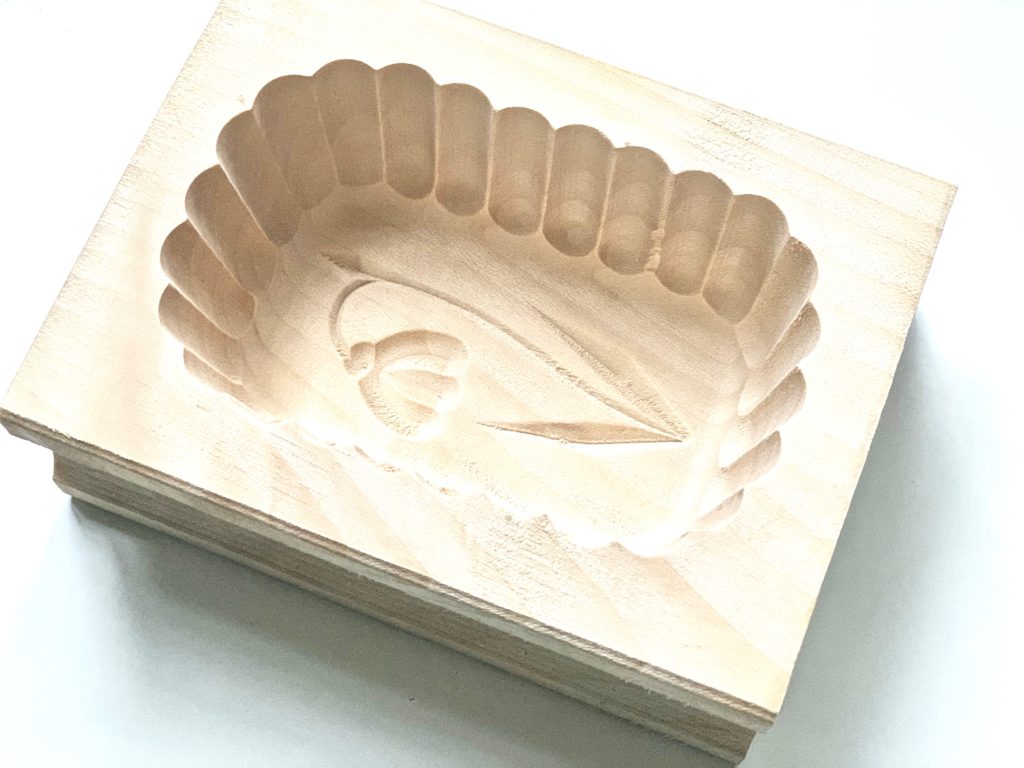
To make your butter very pretty you can use a butter mold. These are still commonplace in Europe (I found mine in a country store in Austria) but you can also find them online.
How to use a mold: soak the butter mold in water for about 30 mins. The butter should be at room temperature (soft) when you press it into the mold. Tap your mold on a hard surface to remove your butter. Voilà! Very pretty butter!
Depending on your preferences, you might like to add a bit of salt to your butter. For the 2 pints, you could start with 1/2 tsp and increase the amount if you like.
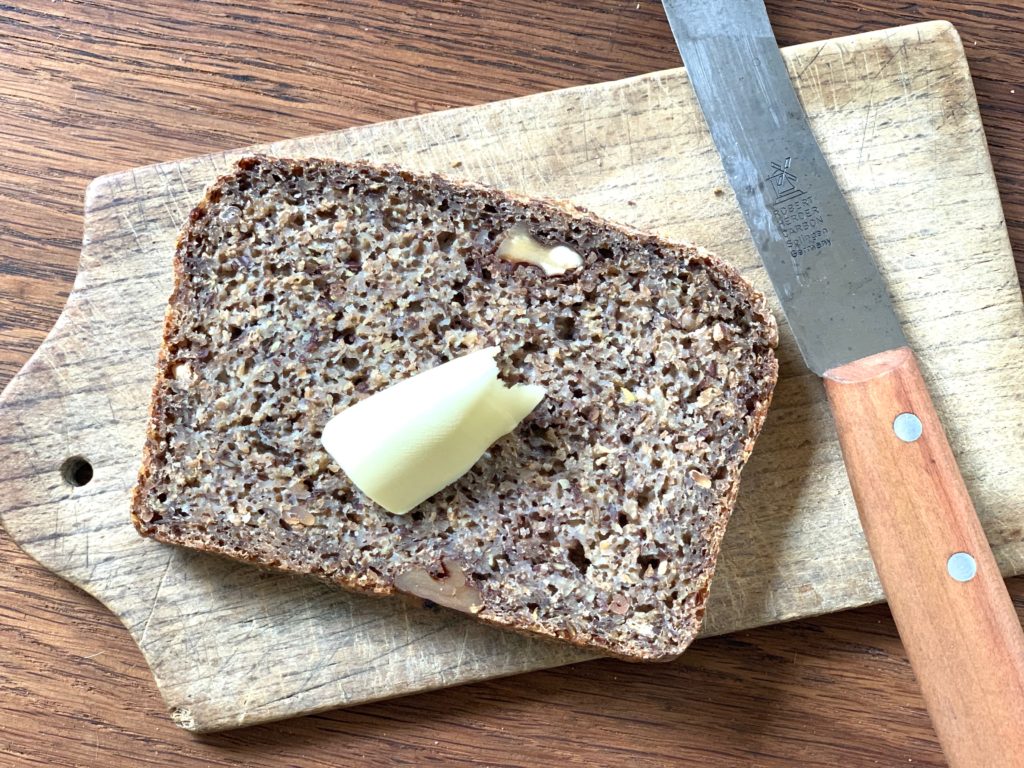
You can add other flavors such as herbs or spices to your butter. Personally, we love it plain! Nothing better than to slather it on homemade bread fresh from the oven!
The color
You might notice that store-bought butter can be almost white or a bit more yellow. Cows that only eat grass naturally have more beta-carotene, a pigment that adds color, and which is converted into Vitamin A in our bodies. Butter from cows that eat a corn-based diet is lacking in beta-carotene. Thus, often a colorant is added (check your store-bought butter).

If you are using high-quality cream you will notice that your butter will have a beautiful yellow color!
What about the cost?
Well, it depends. It depends on your ingredients and where you live. However, I believe that if you bought butter in the store that was made from equivalent ingredients that you are using to make your butter, making your own will be cheaper. But is there a price tag on the satisfaction of making an everyday ingredient with your own hands?
Shop this post:
Let me know all your questions in the comments below!
Pin it for later!
Anja, I want to make “honey butter”, my son-in-law loves it!!! would I add the honey while churning or after??? thanks, Bev
I would add the honey to the finished butter otherwise, you’ll be washing it out with the whey ~ Anja
Do I add the 2 tablespoons of sour cream to the heavy cream before I churn it?
That is what I do ~ Anja
I started with a local dairy’s heavy cream. Using a hand crank churner and 2 cups of room temperature cream. I’ve been churning for an hour and very little has happened. It’s foaming, that’s all. What am I doing wrong?
Have you brought it to almost room temperature? Then it’s easiest to churn ~ Anja
You have a newer butter churn. The one I use to use was a wooden stick in a big pot.
That works, too, and is what people have used for centuries ~ Anja
I have a cow and make my own butter. I put in a quart of cream to my standard Osterizer electric blender and let it do the work. It only takes a few minutes. One point I wanted to make that I’ve found is that the butter “makes” (separates) much better if the cream is not too cold. I will let the cream sit out on the counter until it’s cool, but not ice cold. It seems to take forever churning it if it’s ice cold straight from the fridge. Just a little tip I thought I’d share with everyone. Loved your video! Steve.
This is my first time visit at here and i am truly pleassant to read all at single place.