How to Make Tallow Balm for Healthy Skin
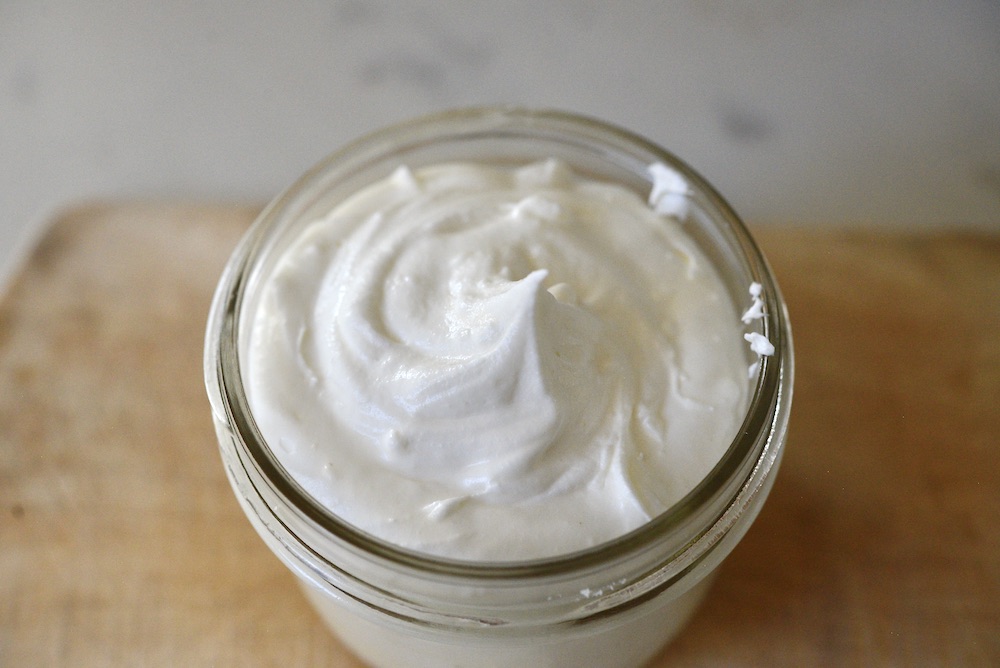
You will love this easy and versatile tallow balm recipe. Healing and nourishing, it will become your new favorite skincare product!
Tallow balm is a simple yet effective skincare product that people have been using for centuries to moisturize and nourish the skin.
As an urban homesteader, I always need something soothing and nourishing for my hard-working hands. If you are a real homesteader with cows, you might even be looking for another use for beef tallow.
This super versatile tallow balm is super easy and fun to make!
So grab your ingredients and let’s get started!
This post contains affiliate links, which means I make a small commission at no extra cost to you. You can read my full disclosure.
Why make your own tallow balm
I love making my own skincare products. Here are the main benefits of making your own tallow balm:
- it moisturizes and nourishes your skin: tallow is rich in essential fatty acids, which help to hydrate and nourish the skin, making it look and feel soft, supple, and healthy
- contains skin-loving nutrients: tallow also contains vitamins A, D, E, and K, which are all essential for maintaining healthy skin. These vitamins help to protect the skin from environmental stressors, promote cell regeneration, and reduce inflammation (which is also great for diaper rash)
- non-comedogenic: unlike some other natural oils, tallow is non-comedogenic, meaning it doesn’t clog pores. This makes it a great option for people with acne-prone or sensitive skin.
- improves skin tone and texture: the fatty acids in tallow can help to improve the texture and tone of the skin, making it look smoother and more even
- has skin-rejuvenating properties: tallow is a natural source of collagen, which is essential for maintaining the elasticity and firmness of the skin. Regular use of tallow on the skin may help to reduce the appearance of fine lines and wrinkles
- it only has clean and natural ingredients: the basic recipe only uses tallow and a good carrier oil of your choice
- affordable: even if you’re buying beef tallow, you might be surprised by how long it lasts since you will only need a little bit at a time
- flexible recipe: by adding essential oils of your choice you can customize this tallow balm recipe to your specific needs
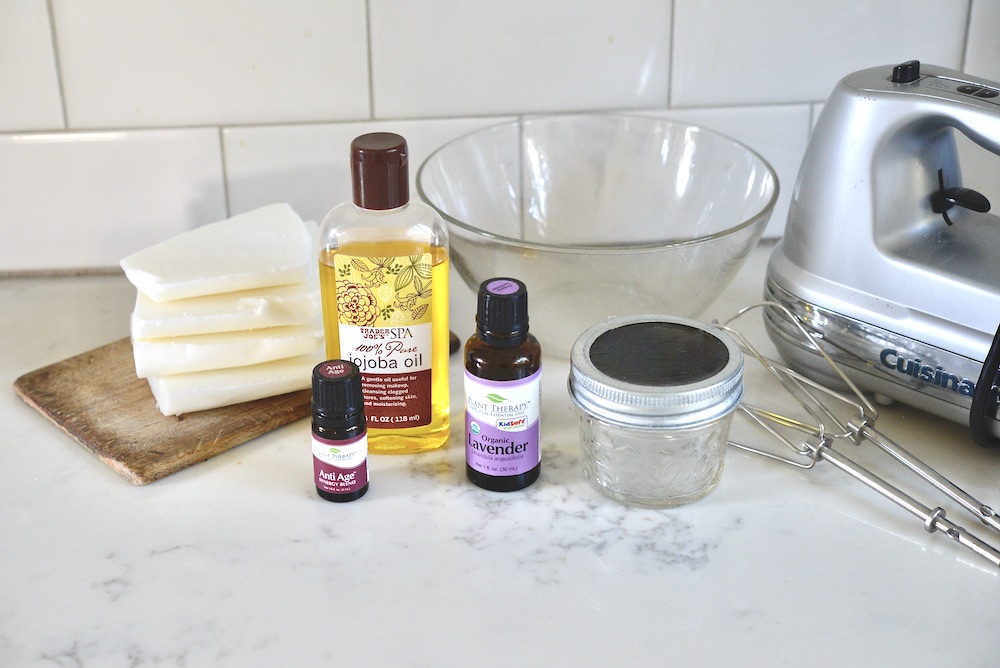
What are the ingredients
Here are the main ingredients for this skin balm and some optional add-ons:
- beef tallow: I always recommend using the highest quality ingredients you can afford. Therefore, I recommend using grass-fed beef tallow (more on how to make it or where to find it below)
- a good carrier oil: I like using jojoba oil but depending on your budget and skin care needs you can also use olive oil, almond oil, avocado oil, or argan oil (I am listing their benefits below)
- essential oils: adding a few drops of your favorite essential oil is completely optional; my favorite one is lavender essential oil (more on others and their benefits below)
Where to find Good Tallow
Ideally, you should use tallow that comes from pasture-raised, grass-fed cows, as this will have a higher nutrient content and be free from harmful chemicals and additives.
I have a whole article in which I am showing you exactly how to render your own beef tallow. If you would rather buy it, you can easily find beef tallow online or in your grocery store.
Helpful Tools and Equipment
You probably have everything you need to make this homemade tallow balm:
- double boiler: you can use a dedicated double boiler to melt the tallow or make your own by placing a glass mixing bowl over a sauce pot
- hand mixer: while not strictly necessary, I like the consistency of the whipped tallow balm better than the one in solid form
- small glass jar: I always like keeping my homemade skincare in pretty containers but you can use any small mason jar or cosmetics container you like
How to Make this Tallow Balm
Here’s my simple step-by-step process:
- Melt the tallow in a double boiler over low heat.
- Remove the bowl from the heat and add your chosen oil in a ratio of 1:4 (i.e. ¼ cup of oil and 1 c of rendered tallow) and mix them well with a spoon.
- Add a few drops of your favorite essential oils (see dilution recommendations below).
- Pour this mixture into a container of your choice.
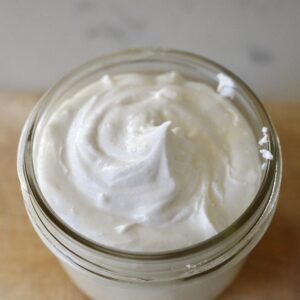
- For a whipped tallow balm, let the mixture solidify either at room temperature or in the refrigerator. If you are doing the latter, keep a close eye on it so it doesn’t become too hard.
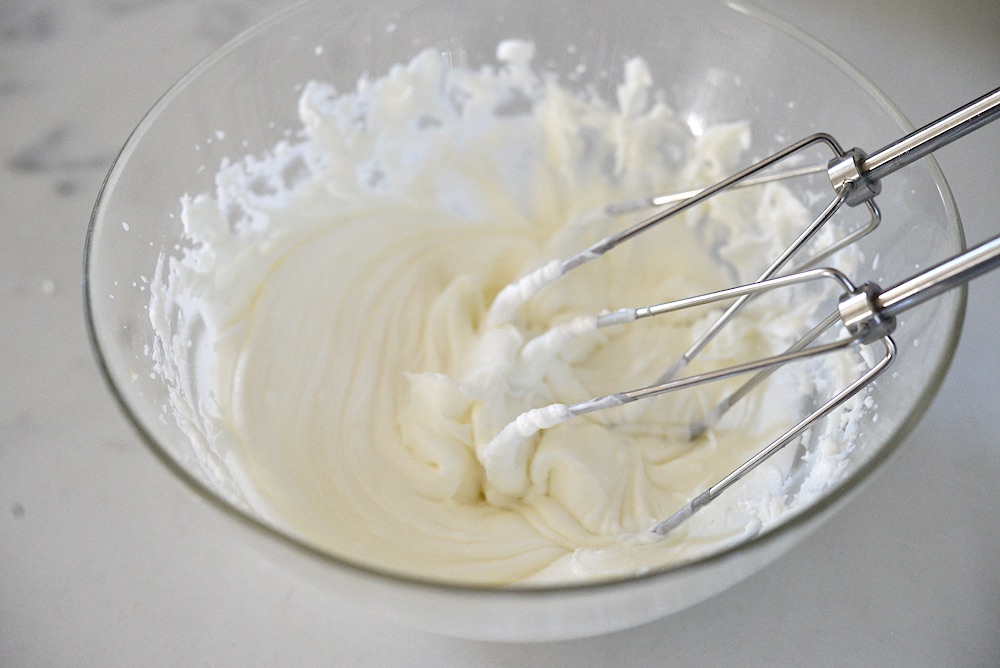
- Using your handheld mixer with the whisk attachment, beat this mixture until fluffy.
- Add essential oils if you like and whisk them in at a slow speed.
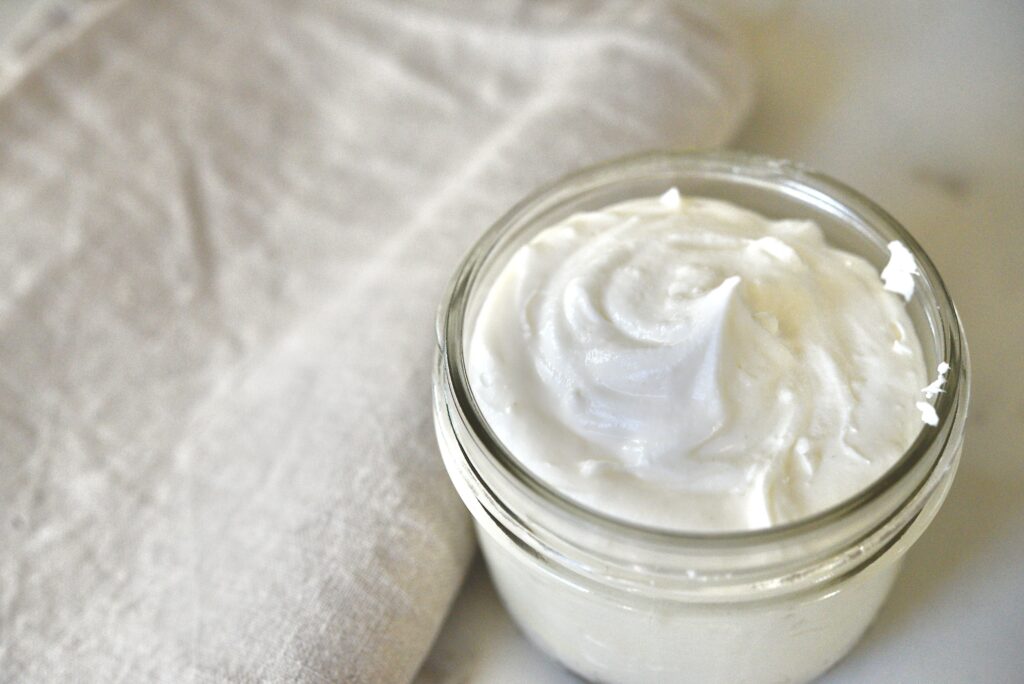
- Transfer the tallow balm to a container of your choice.

How to Use Your Tallow Balm
As always, I recommend making this balm in small batches to see if you like it.
For your hands, you might like to keep it by your sink. It is especially moisturizing if you massage it into your barely moist hands.
Or you might like to keep it by your shower and use it as a tallow body butter.
I like to keep a jar on my nightstand. Therefore, I like adding lavender essential oil to it which has such a soothing, relaxing scent. If you have cracked heels, you can rub it on them, put on socks overnight, and say hello to soft feet in the morning.
Or you use it as part of your skincare routine, especially if you are looking to tap into its anti-aging properties.
How Long Does Homemade Tallow Balm Keep?
If you are keeping your tallow balm in an airtight container in a dry and cool spot, it will last a long time, typically between 6 to 12 months.
However, ultimately it depends on the quality and purity of the ingredients you use. Also, only use clean hands or utensils to scoop it out of the jar. You can extend its shelf life by adding some Vit. E oil or rosemary essential oil.
Watch the Video Tutorial on YouTube:
Extra: Different Carrier Oils and Their Benefits
These are some of the more popular carrier oils for your skin balm:
- Rosehip seed oil: rosehip seed oil is fairly luxurious as it is in the rose family. Since it is often called a “dry” oil, it easily soaks into the skin without leaving a greasy residue. With essential fatty acids, it is not only perfect for mature or dry skin but basically for any skin type. You can even use this straight up as your anti-aging oil!
- Jojoba oil: Coming from a desert shrub, jojoba oil is mild and light-weight containing considerable amounts of vitamins, antioxidants, and anti-inflammatory properties. Since it is technically not an oil but a “wax ester”, it is very close to your own sebum (your own skin oils). Therefore, your skin can easily absorb it.
- Argan oil: Argan oil has been cultivated in North Africa for centuries, and contains oodles of Vit. E, fatty acids, and a variety of phenolic compounds. Some research suggests that it is perfect for mature skin by reducing inflammation and oxidative stress. It is perfect for all skin types, including those prone to outbreaks.
- Sweet almond oil: While sweet almond oil makes an ideal massage oil, you can also use it for your anti-aging serum. It has excellent emollient properties thus making it perfect for dry skin.
- Fractioned coconut oil: fractioned coconut oil is another great choice as a base oil. It easily penetrates and moisturizes the skin. But since it only is a “fraction” of regular coconut oils, it remains liquid even at lower temperatures.
There are so many more carrier oils than what I have listed here. To get more information and inspiration you can click on this link.
Extra: Different Essential Oils and Their Benefits
Depending on your skin’s needs and personal preferences, you could any one or more of these:
- Lavender essential oil makes the top of my list, mostly because of its delicate, floral scent. But more importantly, it can reduce the appearance of scars and wrinkles. I can even help soothe the skin during sun exposure.
- Frankincense is a favorite for its ability to rejuvenate the look of mature skin. You can use it in your favorite serums or creams for the face.
- Geranium essential oil is another great addition with its skin-balancing properties that can improve the overall skin complexion.
- Rosemary essential oil balances and tones the skin and can even prevent breakouts. With many antioxidants, rosemary essentials oi can prevent the development of wrinkles and helps maintain the elasticity of the skin.
Extra: General Dilution Guidelines
Depending on who you ask, you might get a different answer.
However, it is safe to say that you can start with a 1% dilution and use that for some time. If you tolerate it well, you can increase to a 2% dilution. Different skin types react differently so it’s always a good idea to watch for any sensitivity.
Just remember that with essential oils, a little bit goes a long way!
You can find a helpful dilution chart here.
Shop this post:
Other posts about DIY personal care products you might like:
Questions or comments? Let me know below!
Pin For Later:
How to Make Tallow Balm
Equipment
- hand mixer with whisk attachment
- double boiler
Ingredients
- 1 cup beef tallow
- ¼ cup jojoba oil
- 50 drops essential oils (optional)
Instructions
- Melt the tallow in a double boiler over low heat.
- Remove the bowl from the heat and add your chosen oil in a ratio of 1:4 (i.e. ¼ cup of oil and 1 c of rendered tallow) and mix them well with a spoon.
- Add a few drops of your favorite essential oils (see dilution recommendations below).
- Pour this mixture into a container of your choice.
- For a whipped tallow balm, let the mixture solidify either at room temperature or in the refrigerator. If you are doing the latter, keep a close eye on it so it doesn’t become too hard.
- Using your handheld mixer with the whisk attachment, beat this mixture until fluffy.
- Add essential oils if you like and whisk them in at a slow speed.
- Transfer the tallow balm to a container of your choice.
Notes
- you can also place a glass mixing bowl over a small sauce pot
- to prolong its shelf life, keep the tallow balm in an airtight container in a dry and cool place, and only scoop out tallow balm with clean hands or a spoon. You can also add a few drops of Vit. E oil or rosemary essential oil.
I use beef marrow instead of tallow and followed your recipe. I love it! My skin loves it!
That is so great to hear! Thank you for sharing ~ Anja
I am very sensitive to essential oils on my skin especially my face, so I tried making tallow balm without. this made the tallow smell too strong. your recipe with jojoba oil lightens the smell a lot! my skin loves it! thank you so much for sharing this recipe!
I am so glad you love it and were able to customize it to your needs ~ Anja
Hi! I made this tallow balm this weekend but it came out too soft and runny. Is there a way to fix that?
You can melt it again and add more tallow ~ Anja
Hi my question is, I made a batch up and I don’t think it has enough essential oil in it. I’m not fond of the smell lol my question is can I add more essential oil and rewhip it?
You could gently melt it and add the essential oils then. Since I haven’t tried that myself, I can’t tell you whether you’d have to whip it again ~ Anja
Can I use more than one carrier oil?
Yes, that would work great ~ Anja
Hi Anja, I love your site and all your wonderful recipes!
I purchased the tallow in your link for this recipe. It does not look like the tallow you used in the video, it’s yellowish and smells a bit beefy. Is there another source for an odorless tallow?
Thank you for pioneering the way for so many DIY’s!
Barbara
I am so sorry! Have you checked out the one I link to in my blog post? They’re a reputable company but since I make my own, I don’t know if even their products vary a bit from batch to batch. Hope this helps ~ Anja
I’ve been wanting to make tallow skincare for a long time! I am definitely going to try this. Thank you!
Yay! Hope you will like this tallow balm as much as we do ~ Anja
I have ALWAYS wanted to make this. I love that you did this recipe so now there is no guesswork for me. And I know I can get it right.
Awww … thank you so much! Happy making ~ Anja
I recently discovered tallow balm and lotion. I have been using it on my feet and it feels so lovely!
Isn’t it? Absolutely amazing ~ Anja
you posted the suggest the right time! I have a bunch of Tallow in my freezer from my local farm and I probably won’t be able to use it all before we have to move so this is the perfect way for me to use it! so excited to try it out
Nice! Hope you will like this tallow balm as much as we do ~ Anja