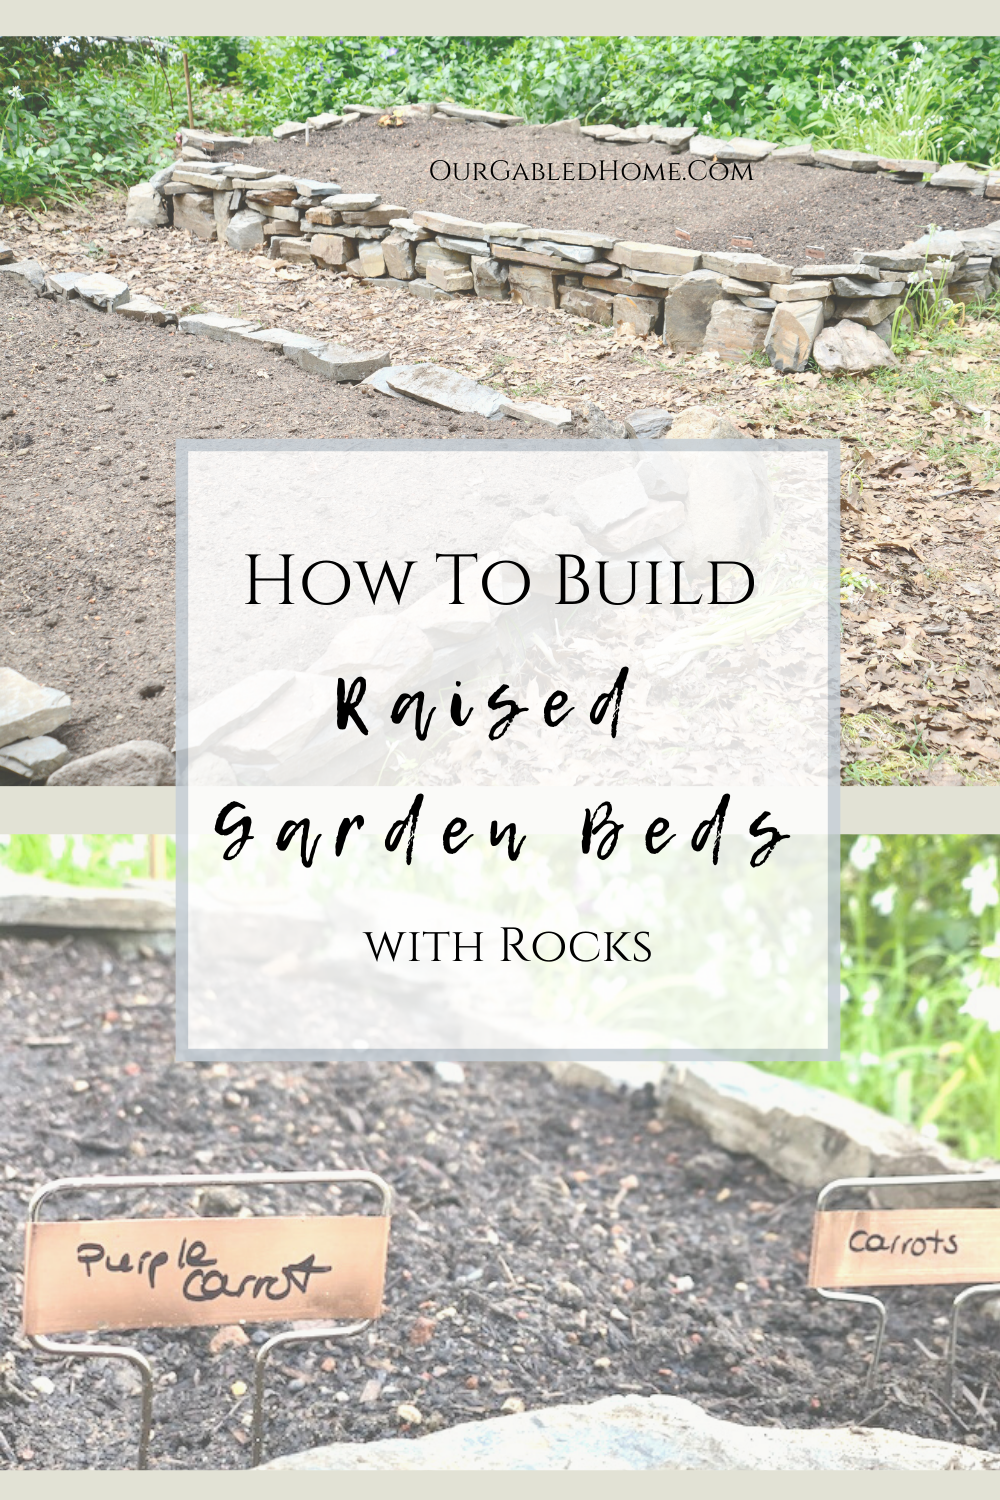
Raised Garden Beds With Rocks
I always knew I wanted raised garden beds built with rocks. There is something so grounding about using materials from the earth to grow your food. Today, I am sharing how I built ours and what I learned along the way.
These days, it seems that everyone is talking about and having raised garden beds. There are so many advantages to them that I had finally decided to put some in our garden.
But I didn’t want to build them from wood or metal. I wanted them to blend into the garden of our 1910 Victorian shingle-style home. So I needed something else. Finding that solution is what kept me from putting them in for a while. Now, I am so happy to report I did!

This post contains affiliate links, which means I make a small commission when you buy something, but at no extra cost to you. You can read my full disclosure for more details.
Why Choose Raised Garden Beds?
Before putting in raised garden beds with rocks, I wanted to make sure we were aware of the benefits. And the drawbacks – because there are some.
- Weed Control: Growing vegetables in garden beds helps control weeds significantly compared to traditional rows.
- Ergonomics: Because the garden beds are raised, it’s easier on your back and knees when it comes to planting, caring for the vegetables, and harvesting.
- Soil Health: Since those beds are clearly defined spaces, nobody will be walking on the soil. Veggies like fluffy soil, not compacted down by foot traffic.
- Customization: It’s easier to put good soil into a frame instead of having to dig it into the existing soil at ground level. Amending the soil later is also easier.
Understanding the Drawbacks
The big drawback is that they tend to need more water than if you planted vegetables in the ground. I decided that that wasn’t enough of a negative for us. It can also be quite expensive, depending on what material you end up using and how many beds you build.
Also, in hindsight, we should have added some cement in between the rocks to minimize shifting.
👉 PRO Tip: Use moisture-retaining soil amendments such as compost, coconut coir, worm castings, or vermiculite. Add a layer of mulch on top to prevent evaporation.
The Beauty of Natural Stone Raised Garden Beds
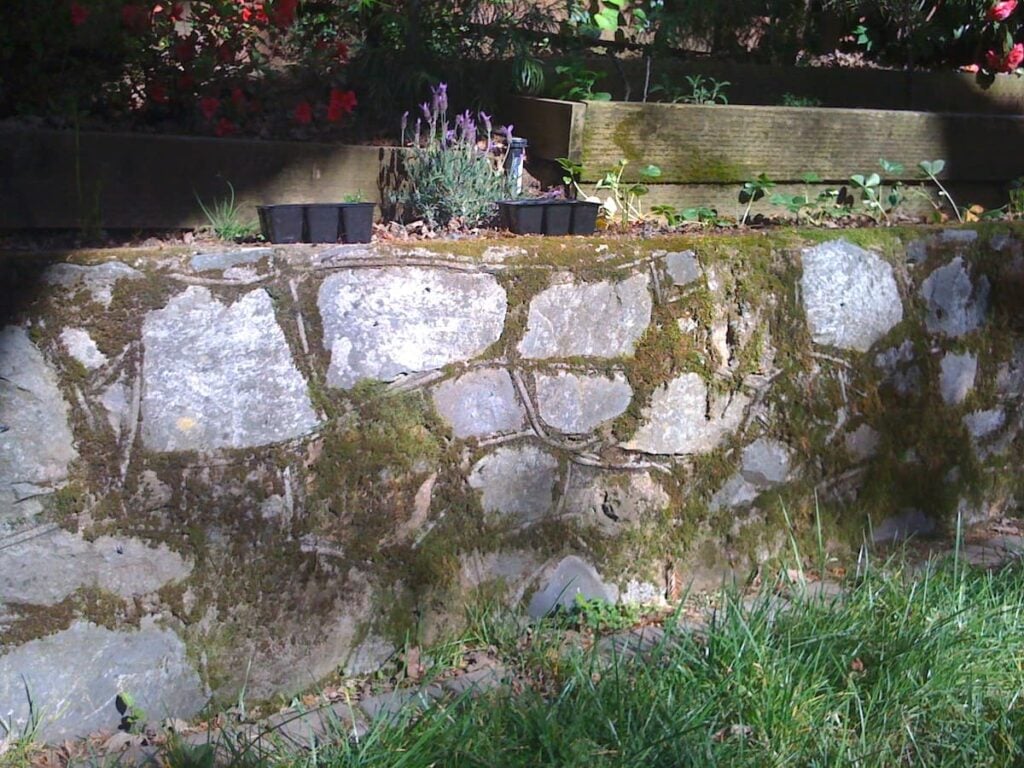
Using rocks to build garden beds felt right for that property. Our garden already had a lot of “hardscape” – low walls built from native rocks that were mined locally. Many of the 100+-year-old homes in our area featured the same bluestone walls.
Not only did we believe that metal or wood garden beds would look a bit off, but we actually found that raised beds with rocks blended in seamlessly with the historic aesthetic.
We also happened to have a big pile of rocks and thick flagstone that our neighbor had given us. It was the same bluestone used elsewhere in the garden.
Why We Chose Raised Garden Beds with Rocks
While there are many tutorials for metal or wood, we wanted to stick to the simplicity of stone.
Planning and Layout
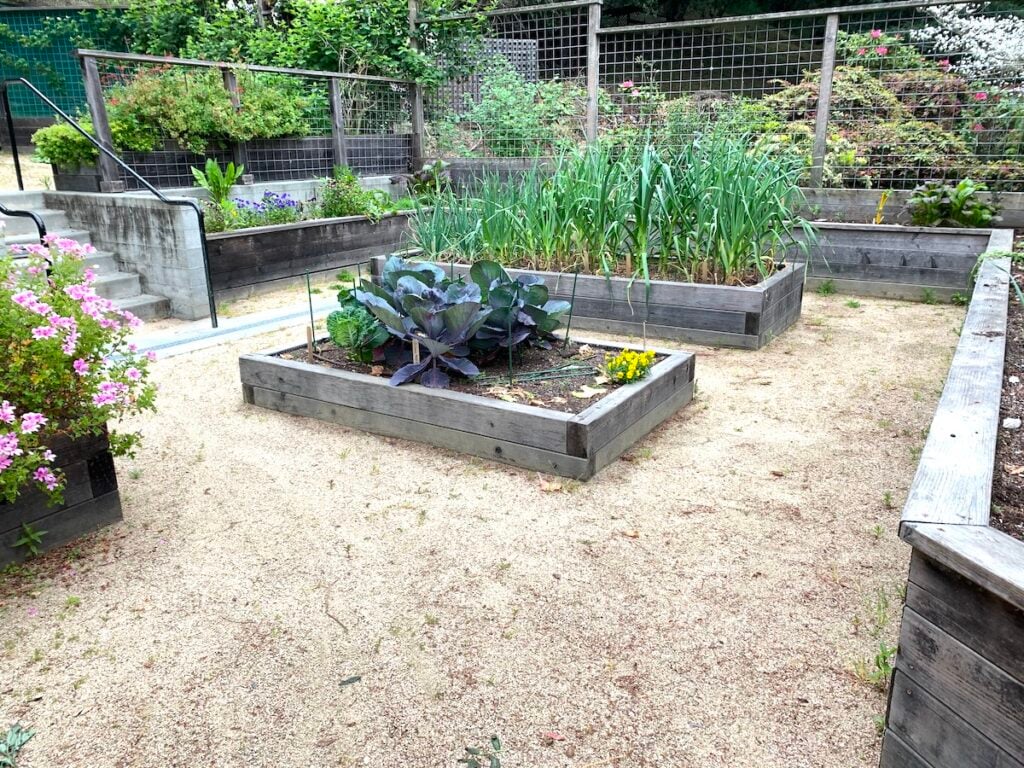
The concept was simple: after considering the location, we decided on a size of 4′ x 9′.
- Width: 4′ wide allowed us to easily reach into the middle of the beds from both sides.
- Length: 9′ is what worked best for that specific garden layout.
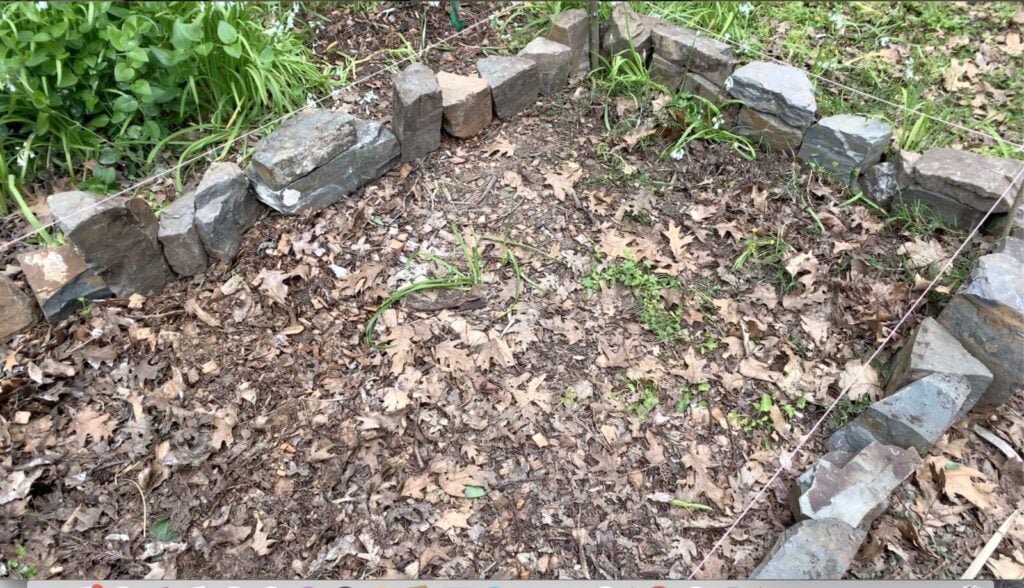
I simply put wooden sticks into the ground where the four corners of the beds would be and connected them with a string to keep our lines straight.
The Stacking Process
The method we used for these raised garden beds with rocks was simple stacking:
- The Foundation: We started with the thicker, flatter pieces for the bottom and very large stones for the corners.
- The Tetris Method: Then, we continued stacking more rocks on top. This involved some trial and error. Sometimes, rocks would topple, and we’d have to start a section over.
👉 PRO Tip: While it looks very organic, you might like to add some cement to keep the rocks from shifting over time.

Filling and Planting the Beds
Since we were putting the raised beds over oxalis and grass, we put down cardboard inside the stone frames first to suppress the weeds.
We then filled them with a veggie blend consisting of sandy loam, compost, and manure. It’s great if you have an old pick-up truck (or a friend with one) to bring in the soil.
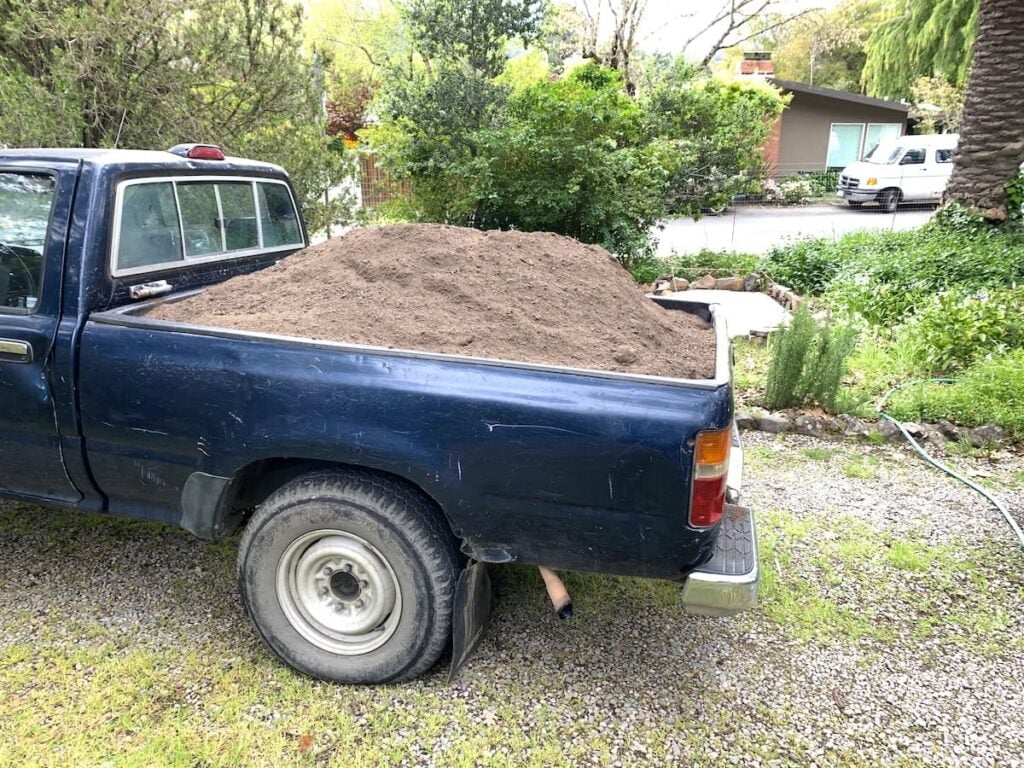
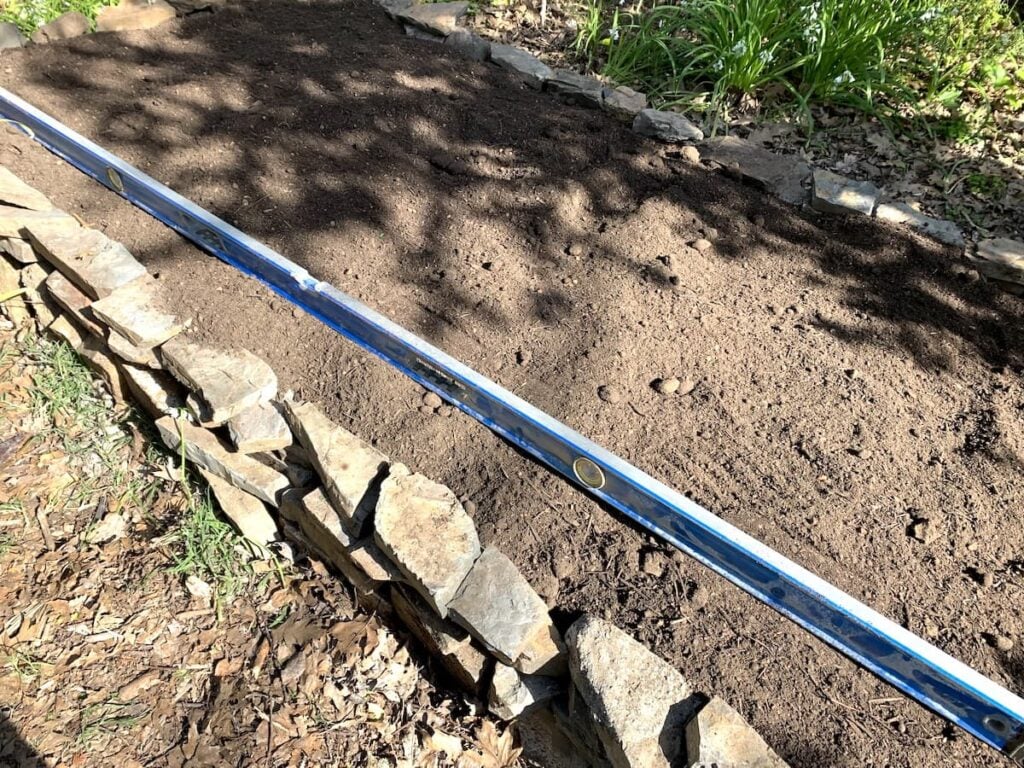
We had done some simple calculations to determine how many cubic yards of soil we would need. To keep the water from pooling or running off to one side, we used a level to make sure the soil was flat.
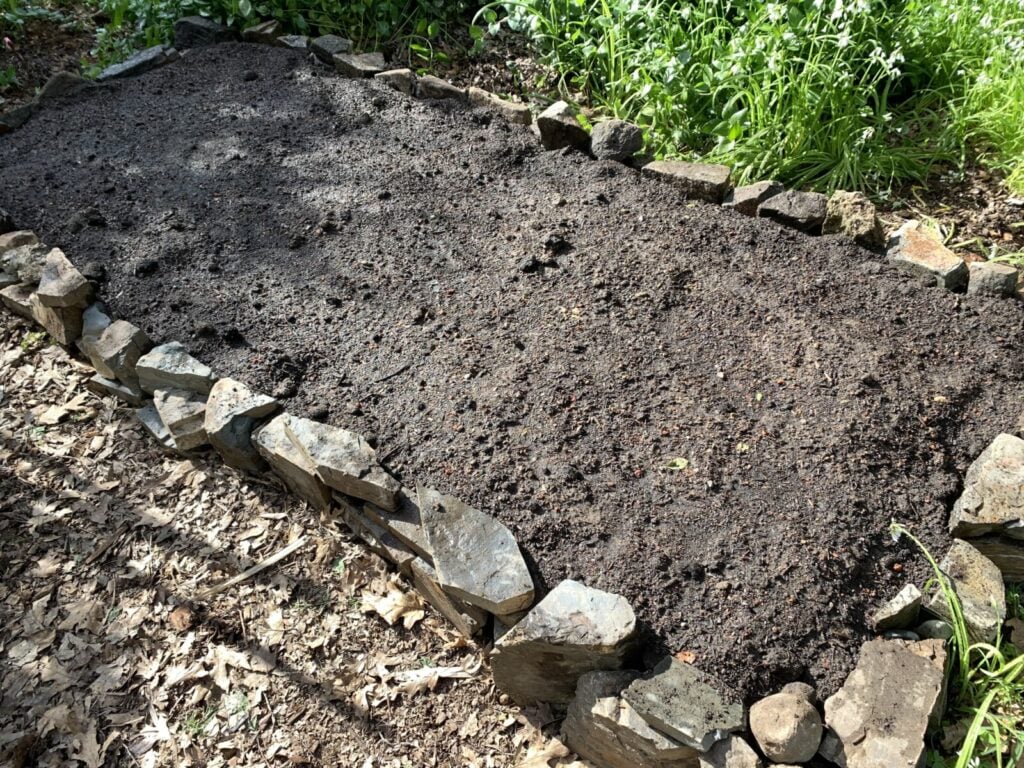
The Final Result
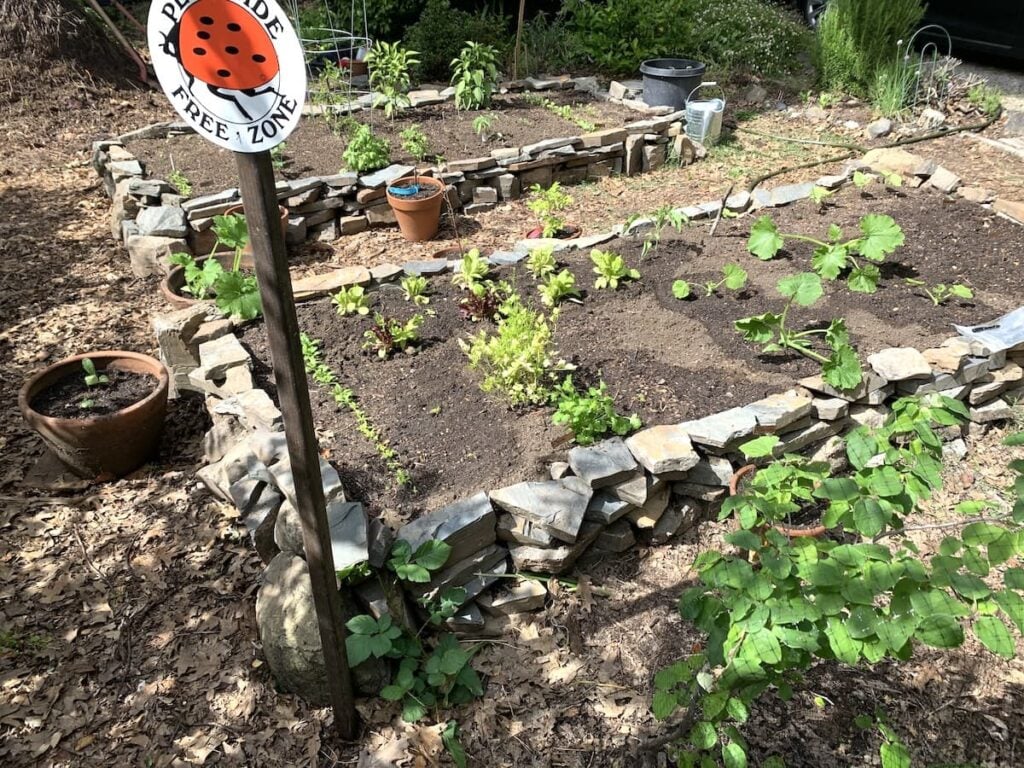
Once the soil was in place, we raked it even. Planting time is where the real fun starts!
We grew some of our favorites there:
- Carrots and Strawberries
- Radishes and carrots
- Rhubarb
- New Zealand spinach
I still remember the excitement of that first harvest. Even though I’m no longer tending those specific beds, the lessons I learned about raised garden beds with rocks stay with me. It’s a durable, beautiful, and incredibly simple way to bring a garden to life.

More Garden posts you might like:
5+ Garden Mistakes I am glad I made
Super Simple Drip Irrigation for Raised Garden Beds
Do you have raised garden beds? I’d love to hear your experience with them in the comments below!
Pin for Later:
Would love to hear your reflections now that it’s been a few years. Anything you’d change now that you have hindsight?
Obviously, it’s a very quick setup. If you stay on top of the weeds, it holds up. Otherwise, I’d add some mortar or concrete to the rocks ~ Anja
What did you use to keep the rocks together?
Nothing which can be a challenge if you have a lot of weeds in the garden ~ Anja
I love working out of doors, and using natural materials available. I too have a raised garden bed of stone, although not a rectangle. I did not use any weed barrier, but I do heavily mulch to keep weeds at bay. I really do enjoy all your posts and thanks for sharing all your wisdom!
I am so glad to hear that and happy gardening ~ Anja
Thanks for posting this article! I plan to build one. Why do you use cardboard and not porous black fabric under the soil?
That’s a good question! In hindsight, maybe we should have used black fabric. Ultimately, it depends a bit on what you want to grow and how deep your beds are. Hope this helps ~ Anja
Oh no, the black fabric is the worst thing to use in your garden. Speaking from a very hard to overcome experience! The black fabric effectively kills your soil! Fine roots (trees in our case) from underneath tend to grow through. The worms could not get thru and didn’t find their way there. All the plants set into a front garden with the black fabric underneath and 6-8 inches of soil, then mulch on top to conserve water, died. Weed seeds are dropped in by birds and blow in from wind. and if the grow down to the black fabric, they are more challenging to remove than if you get the weeds out when they are very small. Later, we had to pay someone to remove the fabric. It was a backbreaker and required tools and immense strength. Only use black fabric on a slope maybe, but not under a garden where you are growing landscaping plants and veggies.
Thank you so much for sharing your experience ~ Anja
Wow, that garden looks great. Thanks for the step by step instructions. Really helpful! You have inspired me for spring!.
Thank you! It makes me so happy to hear that you find this inspirational for your own garden ~ Anja
I love raised beds made with stones. I think it’s because they just fit in with their surrounding, like they belong. Thank you for the tutorial 🙂
So glad you like them as much as we do!
These look beautiful. They remind me of the stone walls I saw in England and Scotland when I visited as a teenager. Just gorgeous! Thanks so much for the tutorial!
They have a bit of an old-world look to them, right? Well, our home is a bit like Victorian home mixed with English country estate 🙂
Looks beautiful! Great idea that is a little different than the typical raised bed! Awesome job!
Thank you! We mostly felt that they would work better with the existing hardscape 🙂
Anja, you did an amazing job on this. I love it! I will pin again and I will share it on my FB.
Thank you, girlfriend 💜!
I want a garden like this! Thank you for the info! Looks amazing!
Awww … thank you 😊
How neat! I never seen garden beds made with ricks. Im excited to try this!!
Yeah, they’re not very popular for some reason …