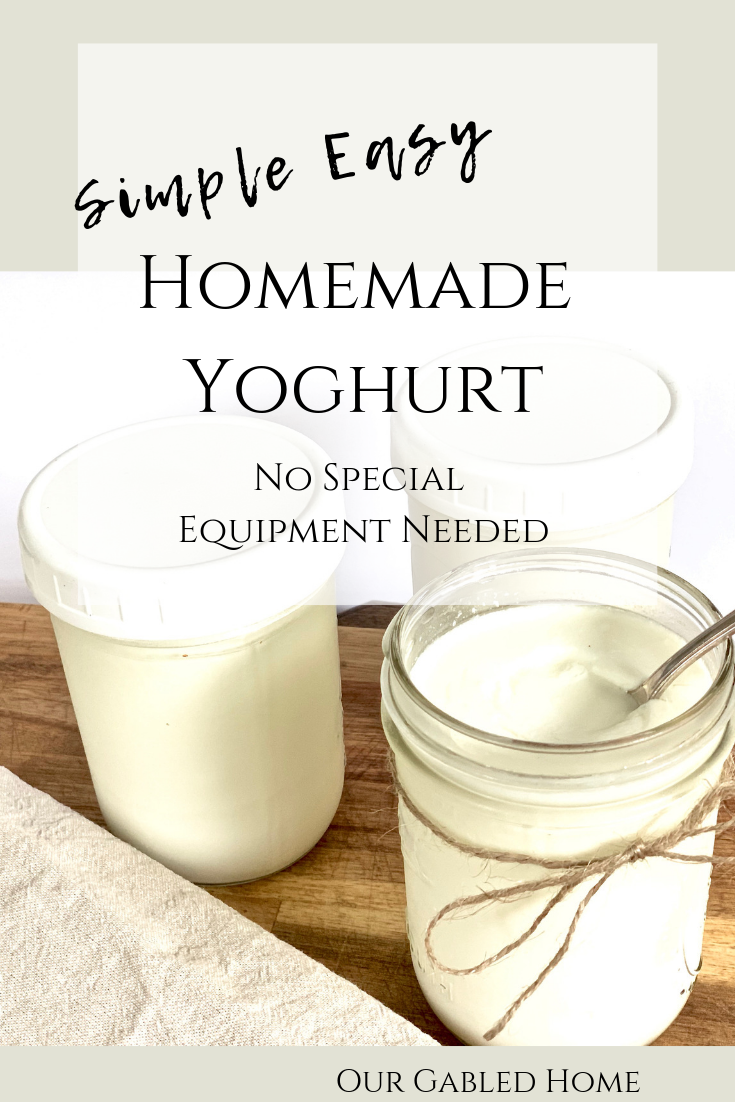
How to Easily Make Yogurt at Home
What You Will Love About This Yogurt Recipe
Homemade yogurt is so easy to make it’s almost ridiculous. If you’re just starting out adding homemade cultured foods into your diet, this is such an easy one to try!
Actually, making yogurt is so easy that it’s almost not even worth dedicating a whole blog post to it. On the other hand, it is so simple that I just want to share it with everyone!
I love adding fermented foods to my meals.
Fermented foods are full of live beneficial, gut-friendly bacteria that you’ll want to include every day.
Homemade Yogurt Recipe Ingredients
All you need is already-made yogurt and milk. It’s so nice to know exactly what goes into your food.
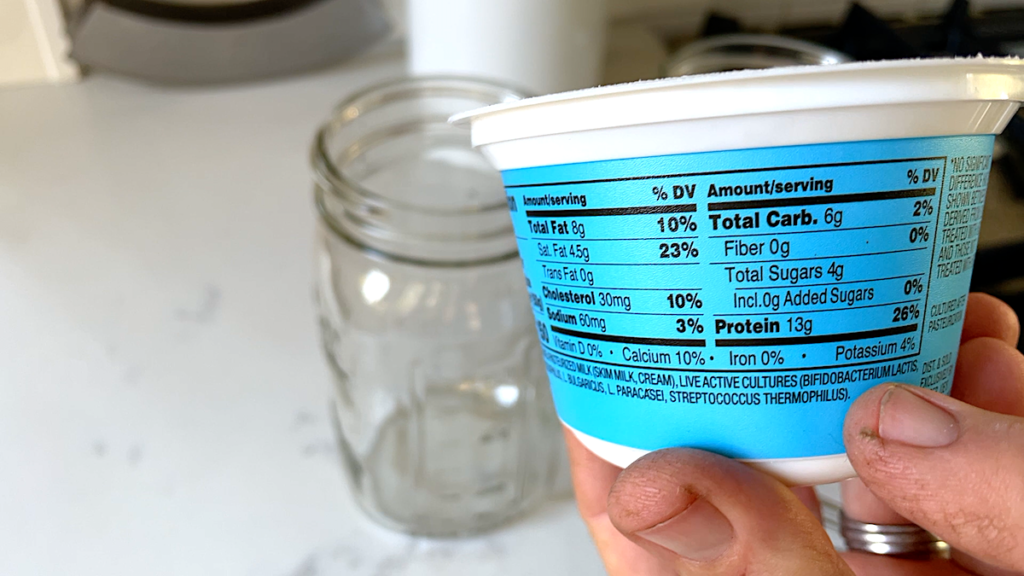
You can either buy a small container of your favorite plain yogurt in the grocery store. If you do, just make sure it contains live active cultures.
Next time, it will be easier since you can use your homemade yogurt to make the next batch.
Your other ingredient is milk.
What kind of milk is best for homemade yogurt?
I have to say that I like full-fat milk best for taste and consistency. Yogurt made with skim milk tends to get a bit more tangy and runny.
How to make homemade yogurt
Pour the milk into a pot. Over low-medium heat, slowly heat it up to about 180˚F. You can use a thermometer to monitor the temperature. Also, make sure to stay close to your milk as it can boil over very quickly.
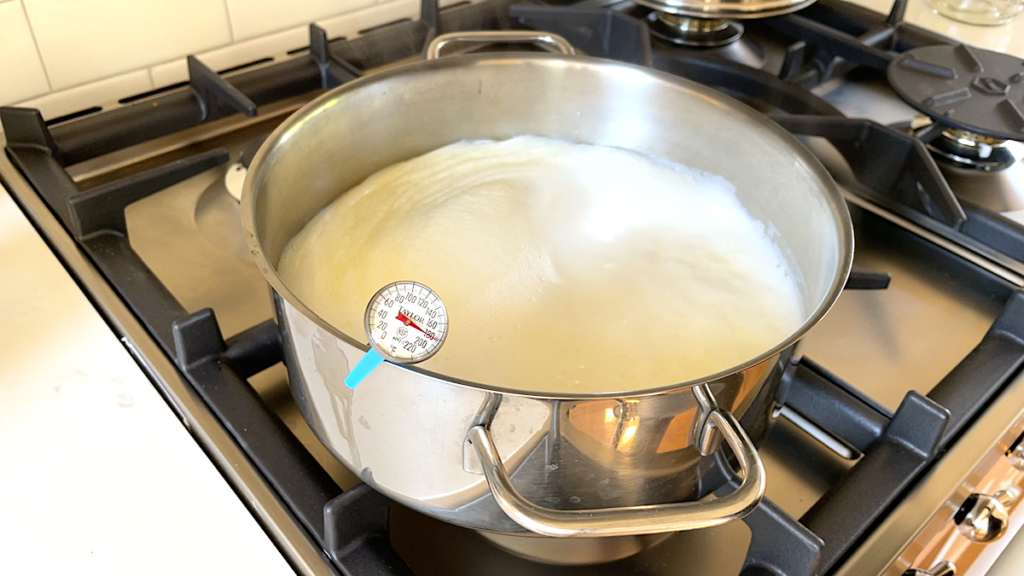
If you don’t have a thermometer, you can do what I do. I wait until the first signs of skin forming on the milk. I know it’s not super accurate but it has worked well for me.

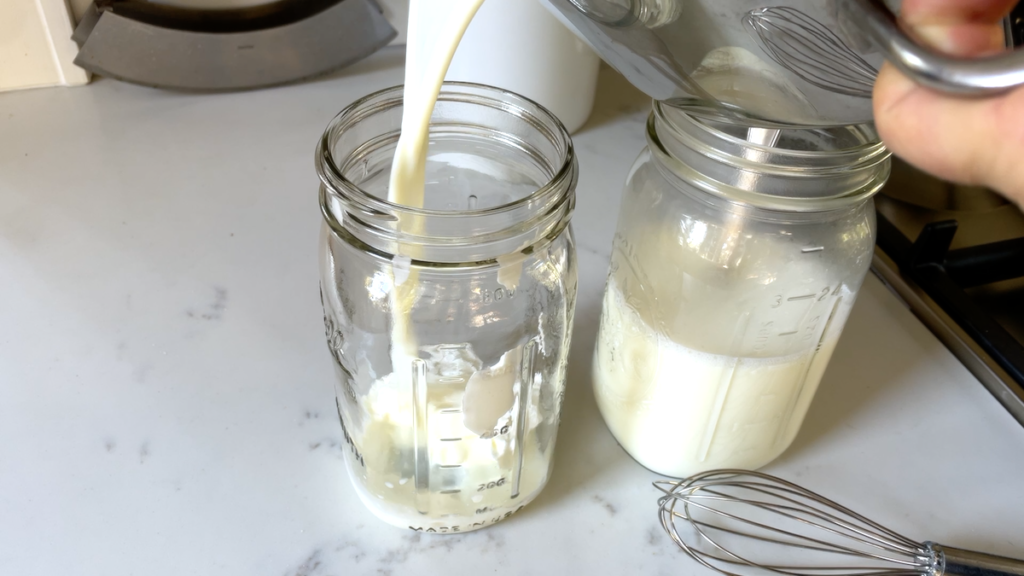
Now you need to let the milk cool down. When nice and warm to the touch, add your yogurt. Fortunately, the ratio is flexible: I use about ¼ of yogurt to about 1 quart of milk. However, it does not have to be exact.
If you want yogurt done quicker and a bit more sour, you can increase the amount of yogurt.
If you’d like a mellower taste and have more time, you might get away with adding just a few tablespoons of yogurt.
However, there are other factors such as the temperature, the live strains in your starter culture, etc that will all affect the final result. Don’t be surprised if you find your yogurt coming out a bit different every time.
You can also get a starter such as this one. In this case, you just follow the instructions on the package. It’s pretty foolproof.
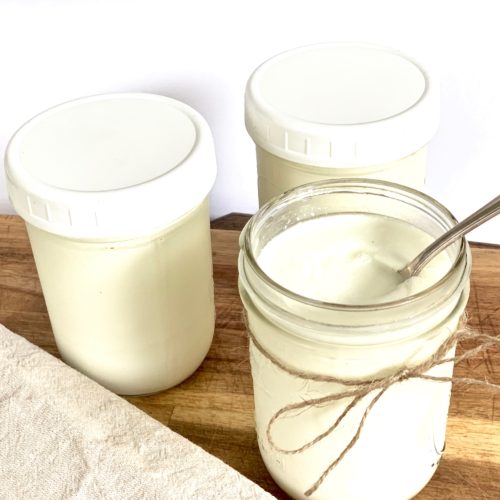
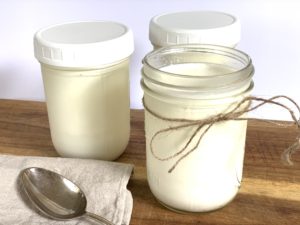
Back to my method: Using a whisk, stir everything well and fill it in clean glass jars. Mason jars are perfect for yogurt! Any size works but I prefer either the pint or the quart size.
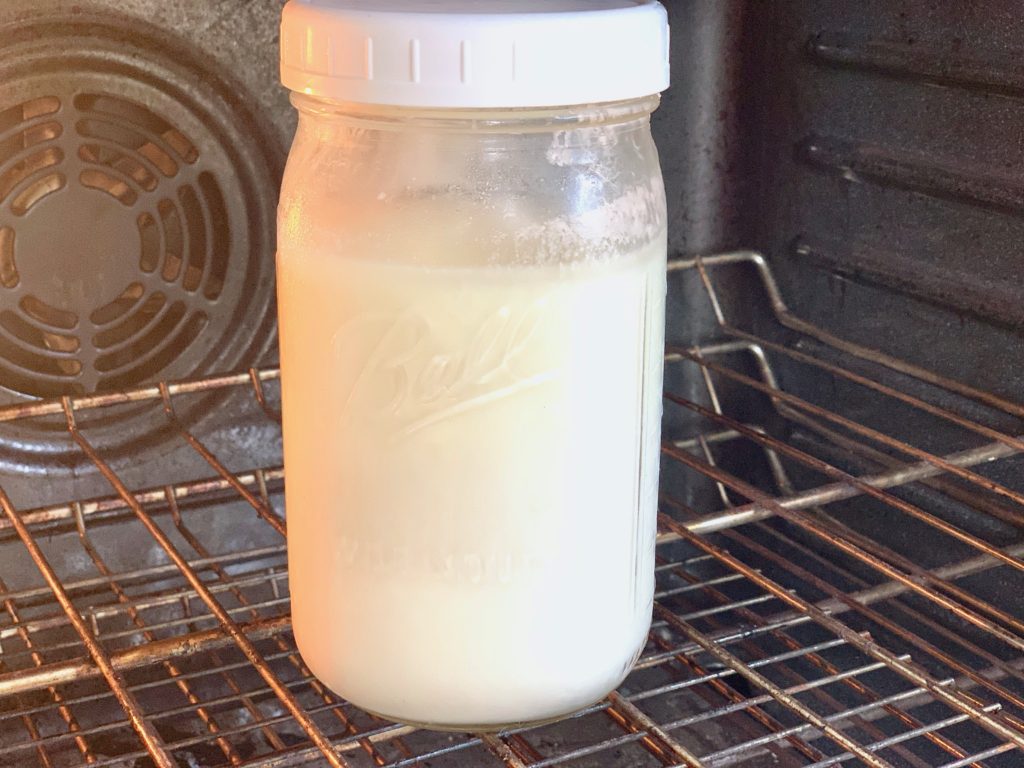
Now, let this mixture sit in a warm spot. 100˚-110˚F is the optimal temperature for culturing yogurt. Some ovens go down to that temperature.
Yoghurt Recipe Tips
Previously, we had an oven that I could set to 100˚F. Our new stove’s lowest setting is 150˚F. So now I turn the oven to 150˚F, then turn it off, add the jars, and turn the oven off.

Another option is to only turn on the oven light. Oftentimes, that will warm up the oven enough for culturing yogurt.
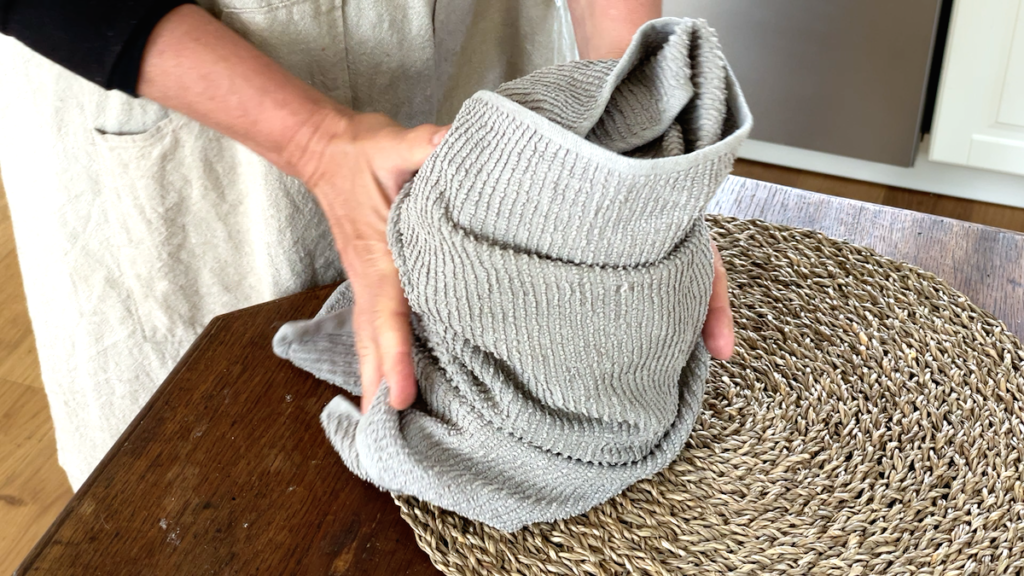
The jars can also be quickly wrapped in towels or blankets to keep them warm. In the winter, the jars can sit on or near a heater. In the summer, you could set the yogurt into a sunny window sill.
Of course, there are yogurt makers that take all the guesswork out of it. While I haven’t tried this method myself, some people culture their homemade yogurt in an instant pot.
And remember as, with most fermentation processes, the timing here depends on many factors: the temperature, the yogurt-milk ratio, and your own preference.
I like to leave my yogurt in the warm oven for at least 4 hours and then check every so often.
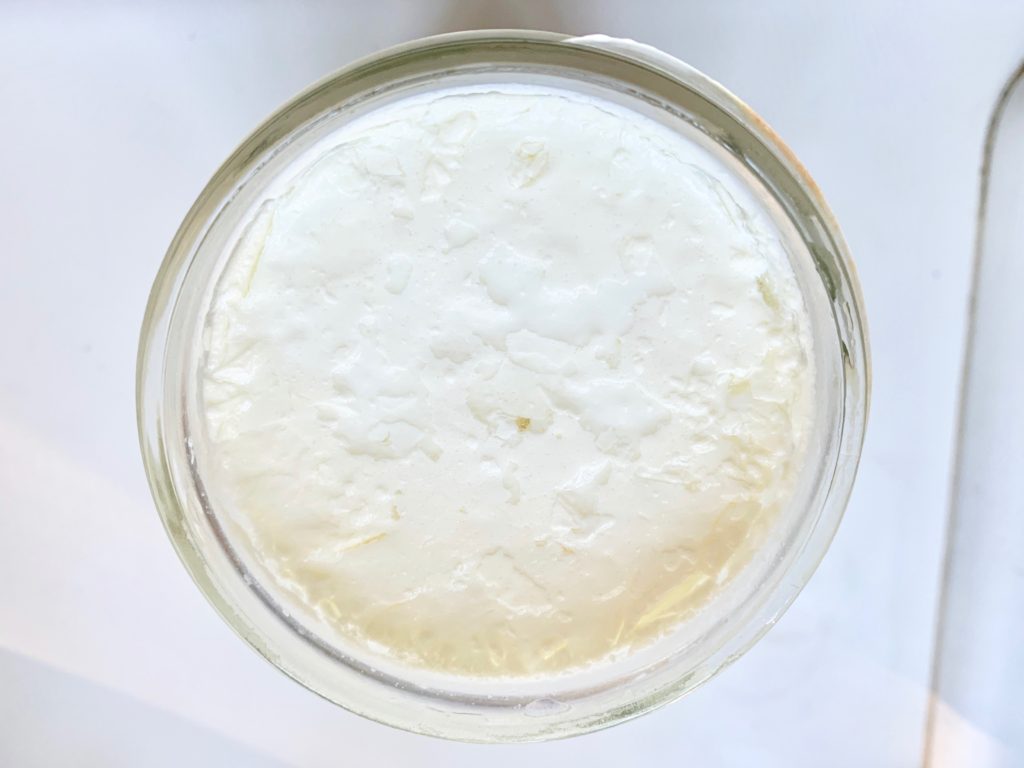
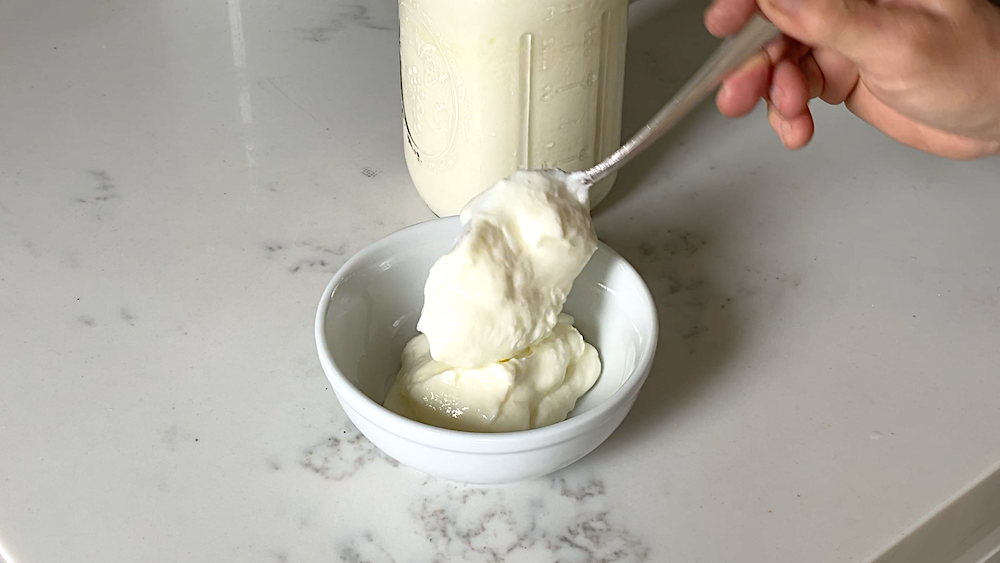
If it’s somewhat solid and jiggly and has a pleasant tangy smell, I will take it out. I have also let it sit in the oven for as much as 8 hours.
How to Store Homemade Yogurt
When the yogurt is done, I will put it in the refrigerator where it will set even further. Your homemade yogurt will keep for a few weeks – if you can manage to not eat it up before …
Can you freeze homemade yogurt?
You can freeze it for up to a couple of months, but I don’t really recommend it if you plan on eating it straight out of a bowl. Freezing completely changes the texture. The liquid whey separates from the solids, and once it thaws, it can look a bit watery and grainy. That said, it is absolutely perfect to freeze if you plan on using it in your morning smoothies or for your baking!
If you’re like me, you might like to enjoy your yogurt plain. But you can add any sweetener such as honey or maple syrup and/or toppings of your choice, such as jam, nuts, seeds!
You can also use it in recipes instead of sour cream. The possibilities are endless!
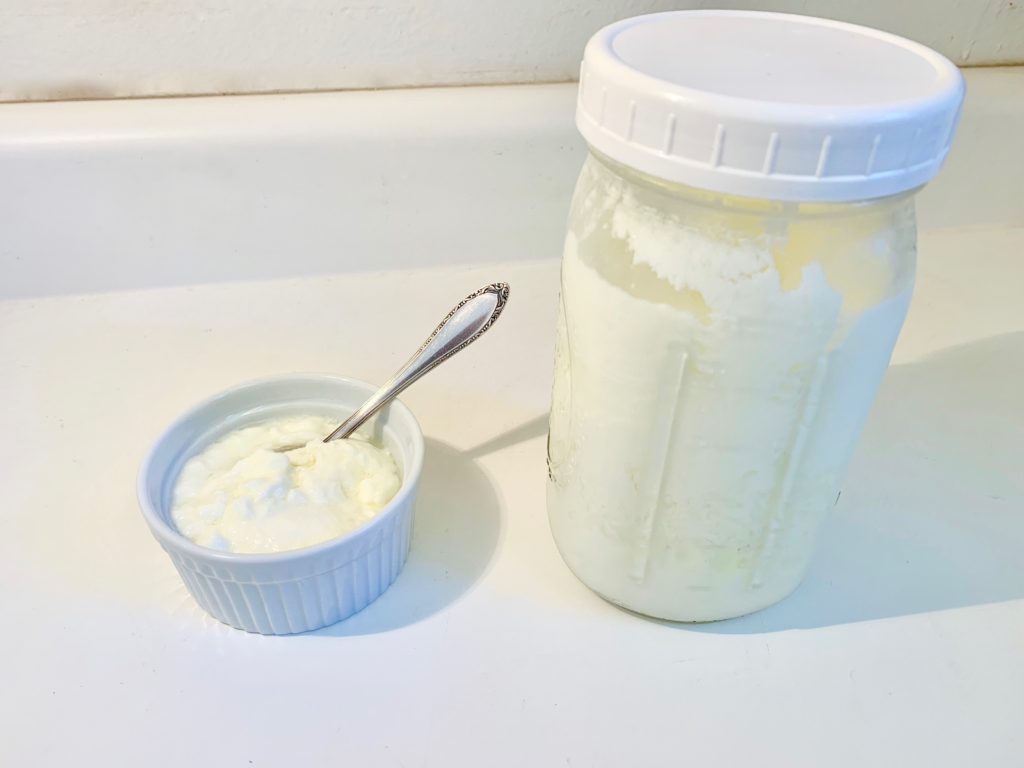
Just make sure you keep a small amount of your homemade yogurt for your next batch!
As an added bonus, I love that I am not using any plastic yogurt cups 🙂
FAQs for How to Make Yogurt at Home
They are the exact same thing! It really just comes down to where you live. Here in the US, we usually spell it “yogurt,” while in my home county of Germany, we spell it “yoghurt.”
If you store it in a clean, airtight glass jar in the fridge, your homemade yogurt will easily stay fresh and delicious for one to two weeks if not longer. If you see a little bit of clear liquid pooling on the top after a few days, don’t worry at all. That’s just the whey separating, which is completely natural. You can just stir it right back in or pour it off to use in your sourdough baking!
If your yogurt turned out a bit grainy, it usually means the milk was heated up just a little too fast or got a bit too hot in the beginning, which causes the proteins to clump. To keep it smooth, just heat your milk gently over medium-low heat, give it a stir every now and then, and make sure it doesn’t go past 180°F.
The absolute biggest mistake I see is adding your starter culture when the milk is still too hot. If the milk is too hot, it will kill off all those live beneficial bacteria, and your milk won’t set. Always let it cool down until it feels comfortably lukewarm, right around 110°F, before adding your starter. Another little tip: once you set your yogurt to incubate, leave it completely alone! It needs to sit nice and still in its warm spot so it can work its magic undisturbed.
I would love to hear your comments and questions!
Homemade Yogurt
Instructions
- Over low-medium heat bring your milk to 180˚F (either use thermometer or until skin starts to form on top).2. Let milk cool down until you can comfortably touch it.3. Using a whisk, add your yogurt until well combined. 4. Pour into clean glass jars.5. Keep in a warm spot. The ideal temperature is 100˚-110˚F. Check your oven if it goes that low. Otherwise, heat oven to lowest setting, turn it off, leave the light on, and quickly put the jars into oven. Yogurt can also be fermented close to a heater and/or wrapped in a towel. 6. Let ferment for 4 hours. Check if it has your desired firmness and sourness otherwise continue to let it sit for up to 8 hours. 7. Refrigerate yogurt. This will make it set more. 8. Be sure to save anywhere from 1/4 to 3/4 cup of your homemade yoghurt for your next batch!
Nutrition
Repin for Later:
Can you use almond milk to make yogurt?
Yes, you can make yogurt with almond milk.
Just know it won’t behave like dairy milk. Almond milk is low in protein, so the yogurt often turns out thinner unless you add a thickener and use a good starter culture.
It works, but the texture and flavor will be a bit different. If you want something closer to traditional yogurt, soy milk usually performs better.
Currently waiting for it to culture! This is my first time making yogurt and I’m super excited! I was just wondering what the serving size is for the nutrition facts given? Thank you so much for sharing this recipe!
Nice! Serving size should be 1 cup ~ Anja
I am trying to get away from plastics as plastic is found in the body from packaging. I am wondering if you can buy yogurt in a glass container and then make yogurt. I know you can with milk.
I will have to research this!
Yes, any yogurt with live active cultures will work! Good for you for trying to avoid plastics ~ Anja
hi Anja,
so I have now learned how to make yoghurt, have done it a few times and it really is a big success every time, I am using 2 liter of milk and 2 bought yoghurts (150g each) I have it with fresh fruits and freshly milled linseed, and also 1 tablespoon of high protein-powder, that is my breakfast and it keeps me full until midday. Will have to buy now bigger weck-jars so I won’t need an extra dish. Glass is so much better than plastic.
thank you very much 🙂
I am so glad to hear that! Thank you for sharing ~ Anja
Thank you for sharing Anja! I wonder will this recipe work if I’m using an ultra- filtered milk? I like to buy those milks with higher protein and lower sugar content for morning lattes etc..
Yes, that should work! You’ll usually get a firm, Greek-style texture with very little effort ~ Anja
Thank you for your calm encouragement. It’s just what we need today! I did make the yogurt. After mixing all ingredients, I discovered that my 30 year old yogurt maker which hadn’t been used in about 28 years was broken. I tried to channel your ‘can do’ energy and just pivoted to put the yogurt jars into a slow cooker that had been preheated to warm. Success! Lesson, just keep going.
Sounds great! I am so glad you’re experimenting and finding ways that work ~ Anja
I have been making our own homemade yogurt for over 8 years. I started out using an old (non-digital) stove to ferment the yogurt for 8 hours (This was the recommendation). I first had to get the oven temperature dial set at the proper point so I put a pan of water into the oven and set the temperature dial below the 140 degree point. I allowed for an hour each time I checked and adjusted the temperature until the thermometer registered 105 degrees then marked this point on the stove so that I could always go back to this point after the oven was used for cooking. Our kitchen appliances were replaced before I realized that the digital oven would not go below 170 degrees. At that point I purchased a One Pot which had the yogurt program built in. It also has a stainless steel liner which I use in the oven to reach the 180 degree temperature prior to cooling to 105 degrees (in a sink of cold water) and then adding the culture. The One Pot holds 6 quarts and I max it out because I’m only producing a little more than 3 quarts of Greek yogurt after straining the whey which by the way cannot be used to make Ricotta cheese if you’re getting your milk from a grocery store in the U.S. The ultra pasteurizing process is the problem. You can use the whey in any recipe which calls for milk on a one to one ratio without any detriment to the finished product so don’t throw it away, but don’t put it on your bowl of cereal!
Sounds great and thank you so much for sharing ~ Anja
Anja – I tried making this recipe twice, I believe I followed all instructions accordingly. The only slight alteration is I’m using lactose-free milk (as I have problems with lactose). Both times, the yogurt never set. I let it ferment for 8+ hours & then refrigerated overnight. Both times, same result. Help! Before I give up, do you have any suggestions what I could possibly be doing wrong? Is whole milk a must?
Would love to make this work!
Many Thanks!
Kristina
The yogurt cultures need the lactose (milk sugar) so with lactose-free milk it just may not set. You could add some pectin if you want it stiffer ~ Anja
I to have lactose issues , I use a yogurt maker and feement for 24 hours , that allows the feement to use up all the lactose , this also increases the probiotic count
Can you use whipping cream for making yogurt?
Yes, it might become very thick though, more like sour cream ~ Anja
Is all right to use the stuff you use for yogurt to use for
Kefir
Yogurt cultures are different from kefir cultures so it depends on what flavor and texture you want ~ anja
Hi Anja, I’d really like to try this homemade yogurt recipe. I have a question though. I love a thick Greek yogurt. Another recipe I looked at said after letting it sit in a warm place to strain the yogurt in cheesecloth over a glass bowl until the desired thickness. This will also produce whey that can be used for other purposes. In the recipe instructions, you said to let it ferment until it reaches the desired sourness and thickness. Can you explain a little more for me. Is it not necessary to strain at all?
If you just let the yogurt sit longer it will sour more. If you want really thick, Greek-style yogurt, you definitely want to strain it ~ Anja
I love listening to how you do things in your kitchen.
Thank you
Aww … that is so sweet of you ~ Anja
What a great recipe! I can’t wait to try it. Thanks for all the extra step by steps. Very helpful!
Yay! I am so glad you enjoyed this recipe. It really is very easy ~ Anja
I put a cup of store bought yogurt into a gallon minus one cup of raw milk, heat on a stove to 110 F, put into tightly lidded quart jars, and put into a medium size ice chest that is filled with equally warm hot tap water, put the lid on the chest, and sit it in a warm area such as the garage (in the summer), and let sit for 24 hours. It turn out like a thick, fermented milk, but not as thick as store bought yogurt, but it still tastes really good!
Sounds great! For a gallon of milk, you could have used up to a cup of yogurt as a starter but I am glad you got good results! Thank you so much for sharing ~ Anja
Yay!! I love homemade yogurt! I always put mine in the oven with just the light on while it cultures.
But I love that you pour it into smaller jars prior to letting it culture. I’ve always just let mine culture still in the pot. I guess I usually make Greek yogurt so I have to strain it after it cultures. But I think on my next batch I’ll try just doing regular yogurt and do it your way in the smaller jars. Looks fun. ☺️❤️
I never thought of culturing the yogurt right in the pot … However, since most of the time I don’t strain my yogurt, it’s nice to have it in pretty jars that I can then put straight into the refrigerator. I am so glad you enjoyed this post!
Love how easy this is! I need to make my own yogurt. Hate all the plastic. Thanks for sharing all the tips and tricks.