How to Sew a Dirndl Dress | Step-by-Step Tutorial
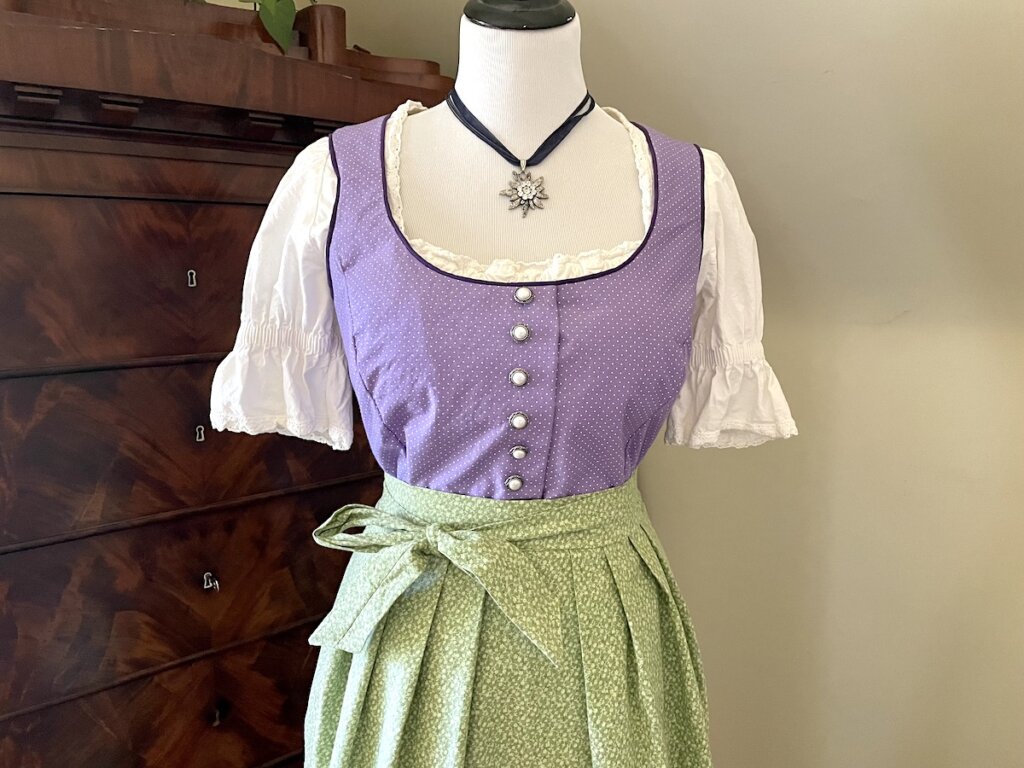
In this step-by-step tutorial, I am showing you how to sew a Dirndl dress that is perfect for your next Oktoberfest or any other occasion.
Whether you’re planning a visit to Oktoberfest or just like to have one, a traditional Dirndl is always flattering for women.
While I actually grew up in the Western part of Southern Germany (Stuttgart, Baden-Württemberg to be exact), classic Dirndls are more of Bavarian or Alpine dress style.
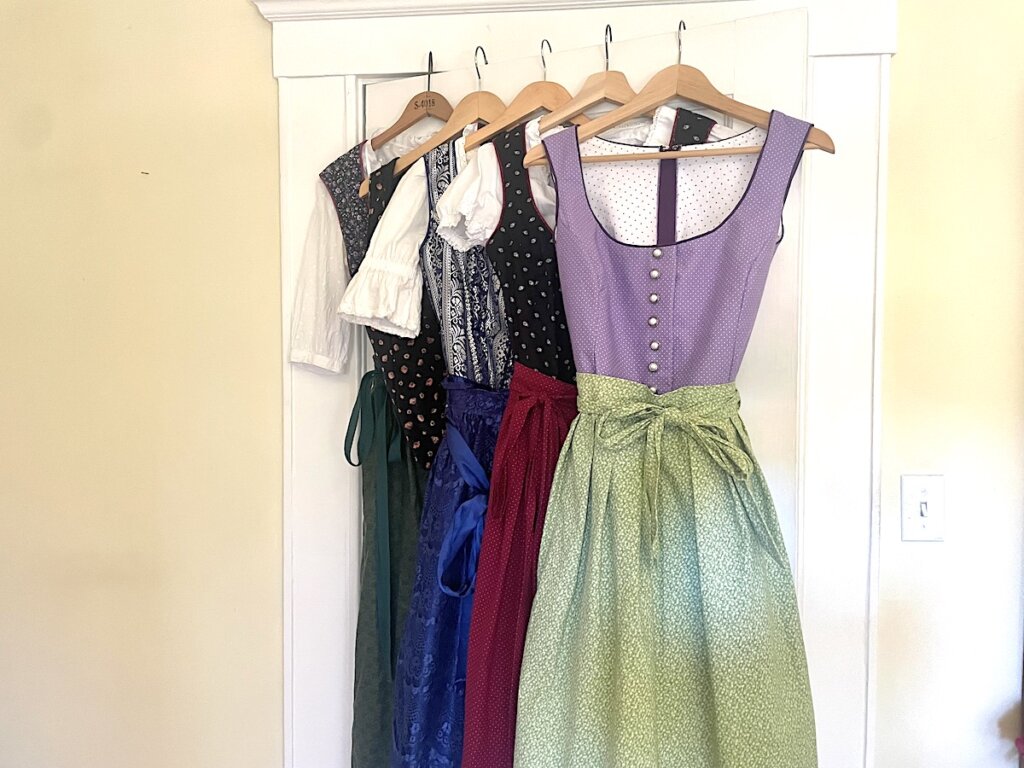
I am proud to say that I have never bought one but have made four myself. Every time, I had so much fun that I wanted to share the process in this step-by-step tutorial.
How skilled do you have to be to sew a Dirndl?
I would say that sewing your own Dirndl is of medium difficulty.
While I think that most people with some basic sewing skills can successfully sew a Dirndl, it does help if you have made various projects with your sewing machine. The Dirndl pattern I am sharing is not too complicated yet there are a few steps that you could simplify.
How to practice sewing:
If you have a sewing machine but would like to build up your skills so that someday soon you can sew a Dirndl, I recommend the following: start with a simple project of sewing a bulk food bag. Then you can try sewing this easy apron, potholders, and ultimately a cross-back apron.
Even though I have added a lot of detailed photos of the sewing process, I do recommend that you also watch my Youtube video if you are looking for more details.
This post contains affiliate links, which means I make a small commission at no extra cost to you. You can read my full disclosure here.
What items and tools do you need to sew a Dirndl?
- Sewing machine: I am assuming that you already have a sewing machine if you’re reading this tutorial and that you are comfortable using it. I love my German Pfaff but a more basic sewing machine will perfectly do.
- Good scissors: I use my scissors only for cutting fabric, not for anything else. Using scissors may be a bit more old-fashioned. You can also use a rotary cutter with a cutting mat.
- Basic sewing essentials: I am also assuming that you already have the basics such as a tape measure, pins, safety pins, needles, and tailor’s chalk.
What fabrics are best for Dirndls?
The best and most traditional material for Dirndl dresses is cotton fabric. However, you can use a different fabric, such as linen, linen blends, satin or silk, and corduroy. Anything with stretch is not appropriate for sewing a Dirndl.
I do recommend that you use lining for your Dirndl. And I recommend that you use thin cotton fabric. With the traditional Dirndl blouses, most of the lining will be against bare skin and cotton just feels nicer then.
I have found the best fabric selections in stores in Germany. This store is one that I know will also ship to the US.
However, you can find really nice fabrics in the US as well. I have purchased many fabrics at Joann’s. Even amazon.com has some very nice fabrics. Typically anything for quilting or calicos will be great.
Where can you get a Dirndl sewing pattern?
Here are some great places to get authentic Dirndl patterns:
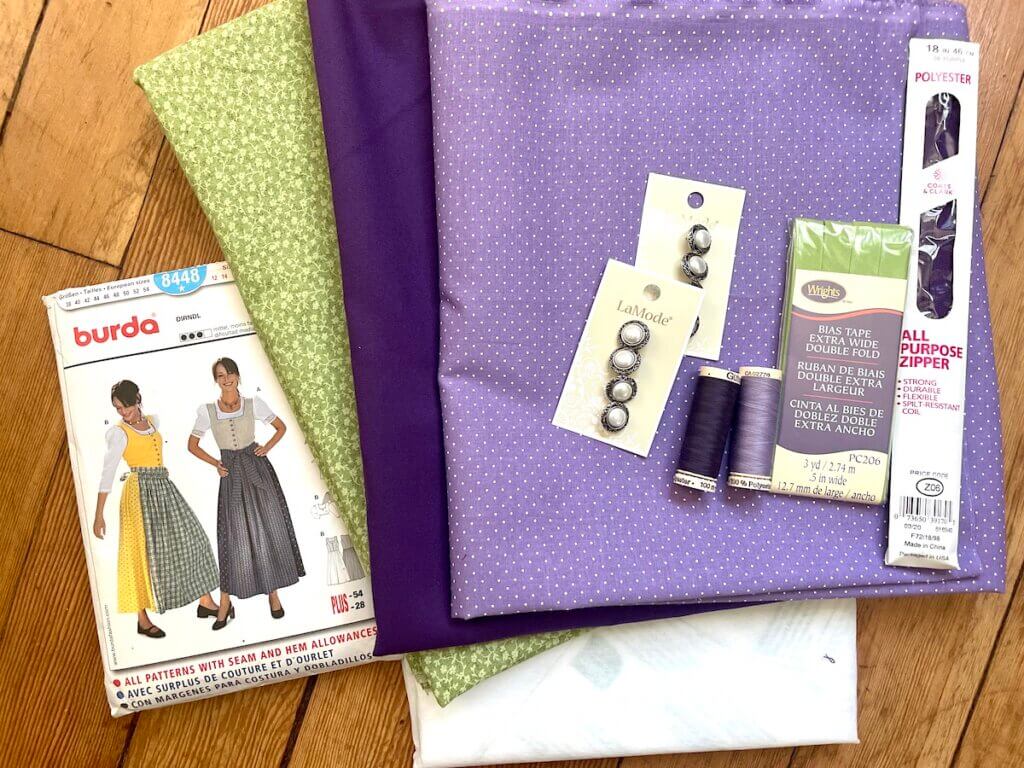
- Amazon: Here you can get the Burda Dirndl patterns 8448 (which I am using for this tutorial) and 7870 both of which are a traditional long dirndl. For these patterns, you can choose between a round and a square neckline.
- A Dirndl book: my favorite Dirndl pattern book is in German but it has detailed instructions and the full patterns.
- Online: The German site Dirndlschnitte has a good variety of Dirndl patterns.
- Etsy: you can do a simple search here and easily find Dirndl patterns
- Local fabric store: depending on where you live and what kind of fabric stores you have, it might be worth seeing if they stock any Dirndl patterns.
Now, let’s get sewing!
Prep work for Sewing your Dirndl
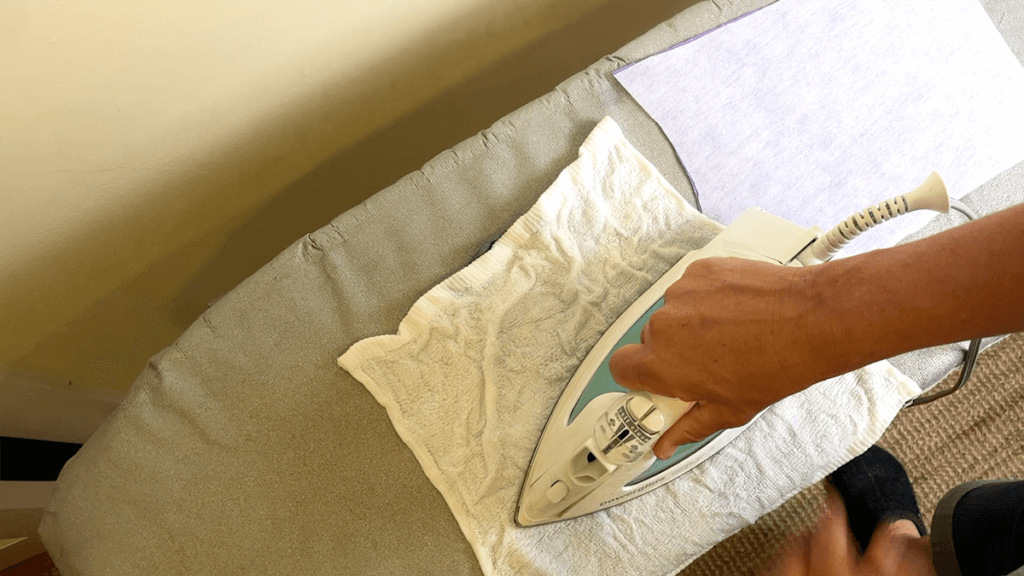
Once you have purchased your fabrics, I recommend you wash them on the highest temperature setting for that specific fabric. Afterward, I like to hot iron mine so they lie nice and flat.
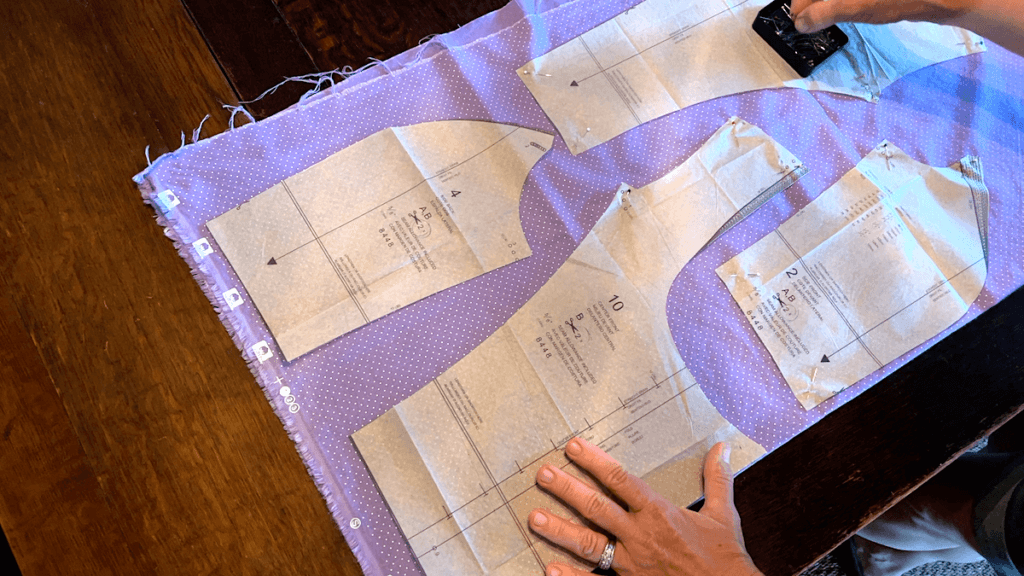
Next, I like to prep my pattern. With my Burda pattern, I simply cut out all the fabric pieces that I need. With some other patterns, you may have to trace the pieces onto either tracing paper or copy them.
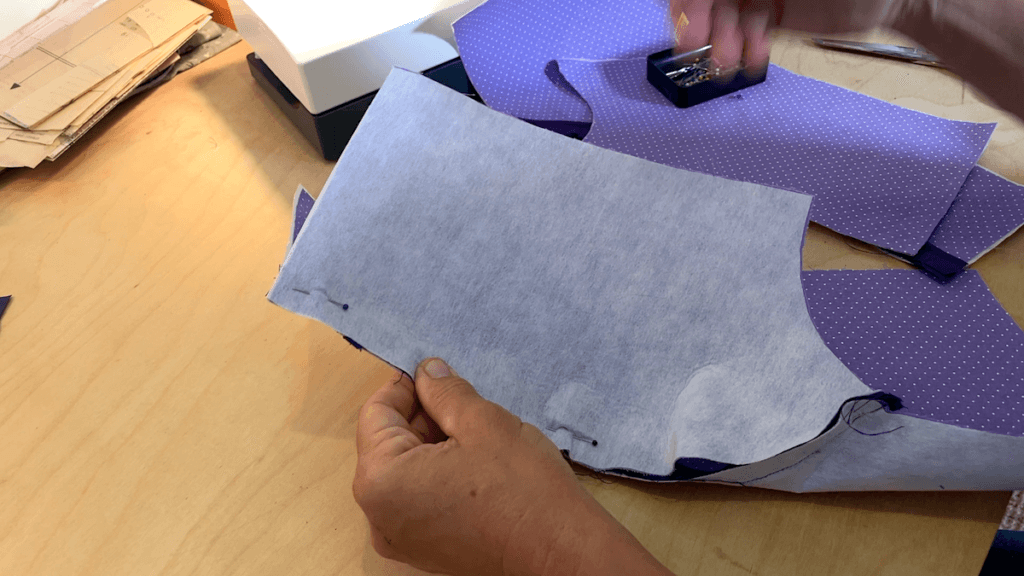
Once I have cut out all my pattern pieces, I like to iron on the interfacing to the bodice pieces (follow the manufacturer’s instructions).
Note: Read the instructions about seam allowances. The Burda patterns include a seam allowance of 1.5 cm (0.6 inches) but with some patterns, you have to add a seam allowance!
Note: Whatever your choice of fabric, make sure that you are cutting pieces in the same direction of the pattern, especially if it has stripes, a certain pattern, or flowers.
I also like to make sure I have everything I need: thread in the right colors, piping cord (if using), interfacing. lining, a zipper, buttons, and so on. Usually, your pattern will tell you what you need!
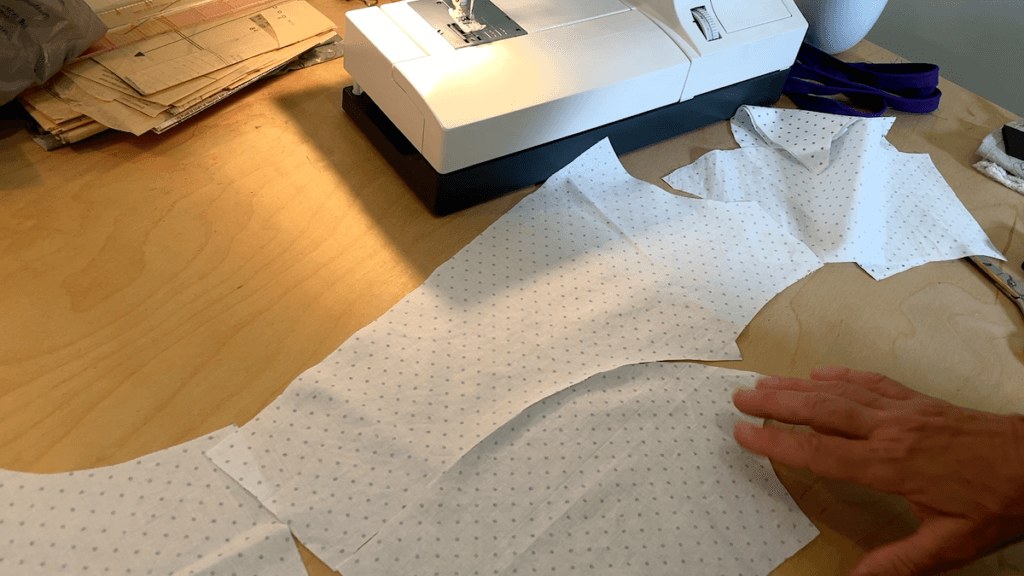
Before I start sewing my Dirndl, I cut all the pieces from my fabrics.
How to Make the Dirndl bodice
Making the piping:
You can use bias tape but I find it just as easy to make my own piping from long strips of fabric. Usually, I cut strips of 3.5cm (1.38 inches) and enough length for my piping cord.
I fold the fabric strips in half lengthwise and place the piping cord into the fold. If you like you can pin everything in place.
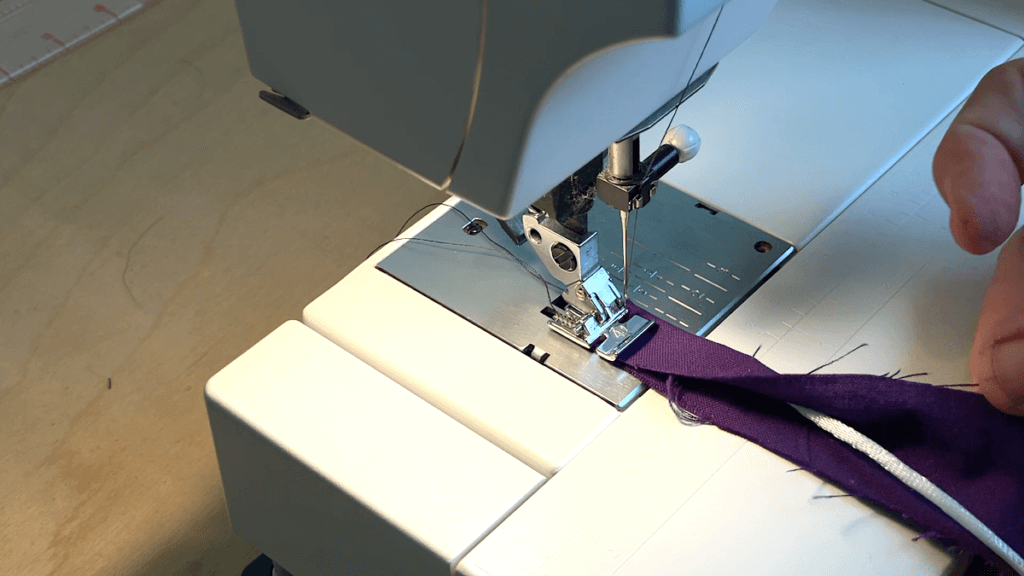
Using my sewing machine’s zipper foot, I sew as close to the piping cord inside the fabric as possible.
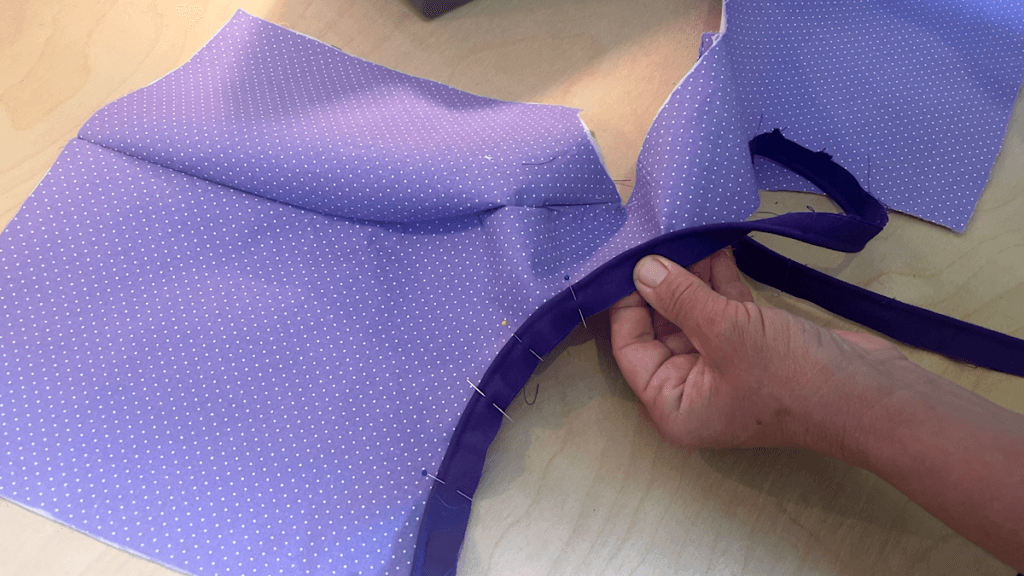
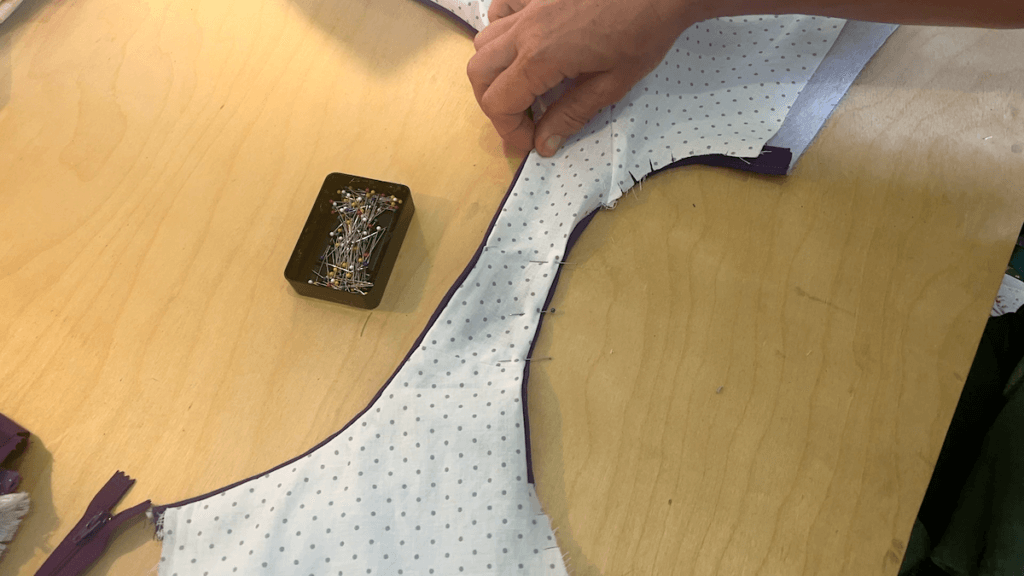
Attaching the piping to the center back piece:
Using a straight stitch, I attach the piping to the curved line of the center back piece right side up so that the piping cord is facing away from the curve. Here, I definitely recommend pinning it in place. With the zipper foot, I sew it on.
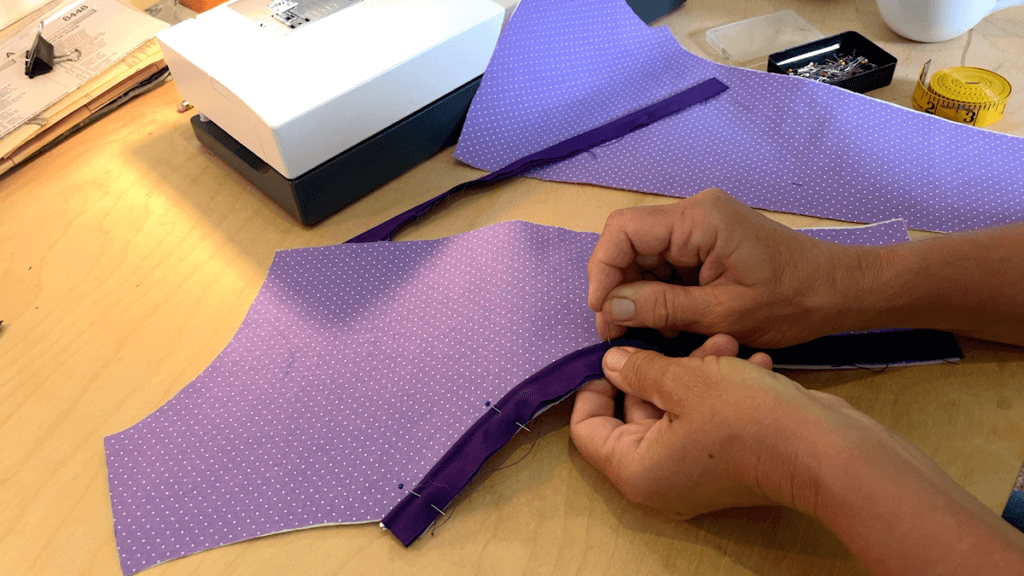
Sewing the side back to the center back:
Now, I pin the side back to the center back right sides together so that the piping is in the middle. You will have to go slow to follow the two curved lines. Then I sew the pieces together.
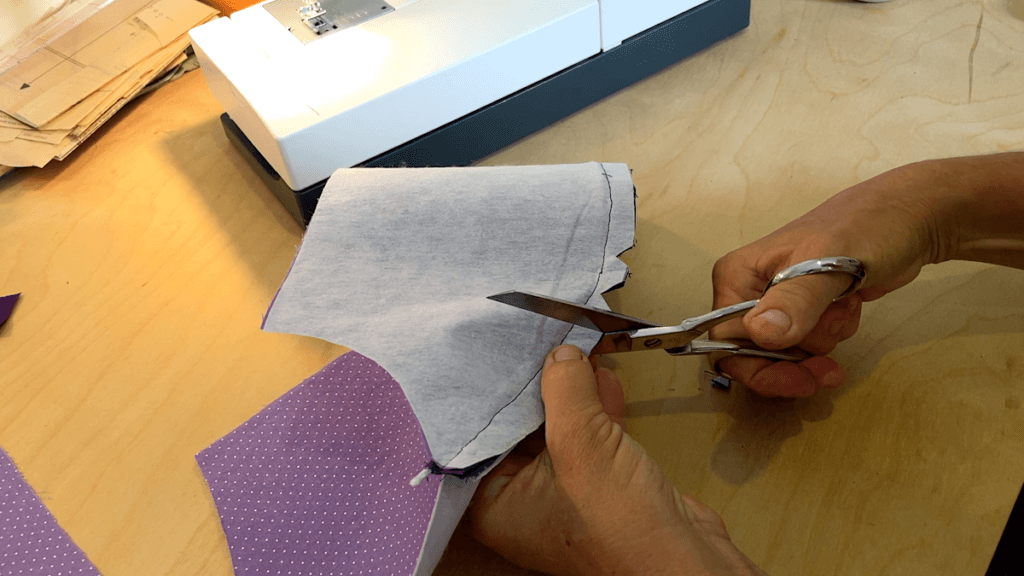
In order to reduce bulking of the hem, I cut little triangles into the hem.
Do this with the second side as well.
Sewing the front bodice:
I simply repeat the above steps for the front bodice, except for the piping.
Sewing the lining:
The pieces for the lining are the same as the bodice pieces. Therefore, I sew them together just like those pieces (except the lining has no piping).
Sewing the front pieces:
I sew the center fronts to the side fronts just like the back pieces, except I don’t use piping for the front pieces.
Attaching the front pieces to the back bodice
Making sure, I am attaching the correct pieces, I close the shoulder seam by sewing the right back piece to the right front piece and the left front to left back. Then I like to press the hem open.

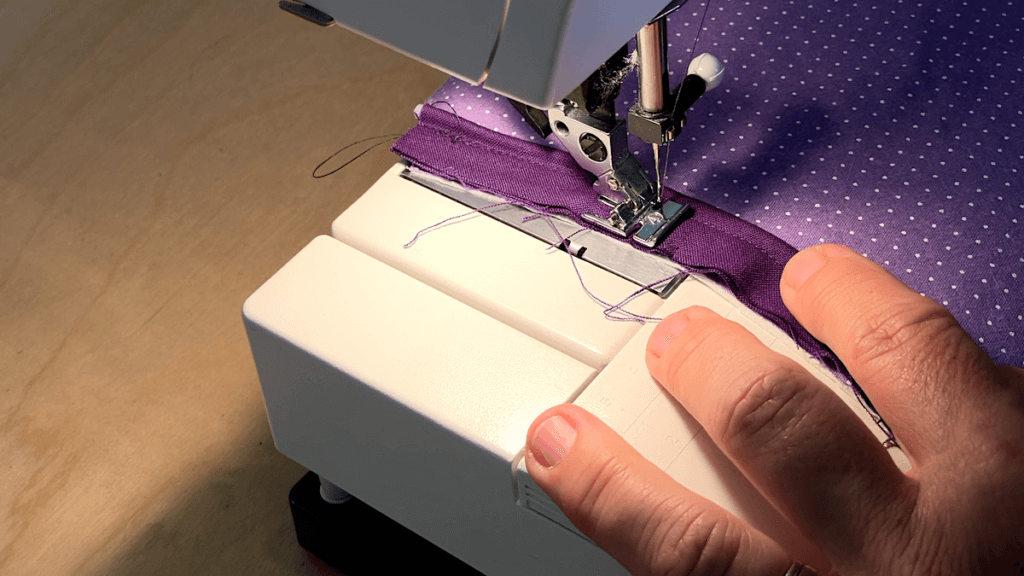
Attaching the piping to the neckline of the bodice:
Once I have attached the front to the back pieces, I pin and then sew the piping to the neckline of the bodice.
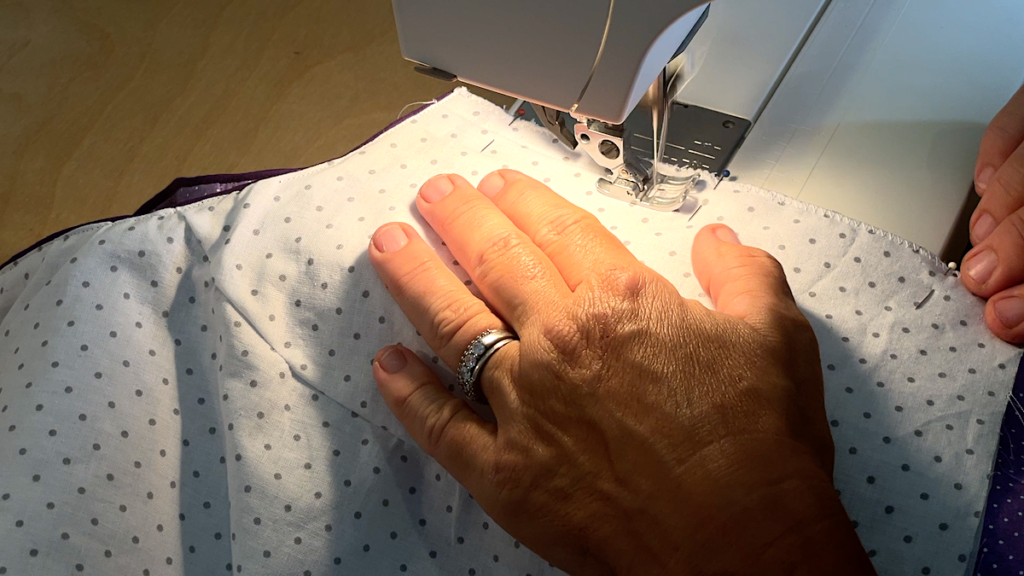
Attaching the lining to the bodice:
Now I place the lining on the bodice, right sides together, and using a straight stitch sew them together right along the piping cord.
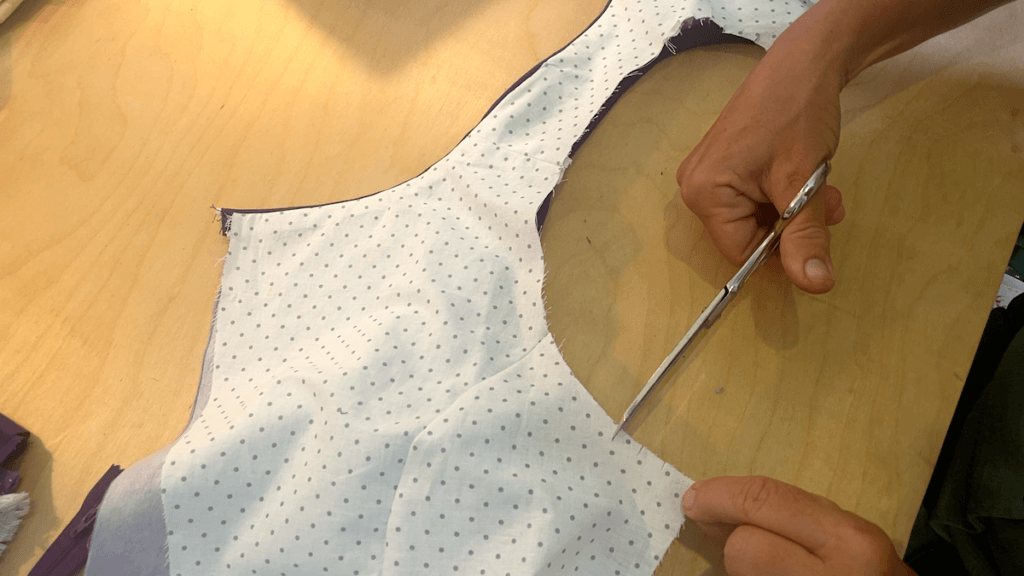
Afterward, I cut short slits into the hem to minimize any bulking of the hem.

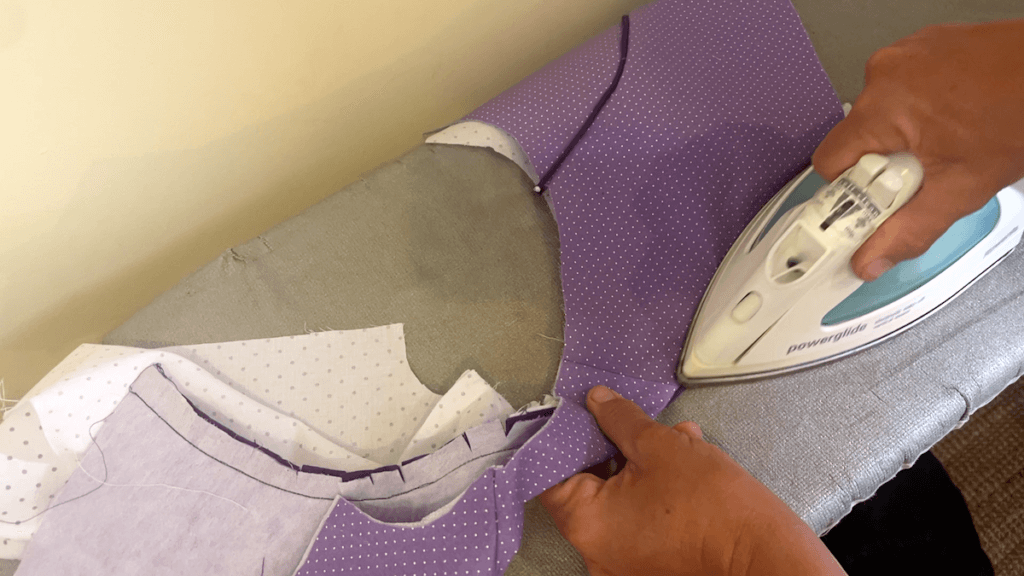
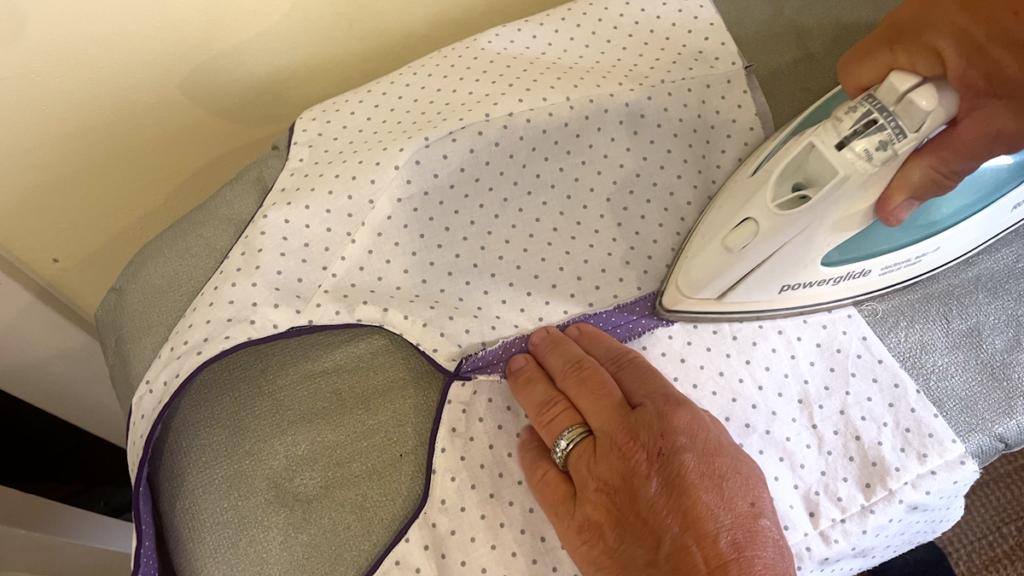
Now I use a hot iron to press the piping and seams. That way the bodice and lining lie nice and flat.
Attaching the piping to the armholes:
Repeating the same process as before, I now attach the piping to the armholes. Once you have sewn on the piping, cut short slits into the hem again.
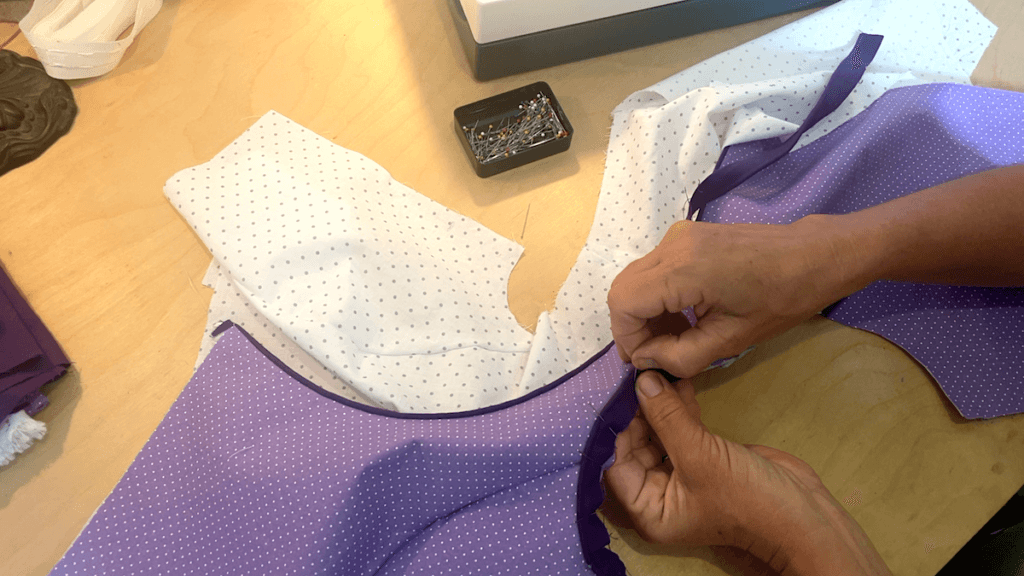
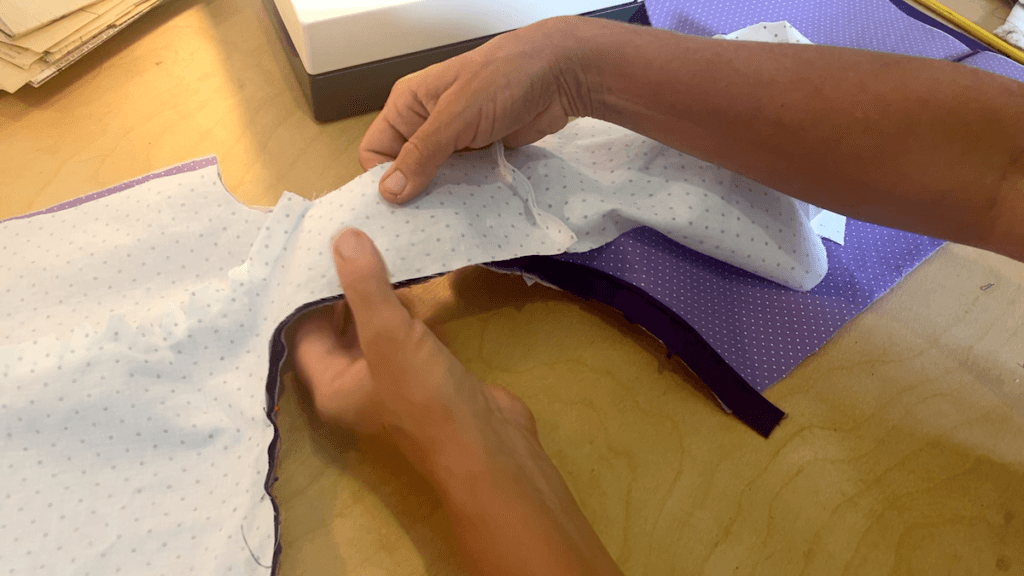
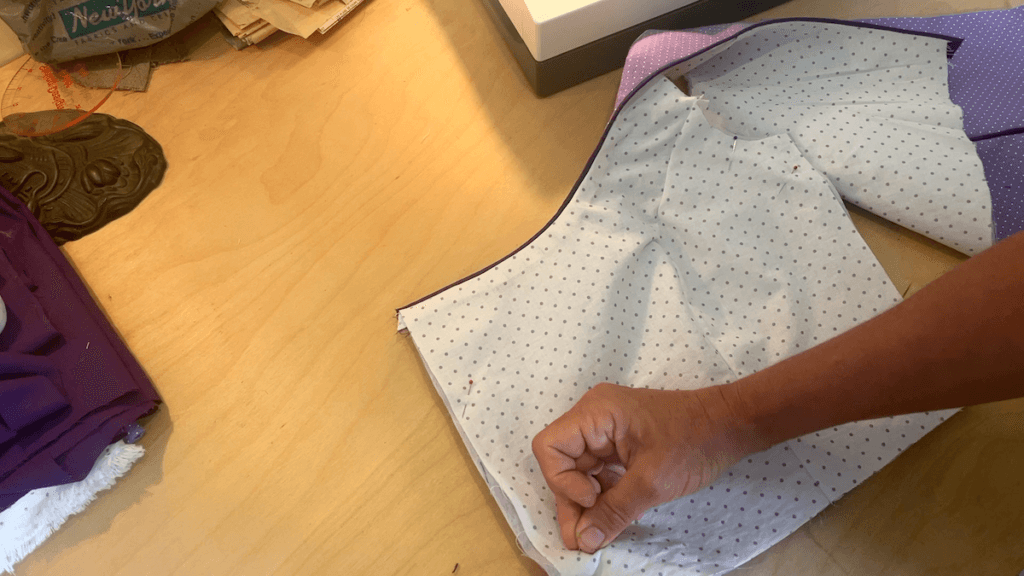
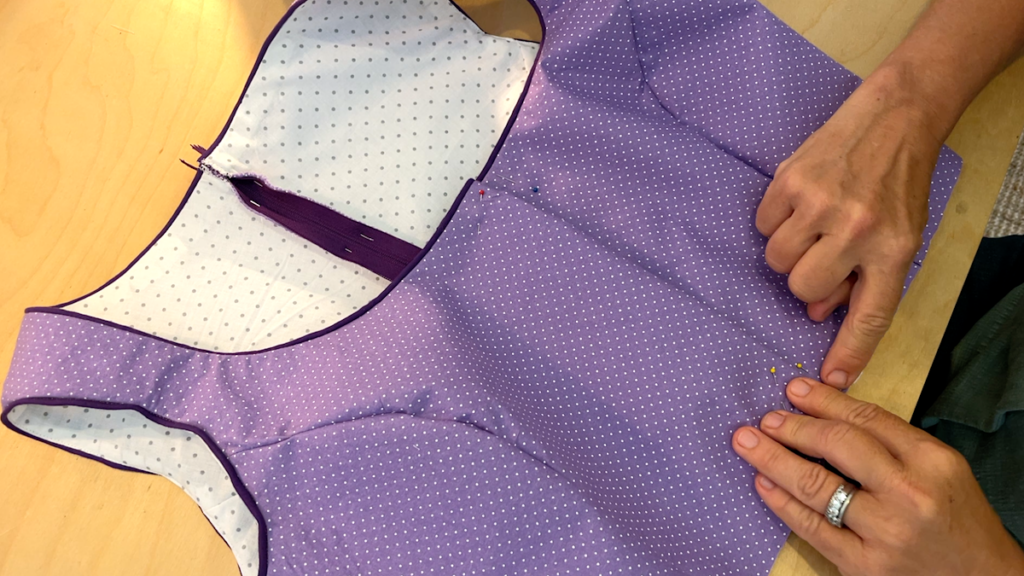
Before I continue, I like to pin the lining to the bodice to keep everything in place.
For the next step, I cut short slits into the lining around the armholes.
Then, I gently pull the lining toward the outside of the bodice and fold the extra fabric under. You only want to pull it to the piping and pin it in place. You may have to go around twice to make sure you have no folds or pulled lining fabric.
Now I turn over my bodice and sew the lining in place exactly where the piping meets the fabric (in my case where the purple lining meets the light purple dotted fabric).

Now I add a zig-zag stitch to the sides of the bodice. Then, I close the side seams with a straight stitch.
Afterward, I like to press the hems open.
How to Sew the Dirndl skirt
Note: Even though I am using the Burda 8448 pattern, I chose to only cut two panels for this low-calf length skirt. In any case, you will need to add the pleats.
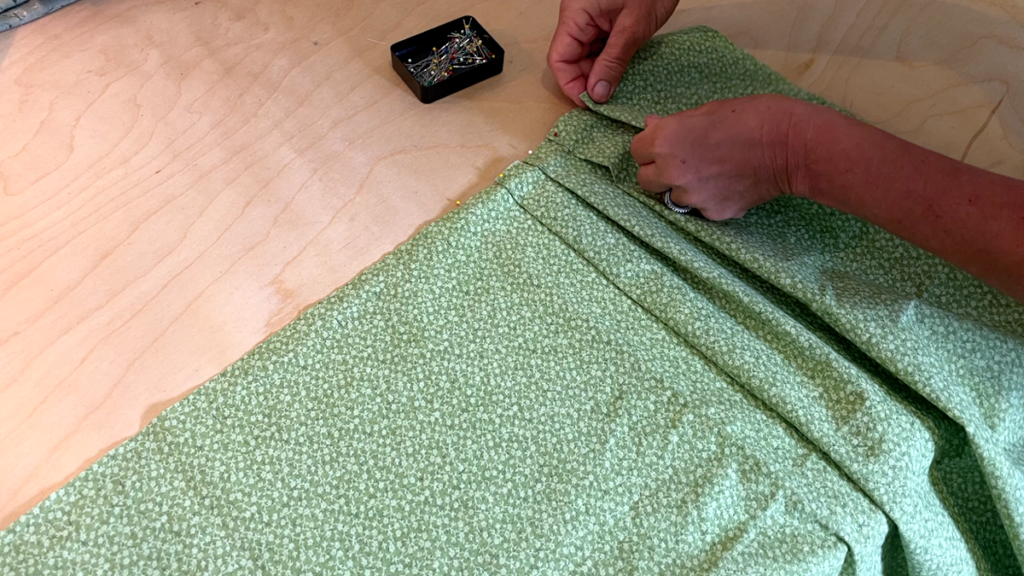
Adding the pleats to the skirt
I am doing this here by making the lines from the pattern.
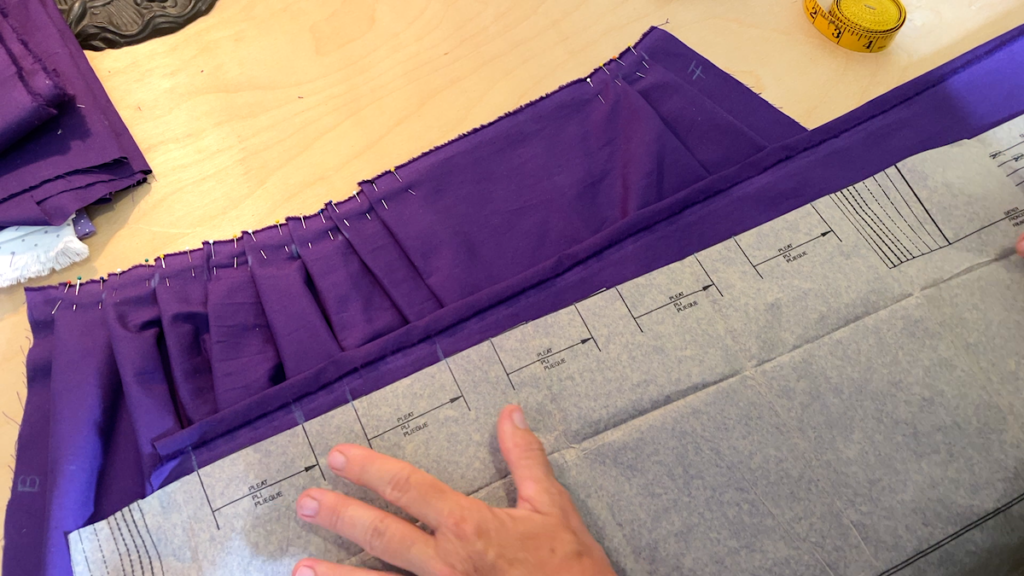
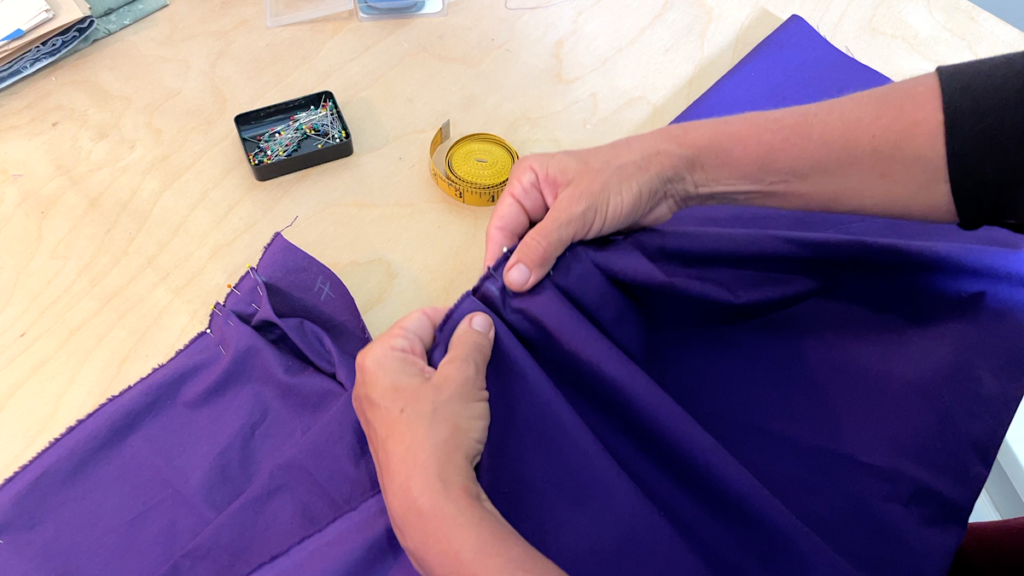
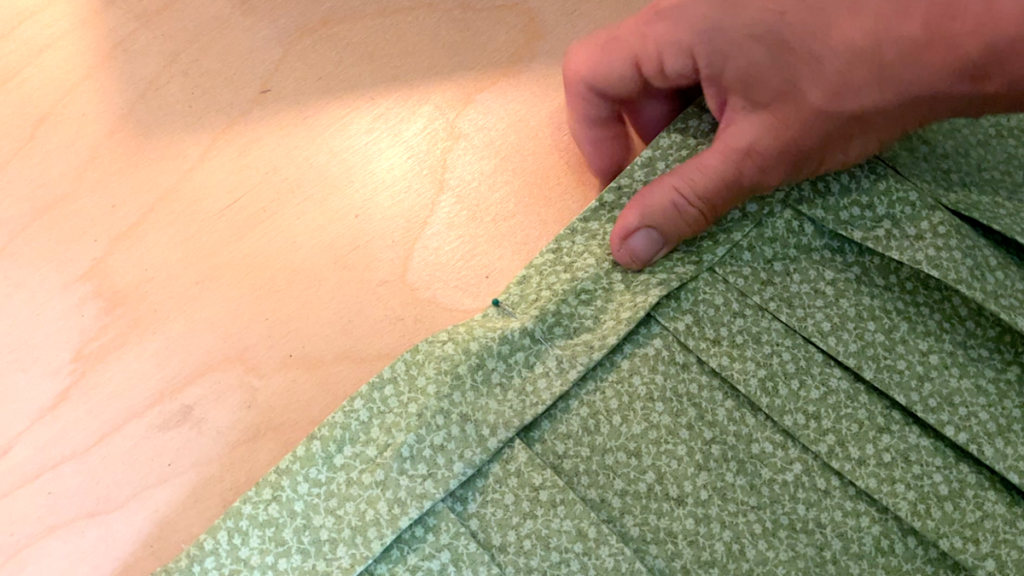
To create the pleats, I fold over the longer part and line up the two marked lines. Then I pin the fabric in place and sew the pleats using a straight stitch.
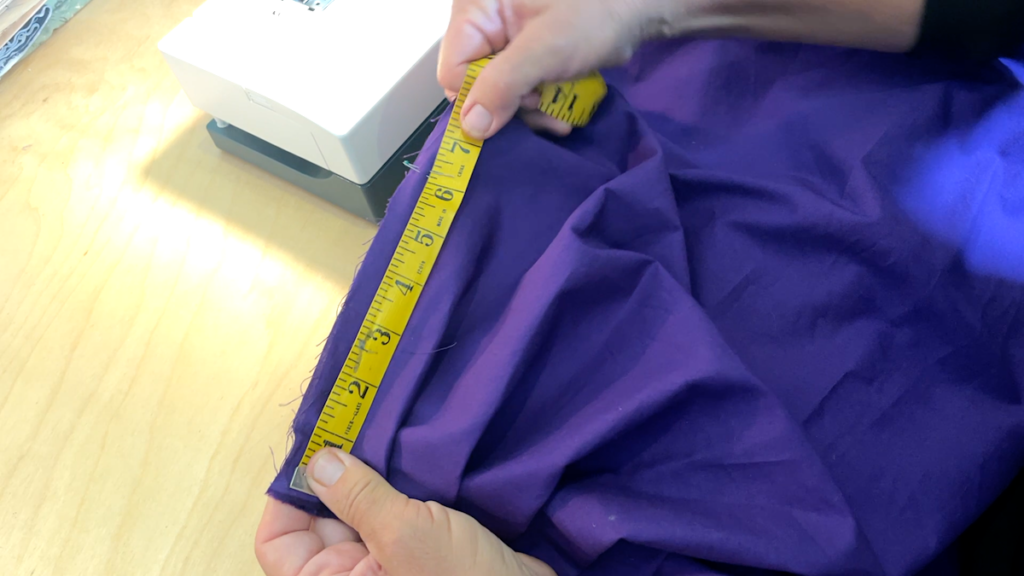
Before I sew the two panels together, I measure my zipper. Mine is 20 inches (51cm) long. Since my bodice without seam allowance is 14 inches in the center back, I know that my zipper will reach 6 inches down into the skirt. Therefore, I mark 6 inches down where the back seam of the skirt is which I will NOT sew together.
Before you pin and sew the bottom hem of the skirt, you might want to measure that the skirt has exactly the length that you want!
How to attach the Dirndl skirt to the bodice
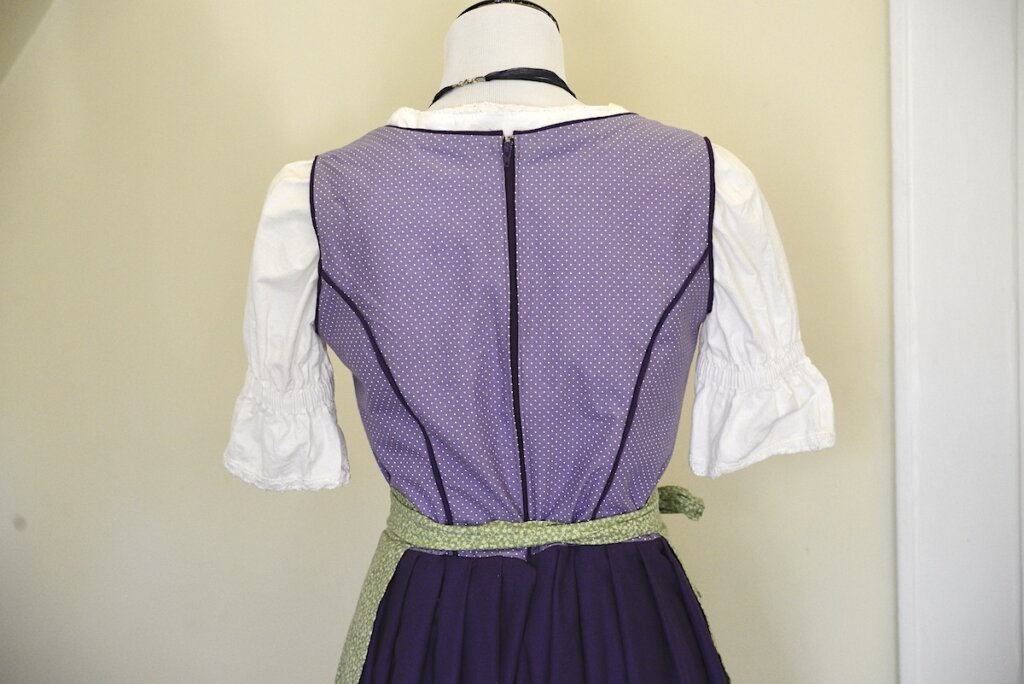
Attaching the zipper to the bodice:
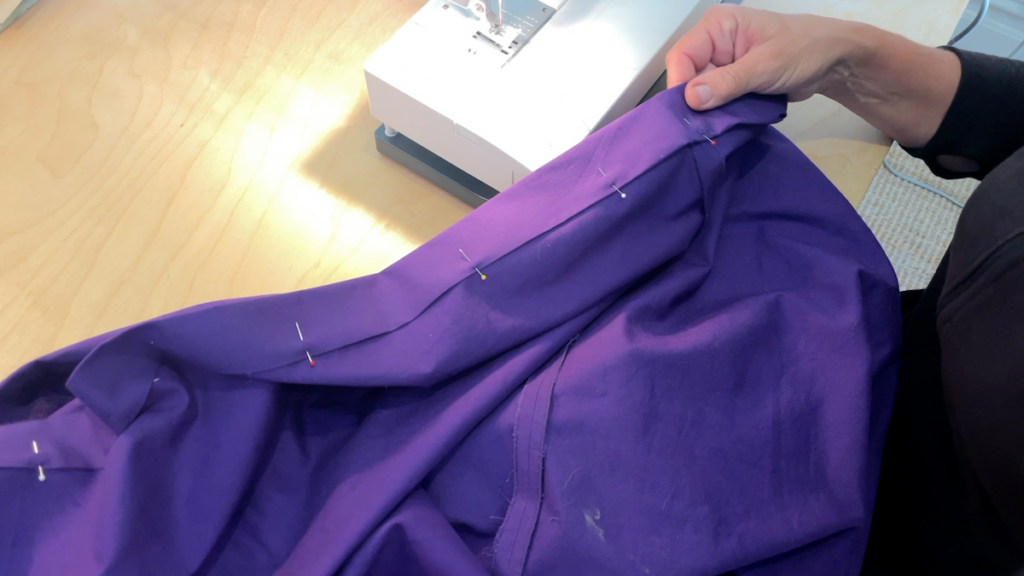
First, I need to attach the zipper to the bodice. You can see that I have pinned it already in place right sides together before I sew it with a straight stitch (using my zipper foot).
Closing the front of the bodice:
With the zipper in the back, I chose to close the front of the bodice. Before I do that I measure my body for the perfect fit. It often helps to have another person. For a close fitting, measure the fullest part of the bust and make sure that your Dirndl bodice mirrors that measurement. Also, measure the waist and mark your bodice correspondingly.
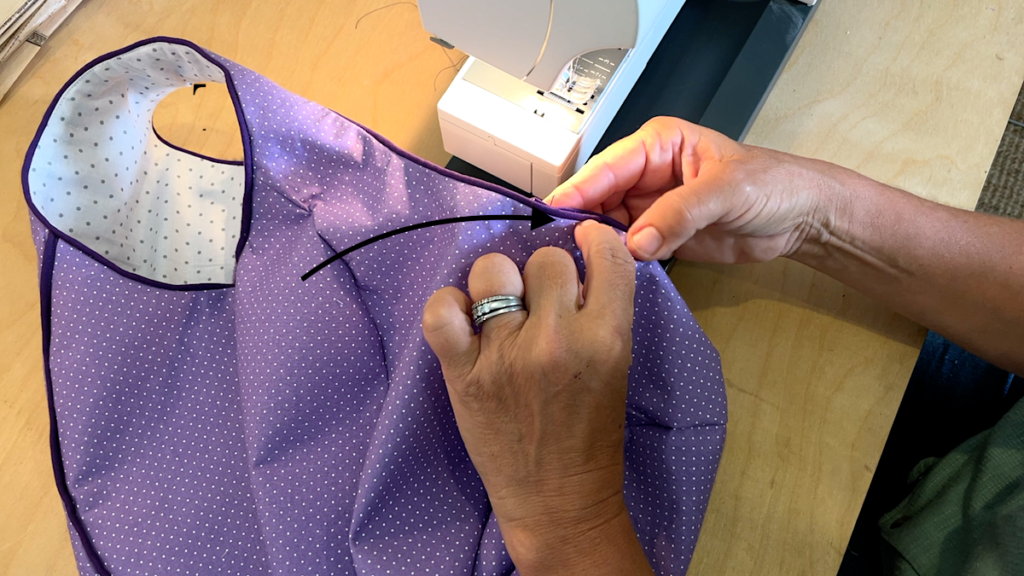
First, I sewed the front edges together on the inside of the bodice. In order to prevent the front from gaping, I sew the neckline together with a straight stitch right where the seam between the piping and the main fabric is.
Attaching the skirt to the bodice:
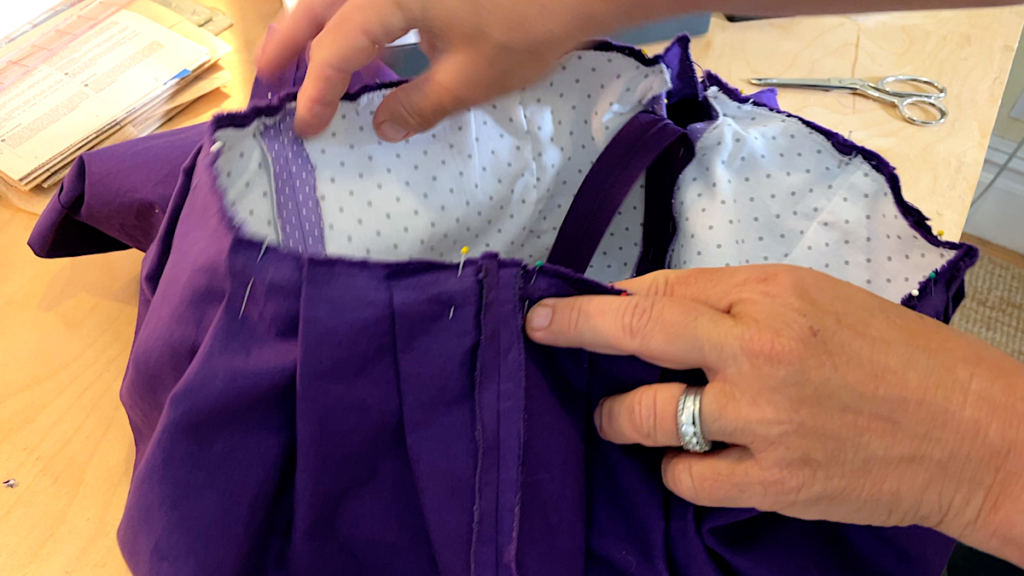
Placing the bodice inside the skirt, right sides together, I line up the center front seam of the skirt with the front center of the bodice and pin both pieces in place. Then I sew them together, leaving the back with the zipper open.
Tip: if your skirt ends up being wider than the bodice, you can create another pleat in the front to make it fit.
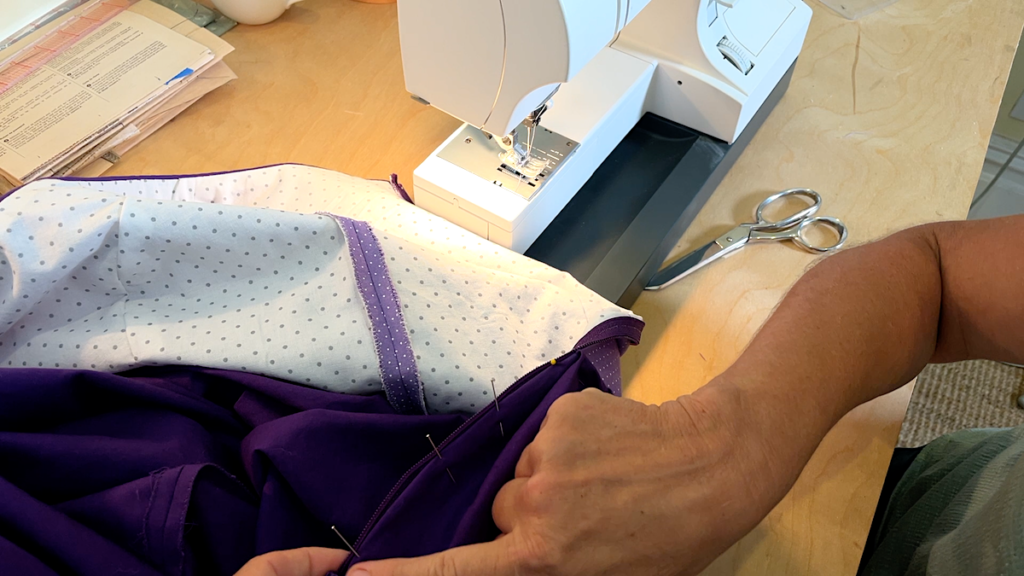
Closing the back and zipper:
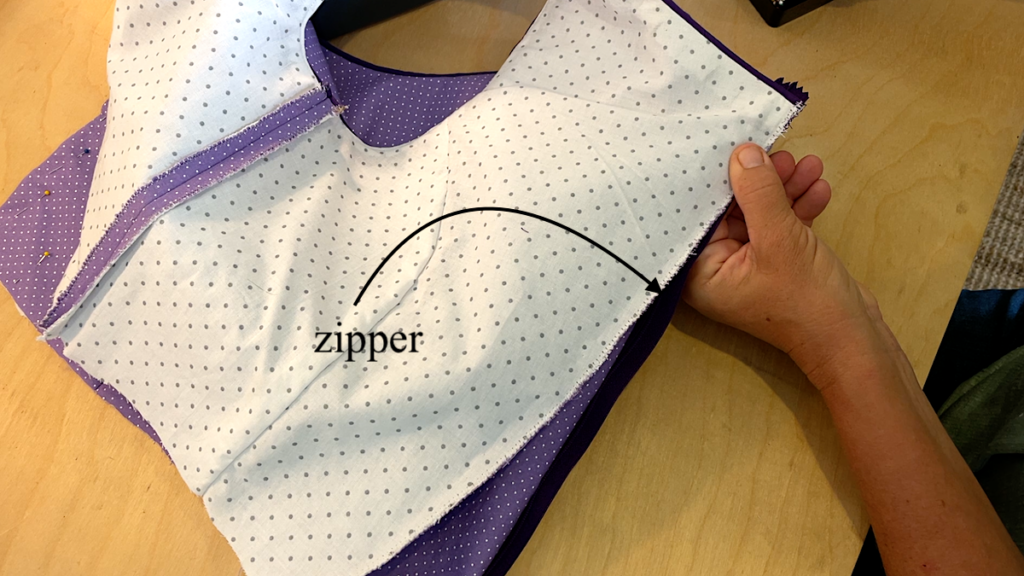
In this step, I sew the zipper into the skirt as shown in the picture below. You may have to move the zipper foot up and down a bit while sewing the zipper in place. That way it won’t get caught in the foot of your sewing machine.
How to Sew the Dirndl apron
Creating the pleats:
To make a ruffled, I use the markings from the skirt pattern and simply repeat those steps.
Finishing the sides and bottom of the skirt:
To finish the sides, I fold over ¼” (about 1 cm), press them, and sew them. To finish the bottom, I measure the apron so that it is about 2-4 inches shorter than the Dirndl skirt and sew the hem.
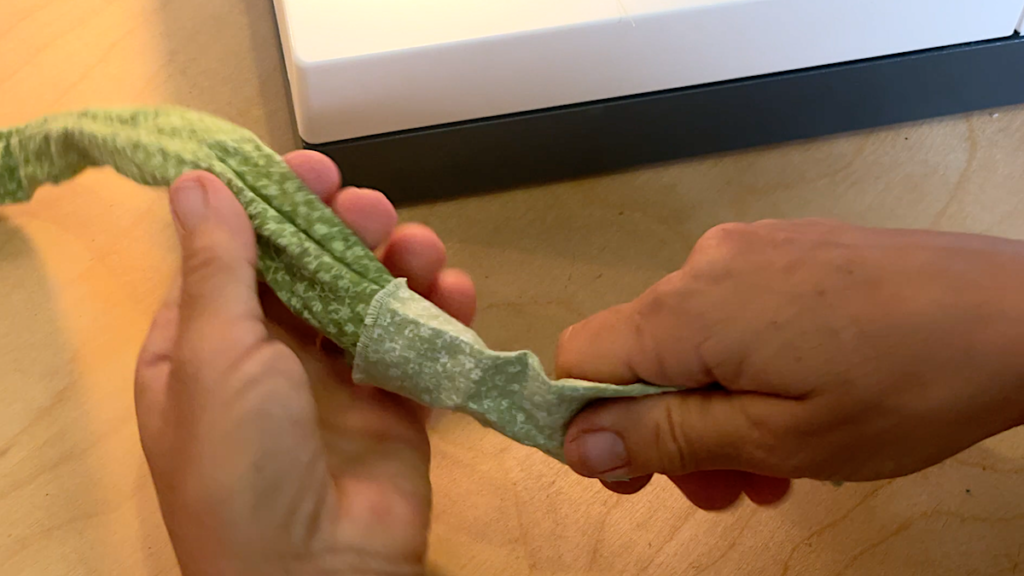
Making the ribbon:
For the ribbon, I sew long pieces of fabric together. Then I use a safety pin, attach it to one end of the ribbon, and push it all the way through the inside of the ribbon. I cut the ends of the ribbon diagonally, push the fabric in, and sew it together.
Then, I use a hot iron to press the ribbon with the seam in the back. Next, I line up the very middle of the ribbon with the center of the Dirndl apron and sew it to the apron.
Finishing touches for the Dirndl dress
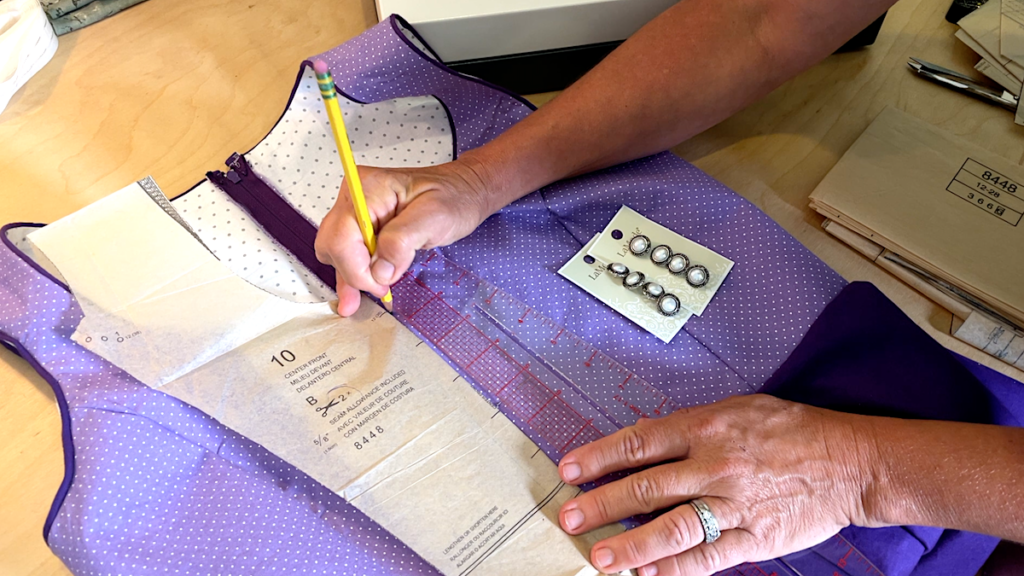
Since I chose a “blind front” meaning that the buttons are just there for the looks, I sew them to the front of the bodice. The Burda pattern has markings for the placement of the buttons that I use for even spacing.
Now you can add some other decorative details to your Dirndl, such as a strip of the main fabric that you can sew to the skirt. You could also add some embroidery to the back.
Where to buy a Dirndl in the US?
If you’re reading this and you decide that you’d rather purchase one, you have several options.
I highly recommend you check out Rare Dirndl by my sweet online friend Erika Neumayer. Not only does she design all her Dirndl dresses in her studio in Chicago but she also sews them there! You can even get on a waitlist to have a Dirndl custom-made by her! She even sells different variations of Dirndl blouses.
Links and Resources:
German fabric store “Laura und Ben”
Pin For Later:

Thank you for the post, was very helpful as I made a bodice for a costume (Aunt Dete from the 1980s animated “Heidi”). I used a free bodice pattern, but altered it heavily based on your blog post. Loved it so much I wish I had a reason to make and wear a more authentic version. It’s really such a comfortable outfit!
That makes me so happy to hear! Thank you for your nice comment ~ Anja
Hello and thank you so much for this tutorial and especially for the sewing pattern. I am a living historian and I enjoy representing my heritage. My paternal side is German. My 3rd Great Grandfather came to America prior to 1840 and I have been trying to find a more traditional Trachten dress. So I am going to figure out how to make this without zippers. Now here is my question. I would like to use something similar to embroidered trim (similar to lace or ribbon) that I have seen on some dresses. I want it to have a German design. Is there a store I can order from? As I live in Florida, USA
I do hope to hear from you, as I do hope to start on this new project in Feb 2025.
Most dirndls do not have a zipper in the back but only open in front (it’s easier to sew it that way, too). I am not sure about where to get trim but you could try reaching out to raredirndl.com or find a Facebook group (I myself am in a German dirndl FB group). Hope this helps ~ Anja
Anja, I am so pleased to find this post. Over 40 years ago I sewed two drinks to wear for a German cooking class I taught. They no longer fit😉. I am now 79 and I want a new one!! Danke. Susan
I am so glad to hear that! Happy Dirndl sewing ~ Anja