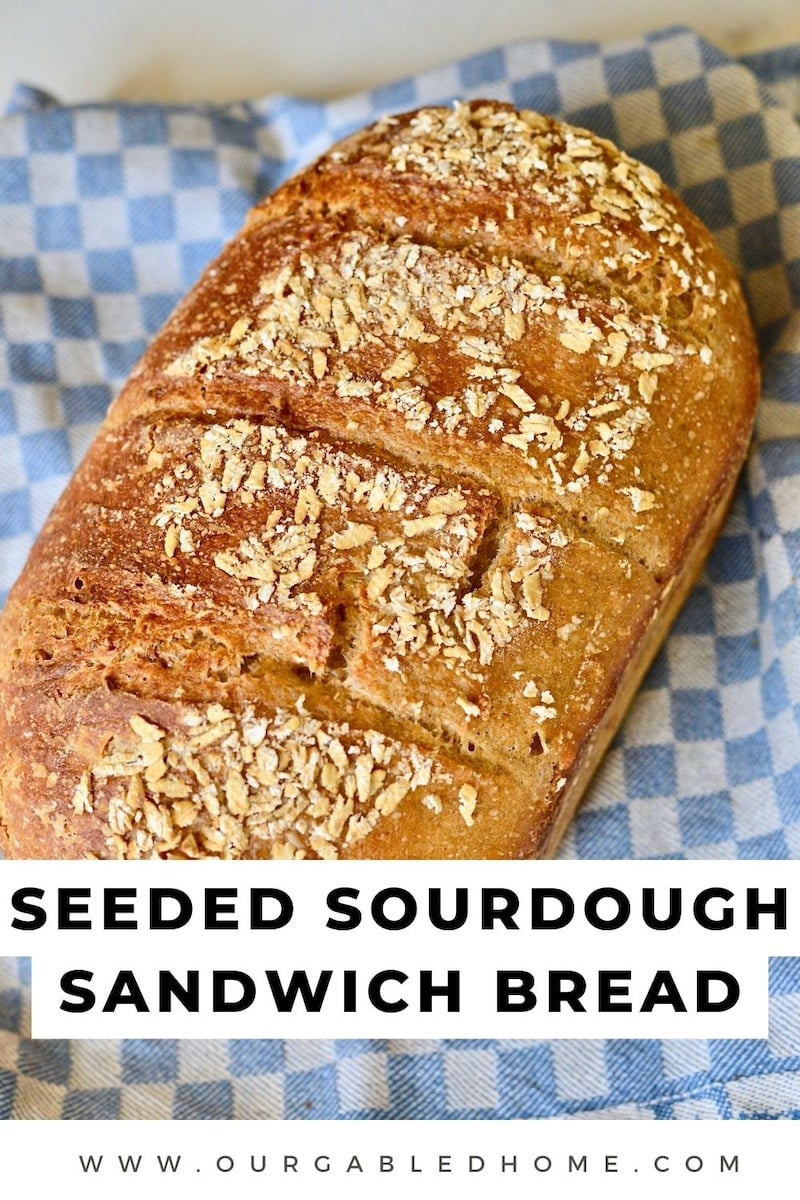
Easy Seeded Sourdough Sandwich Bread
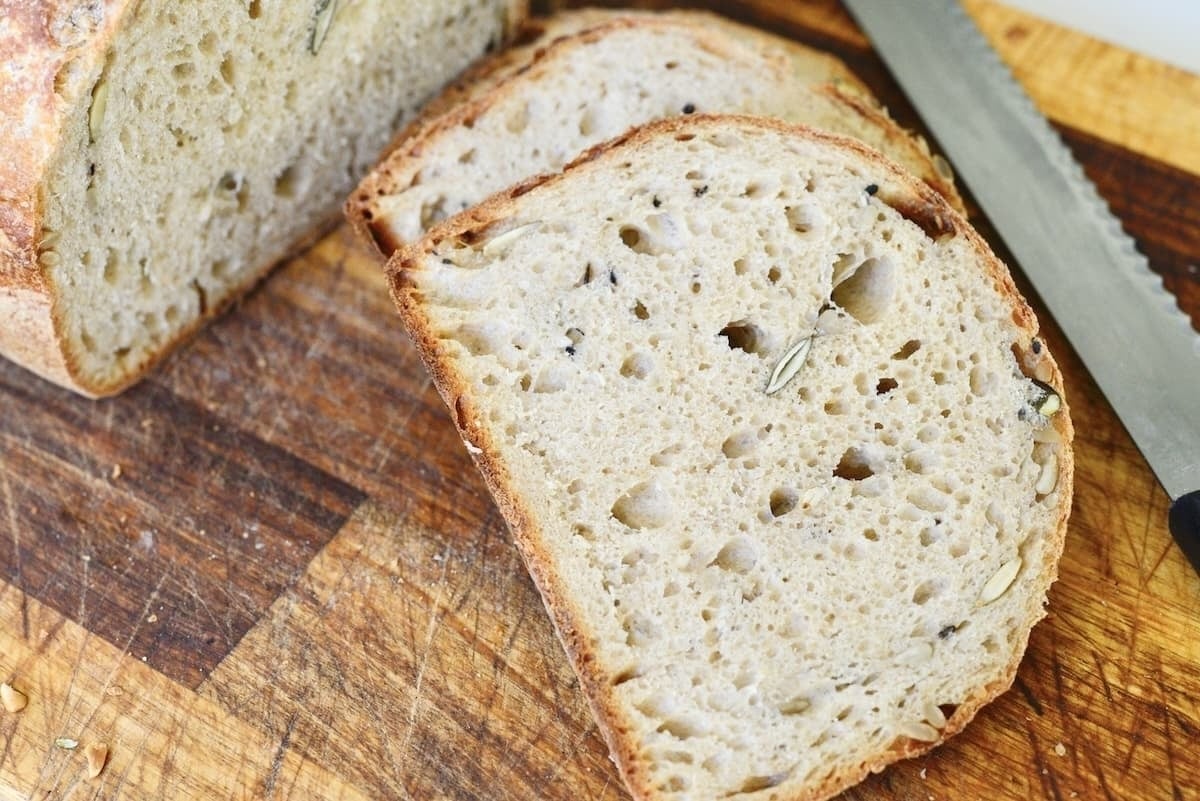
This seeded sourdough bread recipe makes a delicious sandwich bread! The bread has it all: a golden-brown crust, soft, airy crumb, crunchy seeds, and a nice sourdough flavor.
Whether you’re a seasoned sourdough baker or just getting started with artisanal bread baking, I am sure you will love this sourdough sandwich bread recipe just as much as we do!
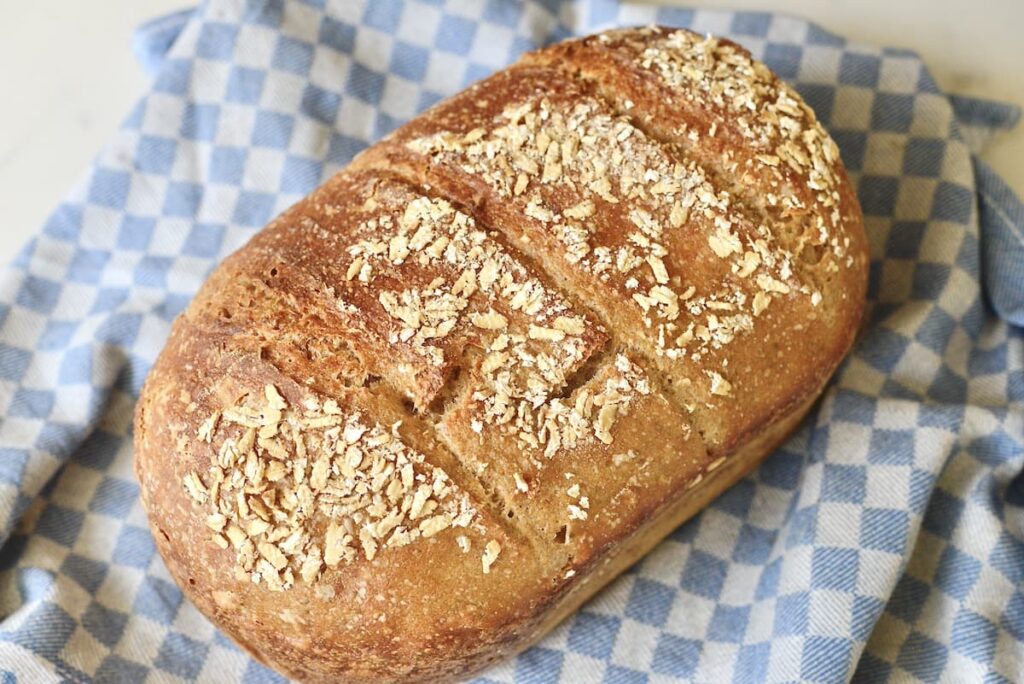
This is the kind of bread I grew up with in Germany – light and airy, but without those oversized holes that make it impossible to spread butter or jam without losing half of it.
This post contains affiliate links, which means I make a small commission at no extra cost to you. You can read my full disclosure.
Why You’ll Love This Recipe
Ingredients
These are the ingredients for one loaf of seeded sourdough sandwich bread :
- All-purpose flour: I use organic all-purpose flour
- Whole-grain flour: I like to mill fresh flour from ancient grains (such as kamut and emmer) with my grain mill
- Sea salt: A high-quality sea salt enhances the flavor of the sourdough
- Active sourdough starter: If you don’t already have one, just follow my tutorial on how to make a no discard sourdough starter
- Seeds: I like a combination of pumpkin seeds, sunflower seeds, sesame seeds, and poppy seeds
Substitutions
- Flour: You can make this a 100% whole wheat bread by using whole wheat flour instead of AP flour. Just know that the bread will be a bit denser. Other good substitutes for all-purpose flour include bread flour, oat flour, white spelt flour, or light rye flour
- Grains: You can use any grains you have or like: einkorn, spelt, kamut/Khorasan, rye, harvest grains blends, or just plain wheat berries
- Seeds: You can use any type of seed or seed mixture you like: flax seeds, chia seeds, black sesame seeds, hemp seeds, or even a handful of whole grains
- Nuts: If you prefer a nuttier flavor, you can add some walnuts, pecans, or hazelnuts
- Sweeteners: I personally don’t like to add any sweeteners but some people like to offset the sourdough flavor with a tablespoon of maple syrup or honey in their dough
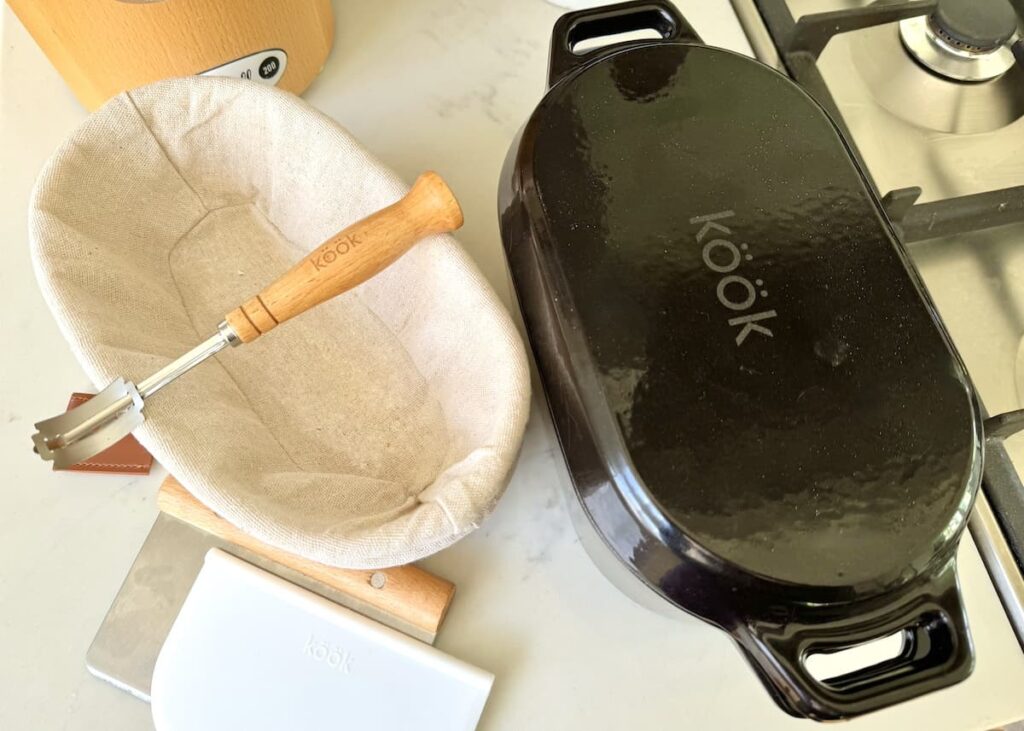
Useful tools and equipment
In addition to what you probably already have in your kitchen, I recommend:
- Grain mill: Freshly milled flour is always best and I love my high-quality grain mill
- Stand mixer: Of course, you can mix and knead the dough by hand, but I like to use a stand mixer with a dough hook attachment.
- Kitchen scale: I highly recommend you use an inexpensive kitchen scale
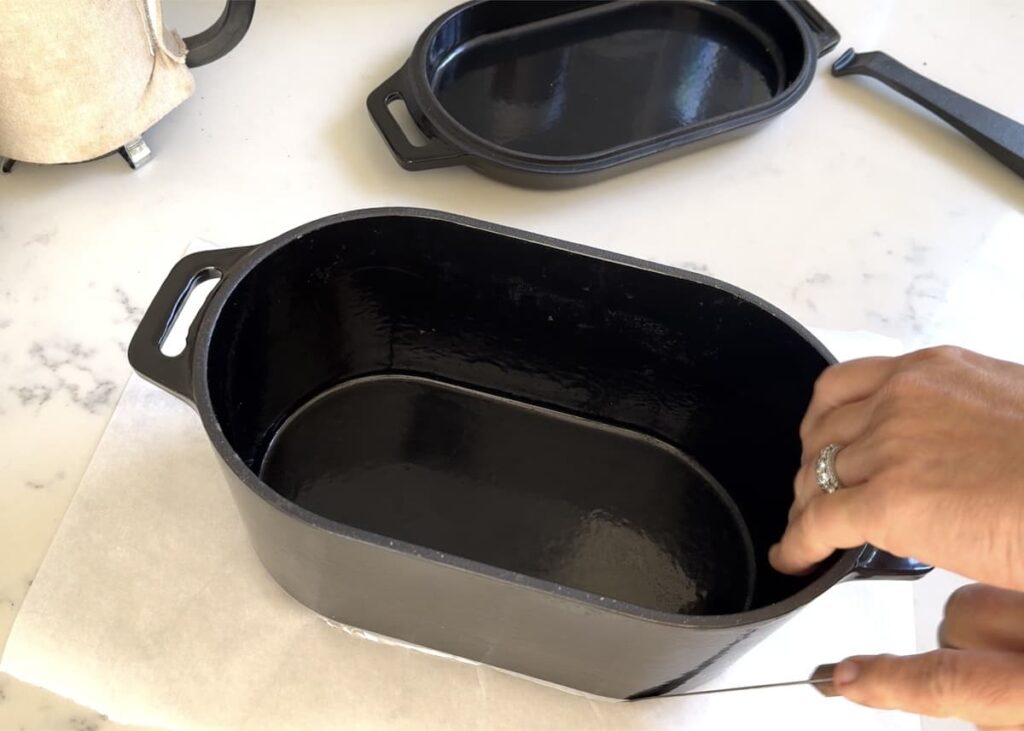
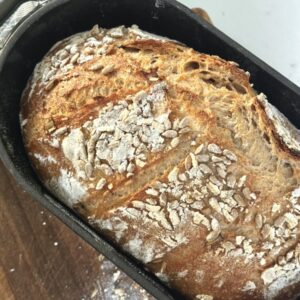
- Loaf pan: You can use any rectangular, oval, or round loaf tin, but I like using an enameled cast iron Dutch oven.
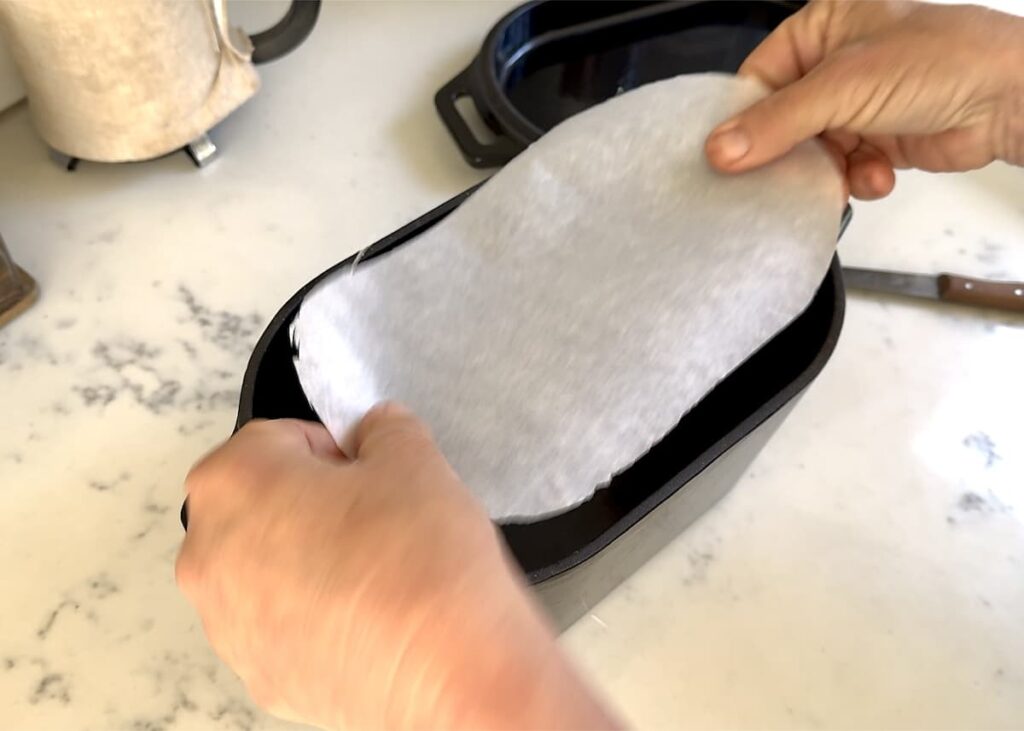
- Parchment paper: If you’re using a Dutch oven, I recommend lining it with parchment paper
- Dough scraper: A dough scraper helps to remove the dough from the bowl or the bannetton
- Bench scraper: Not extremely necessary, but helpful for shaping the loaf
- Scoring lame: While a dedicated scoring lame is very useful, you can use a very sharp knife as well
- Banneton: Letting the dough proof in a banneton or proofing basket helps the loaf keep its shape
- Proofing kit: The scrapers, lame, and banneton are available in a convenient proofing kit

How to make seeded sourdough bread
Mix the dough
- Combine warm water (about 112°F) and sourdough starter in the bowl of your stand mixer, or a large bowl.
- Mix on low speed with the dough hook attachment until combined.
- Add the flours, mixing on low speed at first, then mix on medium-low for 5 minutes.
- Cover the bowl with a tea towel and let the dough rest for 1 hour in a warm place.
- Mix in the salt.
- Let the dough rise for 30 minutes.
Stretch and fold the sourdough
- With wet hands, perform a few stretch-and-folds (lift one side of the dough up, stretch it and fold it over the dough, then turn the bowl 90 degrees and repeat a few times).
- Let the dough rest for 30 minutes.
- Repeat stretching and folding 3 more times.
- Tightly cover the bowl with beeswax wrap or plastic wrap.
- Transfer the bowl to the refrigerator overnight or for about 8 hours for the bulk fermentation.

Day 2 – add the seeds
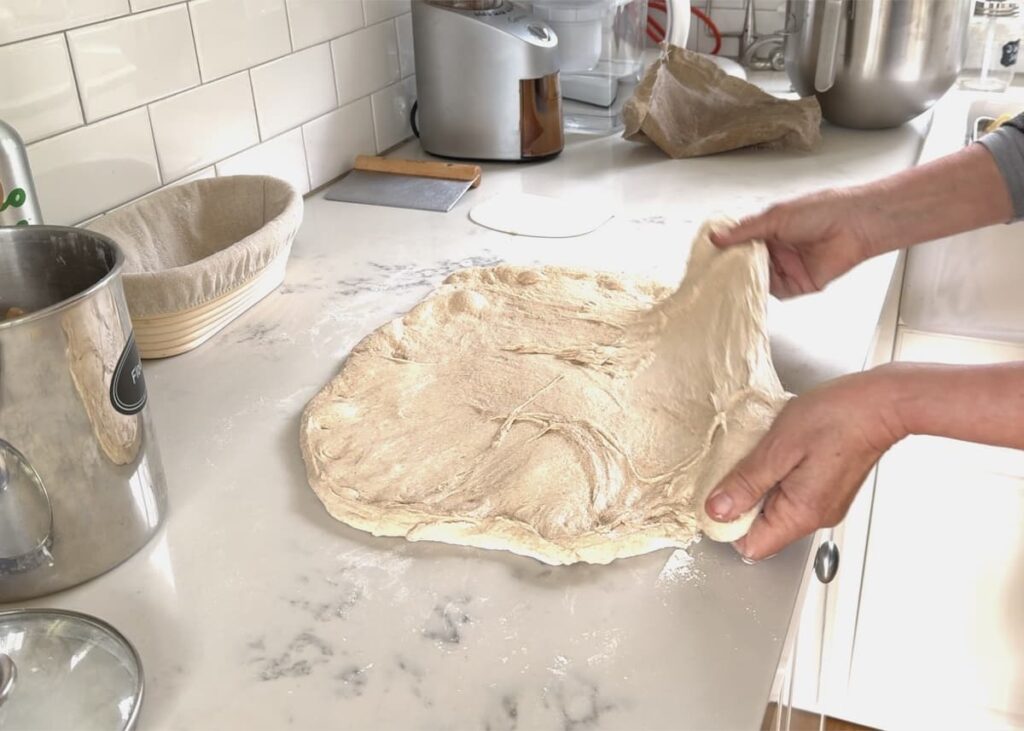
- Remove the dough from the fridge and let it come to room temperature.
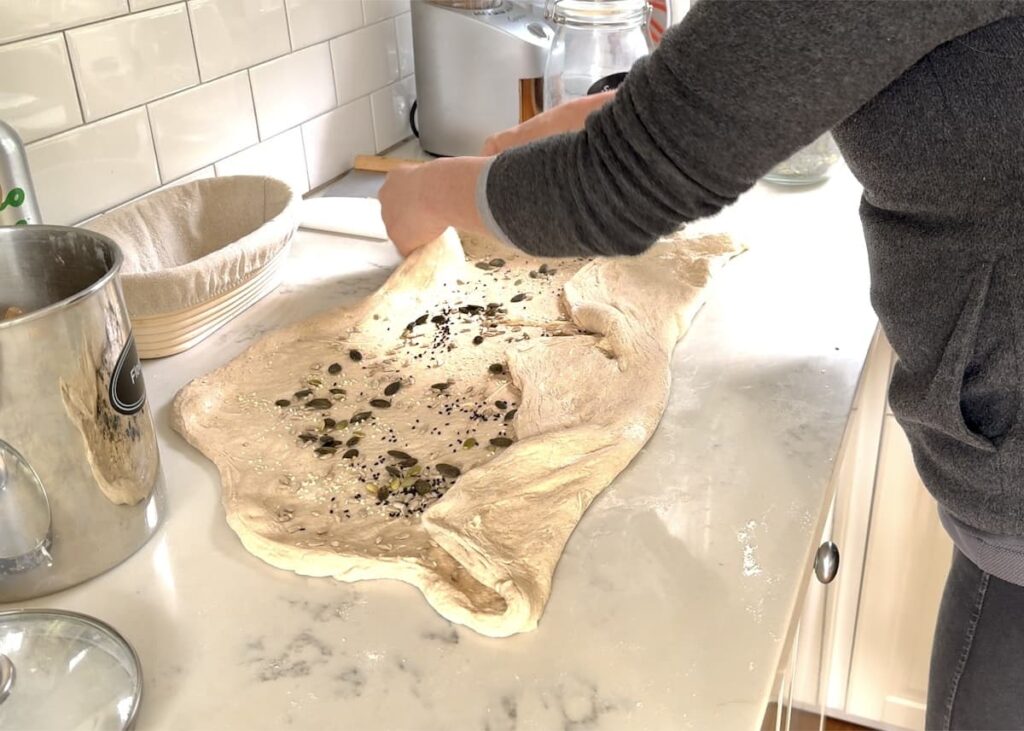
- Pull the dough into a rectangle shape. Generously flour your work surface and turn out the dough onto the flour. Lightly flour your hands then gently pull the dough in all four directions to create a rectangle. Ideally, the dough should not tear. Sprinkle the seeds onto the dough.
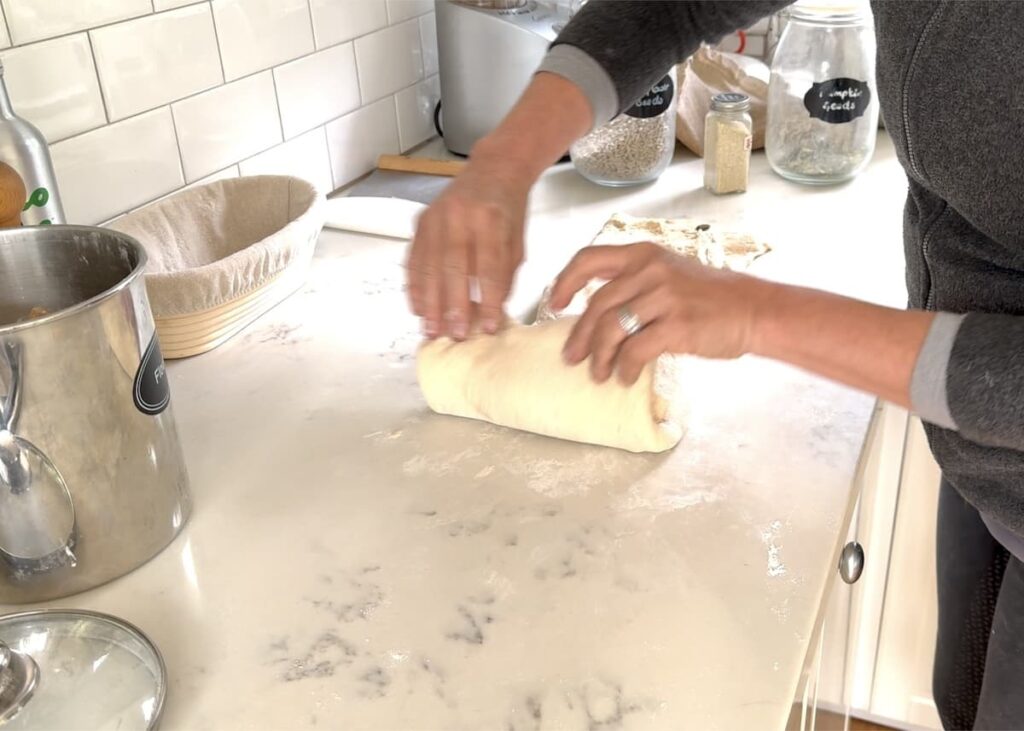
Shape the sourdough loaf
- Fold the long sides of the dough rectangle over towards the middle. Then starting at one side, roll the dough into an oval loaf. With the bench knife, create some surface tension by stretching the dough underneath itself.
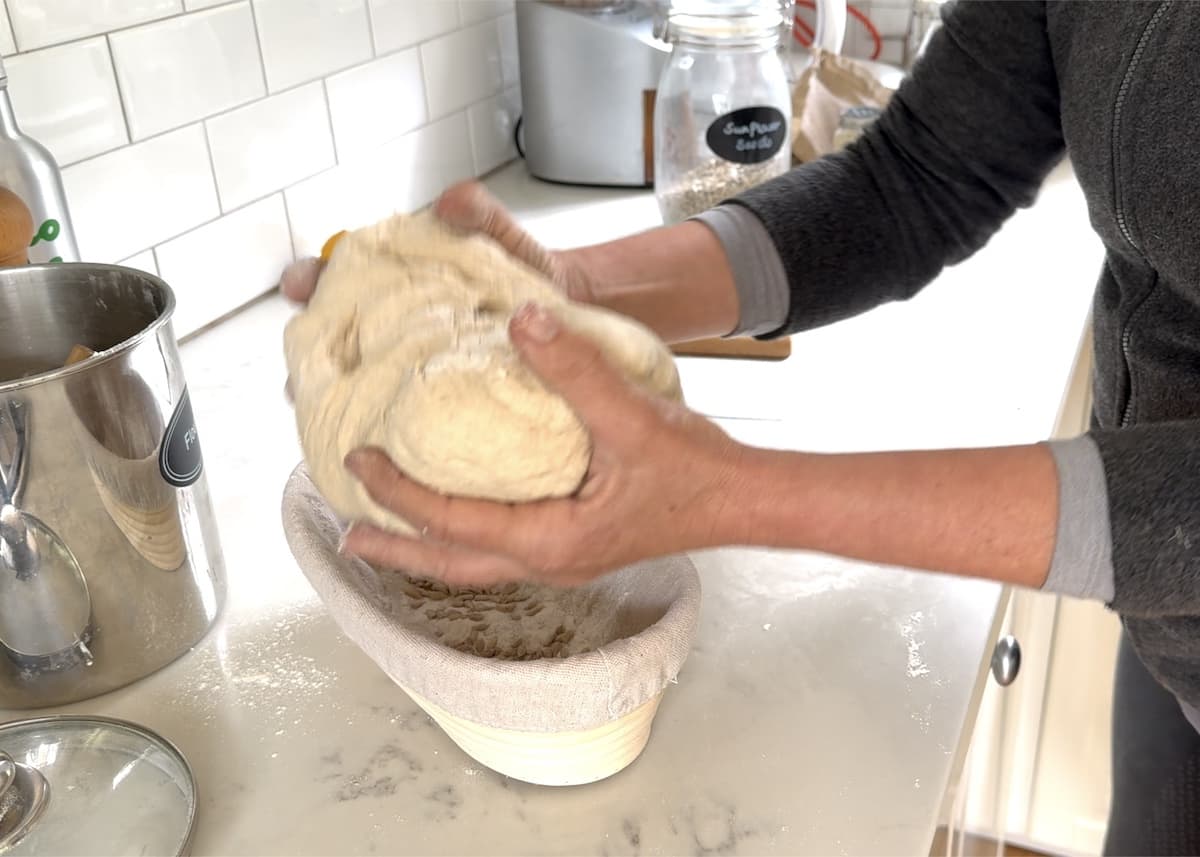
- Heavily dust the banneton proofing basket with flour or rice flour and add more seeds, if desired.
- Transfer the shaped dough to the proofing basket, cover it with beeswax or plastic and return it to the refrigerator.
Final proof
Let the seeded sourdough loaf rest in the refrigerator for 4-12 hours.
TIP: The longer the dough sits in the fridge, the stronger the sour flavor will become.
Preheat the baking vessel
One hour before baking the bread, place both the Dutch oven and the lid inside your oven and turn it to 450˚F.
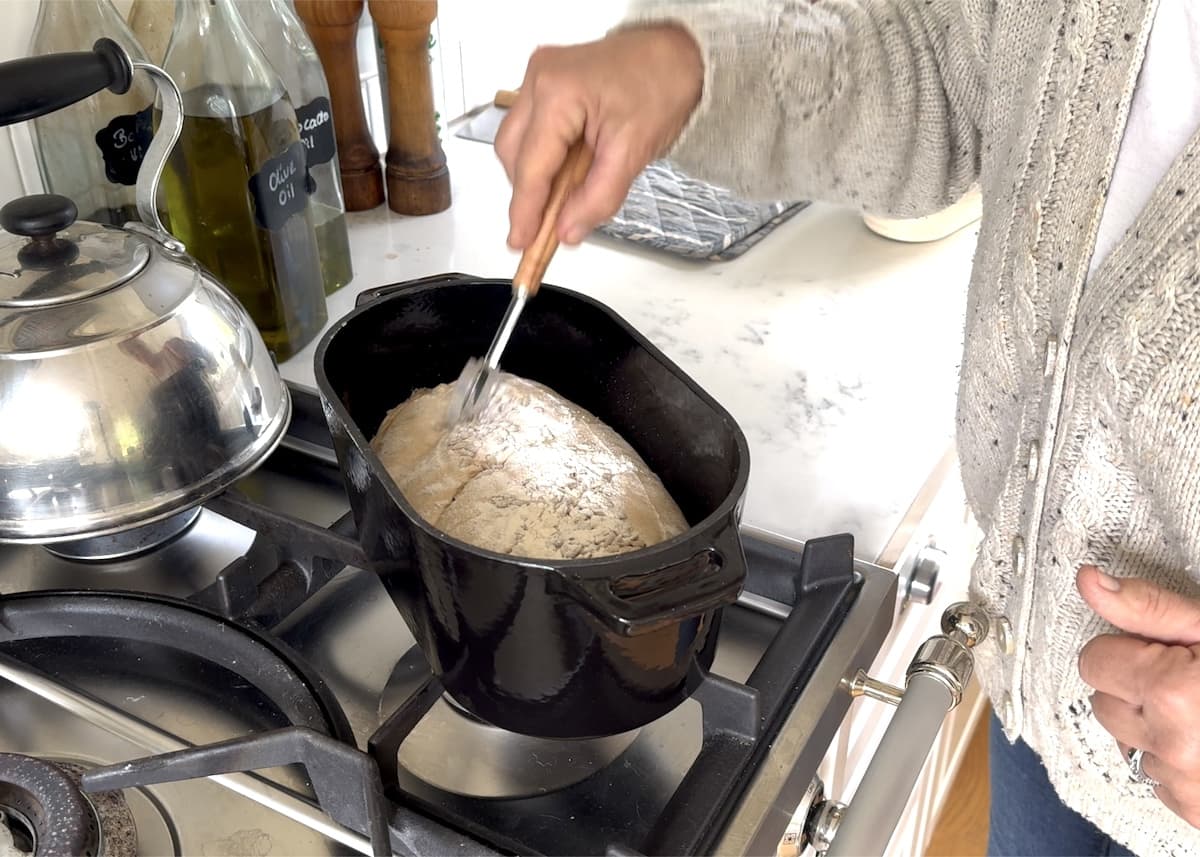
Score and bake the seeded sourdough sandwich bread
- When you’re ready to bake, remove the dough from the refrigerator.
- Place the unbaked dough inside of the hot baking vessel.
- With a lame or sharp knife score the top of the loaf in your preferred pattern. Optional: mist the dough with water.
- Cover the loaf pan with a lid and bake in a preheated oven for 30 minutes.
- After 30 minutes remove the lid and bake the bread for another 30 minutes, or until golden brown on top.
- Remove the sourdough loaf from the Dutch oven and let it cool on a wire rack.
Helpful Recipe Tips
- Don’t worry if your dough is especially sticky. Resist the urge to add more flour. Instead, wet your hands and use them to stretch and fold the dough to help the gluten development.
- Instead of a banneton, you can line a medium bowl with a tea towel and use that as a proofing vessel
- To easily make a loaf pan liner, set your baking vessel onto a sheet of parchment, and use a pencil to trace around the bottom. Then, cut out the tracing and line the bottom of the pan with it.
How to keep sourdough sandwich bread fresh
Sourdough bread tastes the best when it’s fresh. I keep my loaves at room temperature, in either a bread bag, some beeswax wrap, or a paper bag. As long as it is wrapped well, it should stay fresh for 2 to 3 days.
If you know you won’t finish the loaf in 3 days, you can cut the fresh loaf in half or into slices and freeze the slices tightly wrapped in plastic.
This seeded sourdough bread is great any time of day. It’s delicious warm, with a dollop of butter or jam. It toasts up nicely and is great for French toast, too. It’s sturdy enough to hold piles of lunch meat and heavier foods like tuna salad or mashed avocado.

Seeded Sourdough Sandwich Bread
Ingredients
- 200 g active sourdough starter
- 525 g warm water
- 350 g all-purpose flour
- 350 g whole grain flour (such as spelt, kamut, emmer, rye or a combination)
- 20 g sea salt
- ½ c mixed seeds (sunflower, pumpkin, flax, etc)
Instructions
- Add sourdough starter and warm water to the bowl of your stand mixer. Mix until combined.
- Add the flours and mix on low speed until combined, then on medium-low for about 5 mins. Cover with a tea towel and let the dough rest for 1 hour.
- Now add the salt, mix well, cover with a tea towel and let the dough rest for 30 mins.
- With wet hands, lift the dough from the side of the bowl, fold it over towards the middle, turn the bowl one quarter, and repeat (stretch and fold). Cover with a tea towel and let the dough rest for 30 mins. Do 3 more stretch and folds.
- Cover the bowl with beeswax wrap or plastic and place the bowl in the refrigerator overnight or for about 8 hours.
- Remove the dough from the refrigerator. Heavily dust a work surface. Transfer the dough to the work surface. With lightly floured hands, gently stretch the dough into a big rectangle.
- Sprinkle the dough rectangle evenly with the seed mixture.
- Beginning with the long side, fold ⅓ of the dough over toward the middle. Repeat with the other side. Beginning with one short side, roll the dough into a log.
- Gently pull the dough log toward you multiple times while turning to create surface tension.
- Heavily dust an oval bannetton with flour. Place the dough log into the proofing basket with the smooth side down. Pinch any gaping dough together to form a seam.
- Place the dough in the refrigerator for 4-12 hours.
- Preheat your oven to 450˚F with an oval cast iron Dutch oven in the oven inside for 1 hour.
- Remove the dough from the refrigerator. Remove the preheated Dutch oven and carefully transfer the dough into the hot Dutch oven.
- With a bread lame or sharp knife, score the top of the dough. Put the lid on the Dutch oven.
- Bake covered for 30 mins. Remove the lid and bake uncovered for another 30 mins. Remove from the Dutch oven and let the bread cool on a wire rack
Notes
- if your dough is very sticky, resist the urge to add more flour, instead use wet hands for the stretch and folds
- you can also bake this bread in a rectangular loaf pan
- it can be helpful to line the Dutch oven with parchment paper for ease of removing the bread
- experiment with different types of grains and seeds
Nutrition
Other sourdough bread recipes you might like
Pin it for later
Anja, I love your recipes. I am trying more and more. I am turning into a Sourdougherling 😅 I am making the sandwich bread for the 2nd time. First time I didn’t have an oval bannetton or baking dish. I am making it in a Römertopf today. Do you have to adjust baking times with different dishes and can I use the convection setting at all? Thanks 🫶🏻
So glad to hear you’re enjoying my recipes and your sourdough journey! I recommend preheating the Römertopf in a cold oven, regular bake setting should be fine and the times should be roughly the same as well ~ Anja
If I decide to bake it in a loaf pan would I do the second proof in the pan that I am baking in or a proofing basket and transfer to the loaf pan? Thank you for the excellent video instructions !
In that case I would proof it right in the loaf pan (with the seam-side down!) and create some steam in the oven ~ Anja
Im a novice to sourdough baking, so please correct me if I need to make an adjustment to my understanding. This recipe is for 1 loaf that can fit into a standard 8″ or 9″ loaf pan?
No worries! I typically bake this in my oval Dutch oven baker by Köök but a standard loaf pan should work ~ Anja