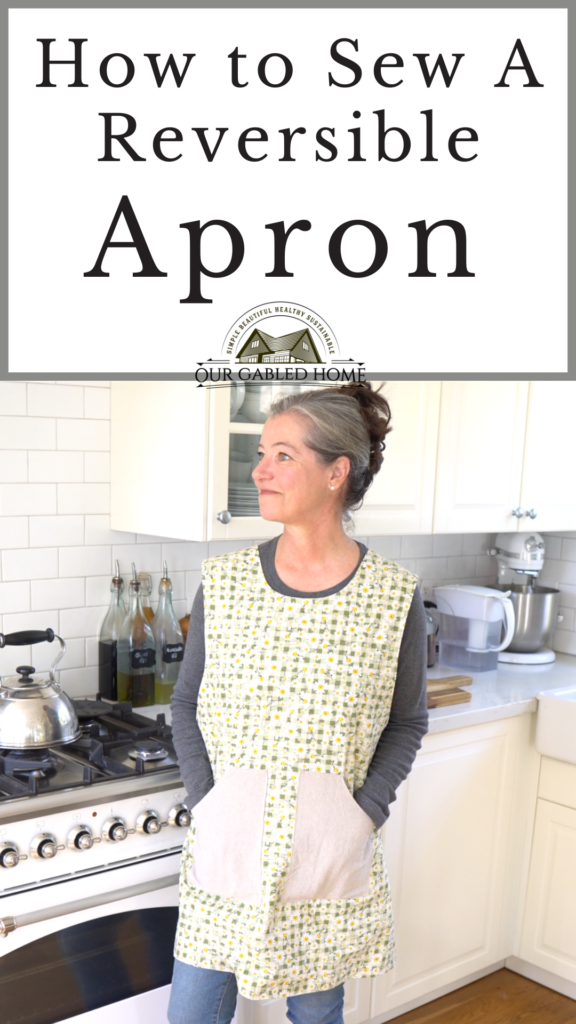
How to Sew a Reversible Apron | Tutorial
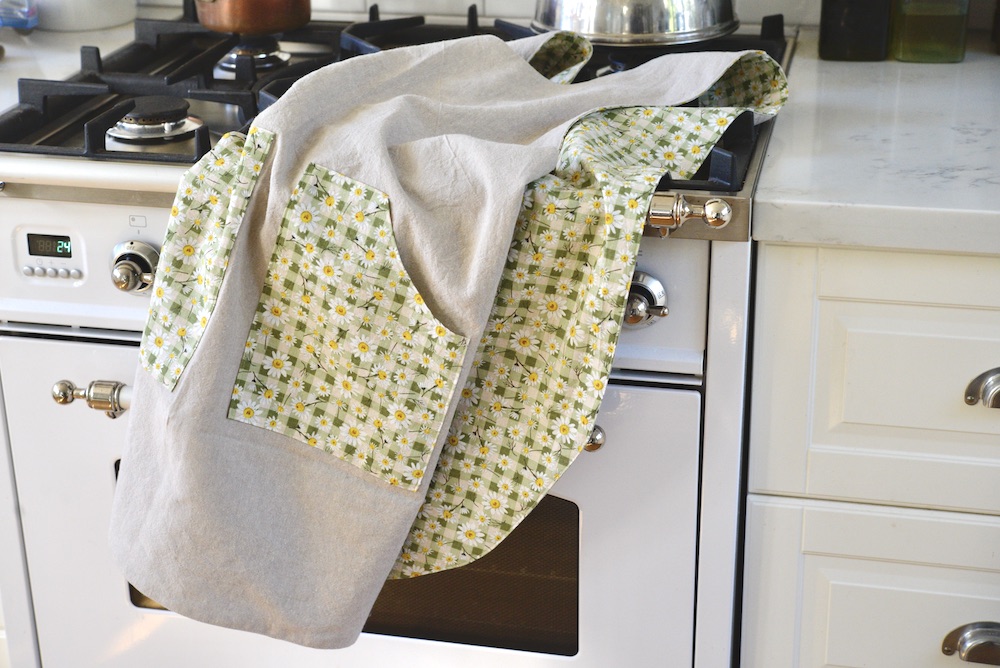
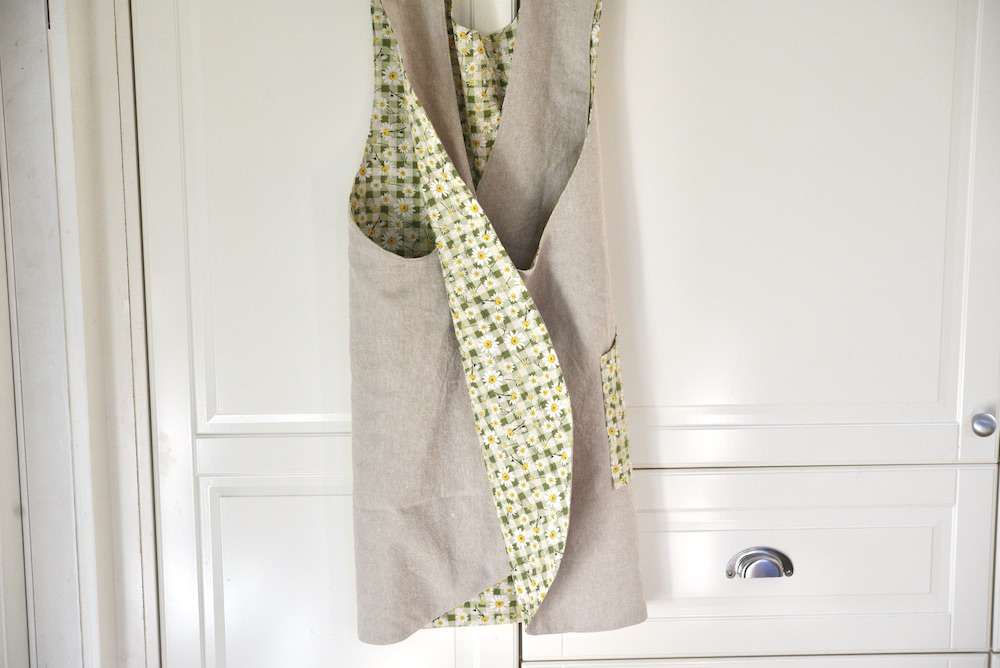
This step-by-step tutorial teaches you how to sew a reversible cross-back apron. Just pick your 2 favorite fabrics and start sewing!
Have you been wanting to make a reversible apron?
Well, for a long time, I had been wanting to make one myself. With my super popular cross-over apron, I thought it would be so fun to make that in a reversible version.
I am so excited to share that with you in this post!
Why make a cross-back apron?
Maybe you already have a crisscross apron. If you don’t, here are some of the reasons why I think they are such a great idea:
- they are easy and fun to sew
- they fit many sizes
- they are always flattering
- it is always a very comfortable fit and this reversible apron slips right over your head
- with their large patch pockets, they are even great for garden work
Why make a reversible apron?
After having worn my signature cross-back apron in so many Youtube videos, a lot of people were asking me for a tutorial for a reversible apron. Here’s why I am so excited to share this tutorial with you:
- can’t decide between two fabrics? make a reversible apron with both!
- they are so cute
- they make a great gift
- these aprons always look original
- you can decide what mood you’re in and wear the apron accordingly
- you could even make old aprons look new
Sewing Tips & Tricks
For this reversible apron, we are using the same pattern as for my regular cross-back apron.
- The fabrics: even though I chose a linen-blend fabric and a cotton fabric, I actually recommend you use 2 fabrics of similar material. 100% cotton is always a safe bet but linen or a linen-blend would also work.
- Getting the right fit: If you are not certain if you’ll like the fit of your apron, you can always make a “trial” apron from leftover fabric or cheap muslin fabric
- The neckline: you can simply copy the neckline from your favorite t-shirt
- The armhole: I like a fairly deep armhole but you can either make a test apron or measure straight down from your shoulders how far you’d like the armhole to go
- Difficulty: while this apron project is not very difficult, you can always practice with some other projects such as a half apron, potholders, or a simple produce bag.
- Raw edge sides: I am very comfortable leaving the edges raw especially since I am using a top stitch to finish the apron. If you are worried about fraying you can always serge or use a zig-zag stitch to finish the sides of the fabric.
- The pockets: you can add pockets or leave them out entirely; some people even like to use fat quarters for the pockets to have some more contrast
What if I need more instructions or help with the sewing patterns?
The free pattern that you can download here is easy enough to use. Remember that this is a very forgiving pattern so it doesn’t need to be exact. If, however, you prefer exact measurements, you can also get the fully downloadable and printable pattern here which will be so worth the extra cost.
I also recommend you read this article in which I am answering the most common questions I get about my sewing pattern.
The perfect fabric for this reversible apron
I think that linen or a linen-blend is always a great choice for this apron. Normally, I would recommend a somewhat heftier, stiffer fabric. But since you are using two pieces of fabric, you can use any weight of cotton fabric. I always like the combination of a solid and a print or calico fabric. Stripes look really nice, too. You may even have some fabric at home that you would like to use. Ultimately, the choice is yours.
The apron pattern
Surprisingly enough, sewing an apron is easy enough that even beginners can feel successful.
Even though this pattern is mostly a one-size-fits-all, it does seem to fit small/medium bodies the best. However, you can make it bigger by adding half an inch or more straight down the middle from the center of the neckline. Depending on how tall you are, you can also customize the length.
First, you might like to download your FREE apron pattern.
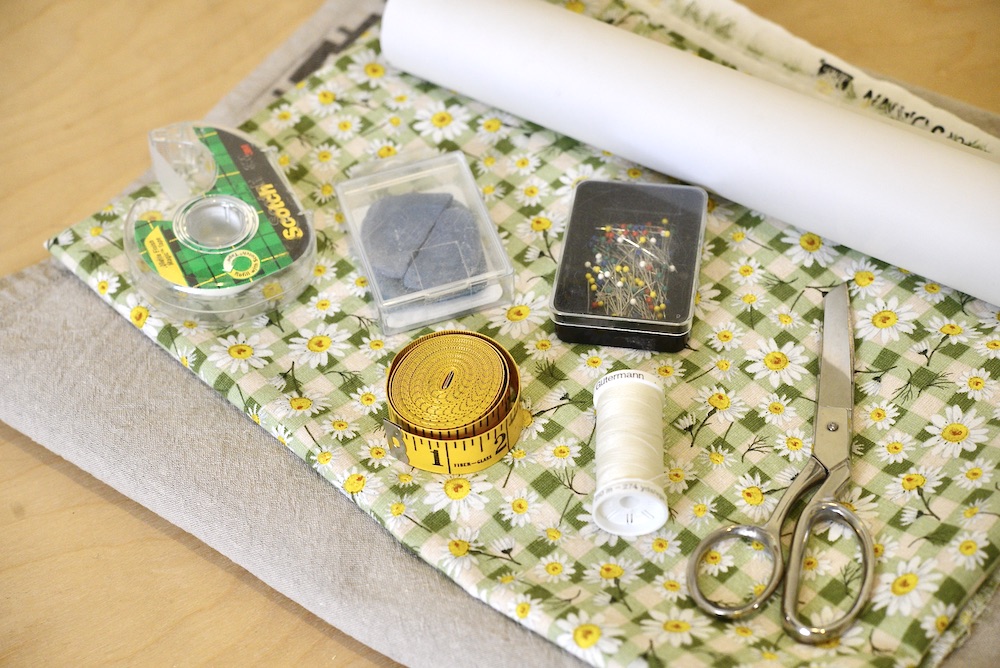
Materials and tools you will need:
Here’s what you will need to make this
- 2 Fabric: to make the most out of a reversible apron, you’ll want to choose 2 different fabric colors and/or patterns. If your fabric is 45″ wide it will most likely be a small/medium fit; if you’re using a wider fabric, you can also make the apron bigger. You will need about 1¼ of a yard of fabric each.
- Thread: ideally in the color or close to the color of your fabric
- Scissors
- Pins
- Tracing paper, durable pattern paper, or parchment paper
- Scotch tape (if you need to tape pattern pieces together)
- Pencil or tailor’s chalk or fabric marker
- Sewing machine
Watch this apron tutorial on Youtube:
How to make this reversible apron pattern
Here are the step-by-step instructions for this apron:
Prep work:
- Wash and dry your fabrics. If they are very wrinkly, I recommend hot ironing them so that they lay nice and flat.
- Download (or purchase)your apron pattern.
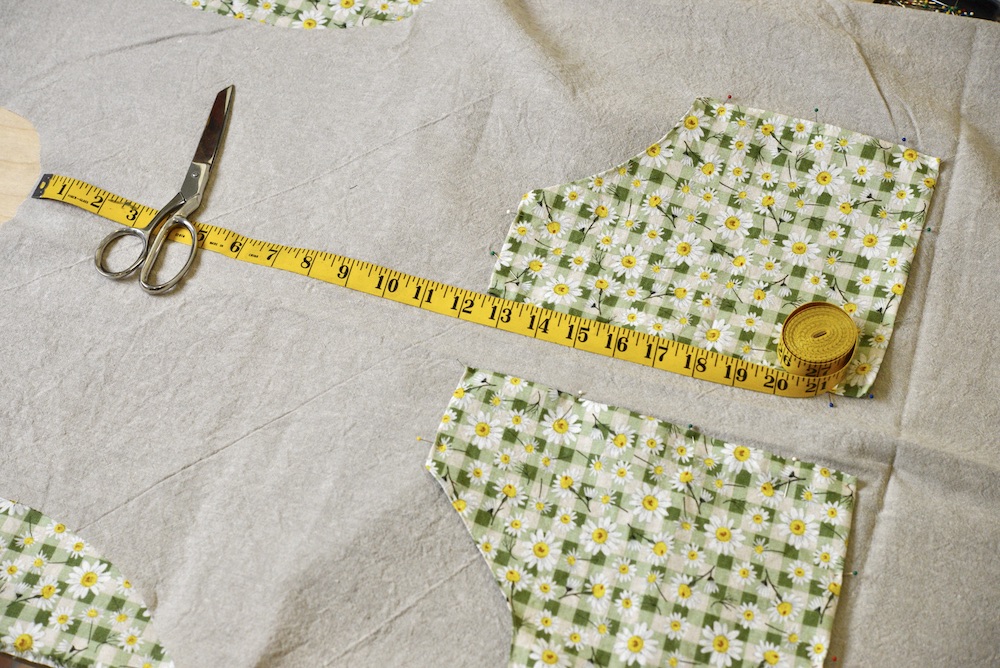
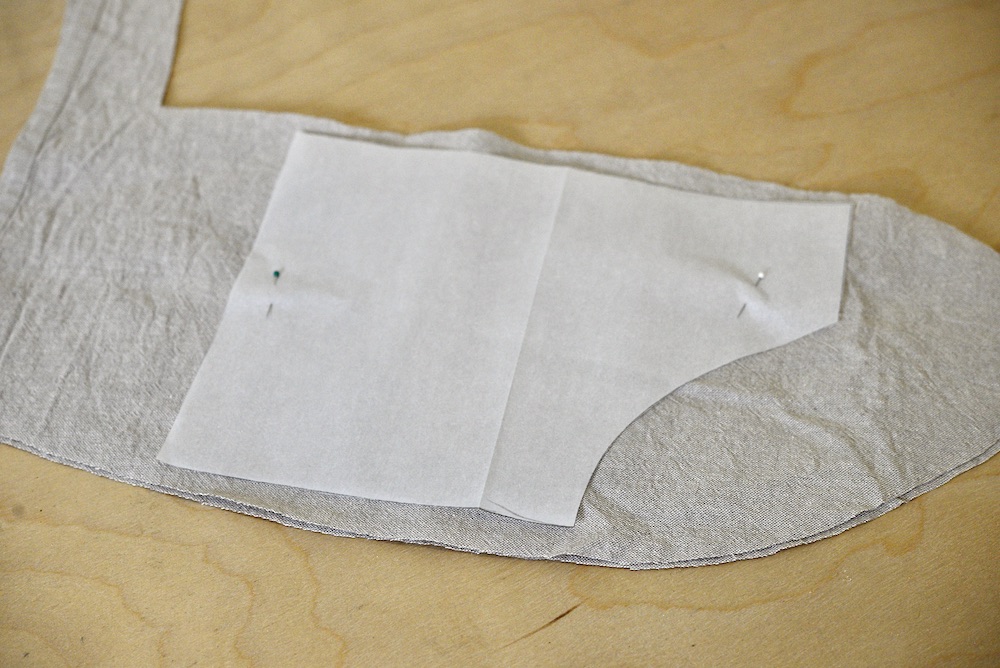
- Place your pattern on your first fabric. I like to pin it to the fabric.
- Cut the main piece fabric with a ½” seam allowance. You can also use a pen, marker, or tailor’s chalk to trace the outline of the pattern.
- If you’re choosing to add pockets, you can most likely cut the pocket piece out of the fabric of the arm holes.
- Now cut the same pieces from your second/contrasting fabric.

Make the pockets (if using, otherwise skip this step):
- Using a serger or zig-zag stitch, finish the raw edges of all 4 pockets.
- Fold the curved part of the pocket over to the inside, pin, and sew in place.
- Fold the remaining straight edges about ¼” inch and secure them with pins.
- Place the pockets onto the main piece fabrics so that the top of the pocket is about 12.5″ down from the neckline and about 1″ off the center. You might like to use the opposing fabric. I recommend pinning them in place. Alternatively, you can pin the apron loosely together to find the right spot and placement for your pockets. If you prefer less bulk, you may also omit the pockets altogether.
- Using a straight stitch, sew the pockets to the main piece of fabric, but leave the curved line open (this is where your hands go).
Sew the reversible apron:
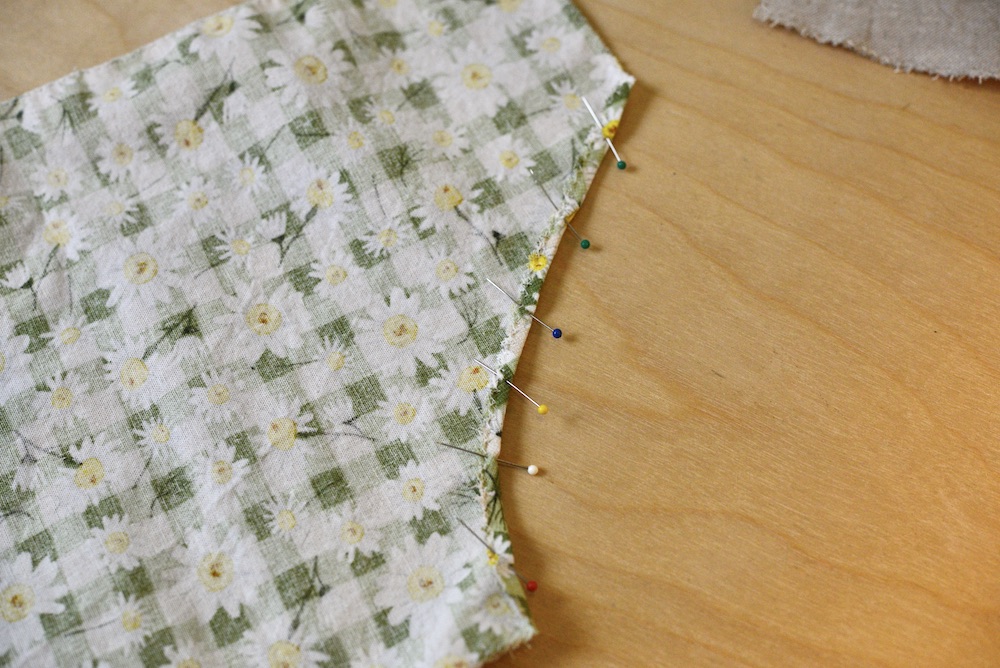
- With the pockets sewn in place, place the two main pieces of fabric on top of each other with the right sides facing.
- Pin the two pieces together.
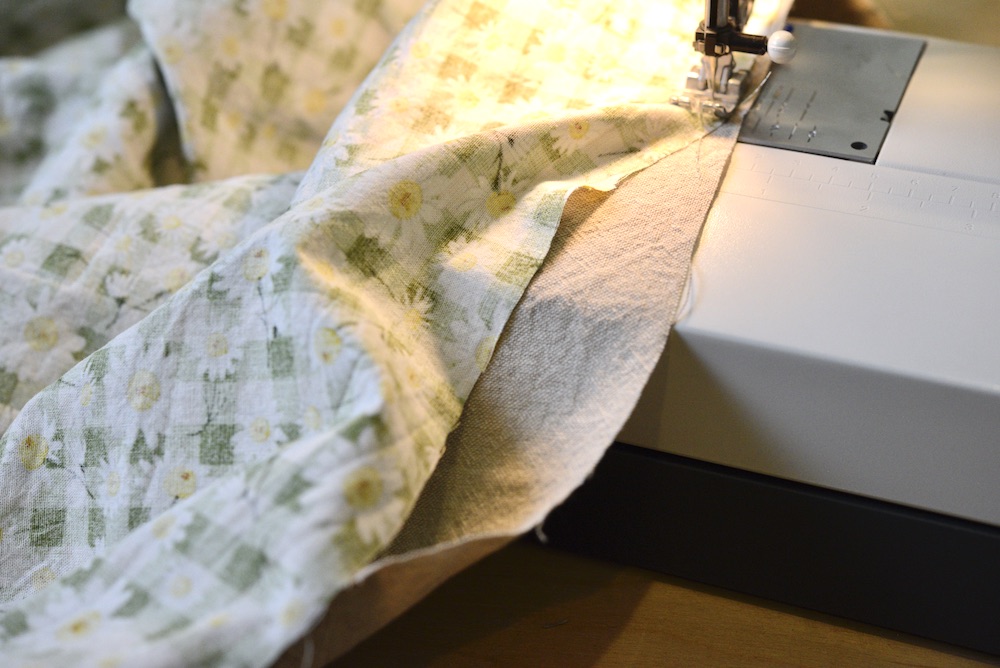
- Using a straight stitch, sew the 2 pieces together but leave a small opening of at least 4″ or more at the bottom of the apron.
- With and through this opening turn the apron rights sides out. You can use a pencil or other pointy (but not sharp) object to poke out the corners of the shoulder straps and the cross back straps.
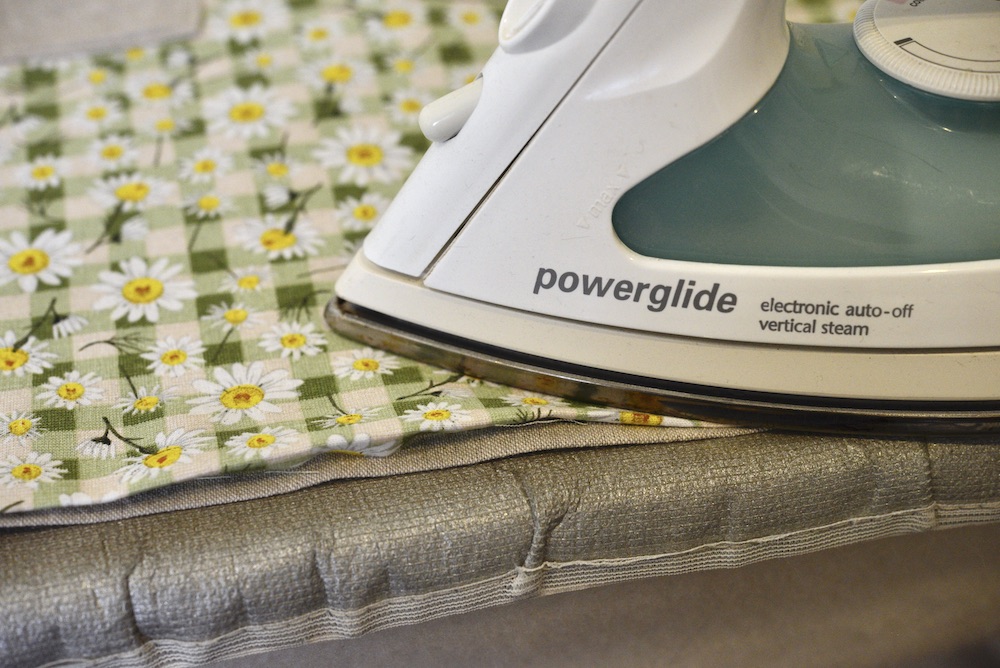
- I like to use a hot iron to make sure that all the edges lay nice a flat. I also like to fold in and hot iron the edges of the opening.
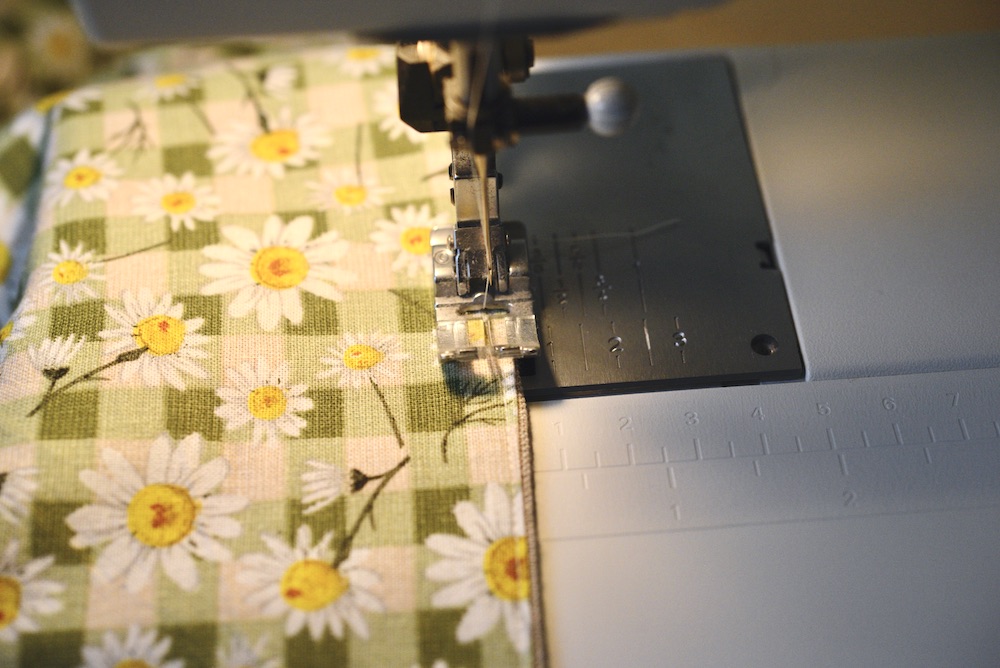
- Using a top stitch, sew very close to the edge of the apron to create a very clean edge.
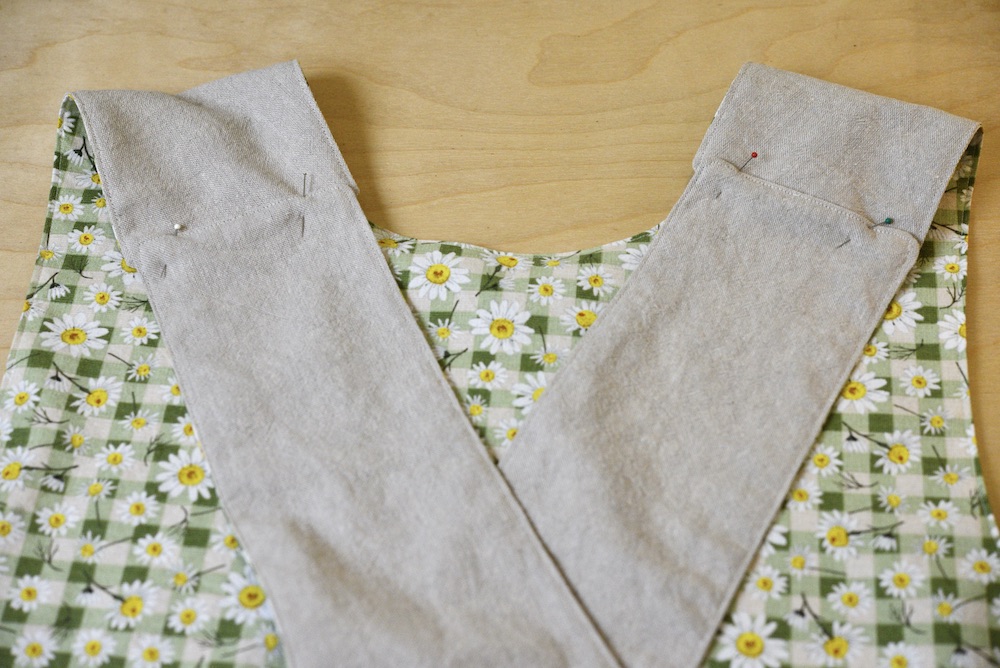
Closing the should straps:
- Lay your apron on a table.
- Fold the sides of the apron toward the middle and cross the shoulder straps.
- Pin the shoulder straps to the neck straps of the main apron piece.
- Using a straight stitch sew the shoulder straps together.
Let me know if you have questions or comments below!
Pin For Later:
My friend wants me to make her one…I’ve made little girls reversible dresses like this…but my friend is 5’8″ and her bust is 40″. Any suggestions ?
You can always add a 1-2″ extra fabric down the center of the neckline and another 1″ on both sides at the lowest point of the armhole ~ Anja
One of our sons is a budding chef himself and my mother in law got him a little chefs hat and apron for when he’s helping in the kitchen. I’m sure a home made version with more relevant graphics and material would mean the world to him so I’ll see about this as an idea for his upcoming birthday.
Awww … that is great!! Love that you have him cooking. All he needs now is a reversible apron … ~ Anja
Very cute, practical, and doesn’t look difficult at all. Thanks for sharing!
Yes to all of them and I am so glad you like this pattern ~ Anja
As a very beginner sewer, this actually looks like I can do it! I am definitely going to give this a try. Thanks for such a detailed post, makes it really easy for me to understand!
Yes, this is very doable even for beginners. Happy sewing ~ Anja
This looks like a fun sewing project that I would like to try!
Yay! Hope you’ll get to make it soon ~ Anja
What a great tutorial! I’ve saved this to my Pinterest for future reference! Thank you so much!
Yay! Thank you so much ~ Anja
This apron is adorable! I’d love to learn how to sew, my daughter shows a lot of interest for sure. What a great tool to know how to sew 🙂
Nice! Hope you will get into sewing, it’s so much fun ~ Anja